How to Write Better GPT Image 2.5 Prompts
A practical guide to GPT Image 2.5 prompts on Flare and Sunburst: what to write first, how to get exact text, how to edit one thing and keep the rest, and when to raise quality.
Mood words are the laziest habit in image prompting. "Cinematic." "Moody." "Premium." They feel like direction, and they produce pictures that look like everyone else's pictures, because the model fills every gap you leave with its own average.
GPT Image 2.5 is a model that punishes vagueness less and rewards specifics more. OpenAI's two new models, Flare for speed and Sunburst for quality, both read long, structured briefs and both are built around edits that keep what you didn't ask to change. That makes GPT Image 2.5 prompts less about magic words and more about writing a clear spec. This guide covers how to write one: the order of a good prompt, exact text, edits, references, quality settings and the mistakes that cost you a round.
Write the Result First, Then the Details
OpenAI's own image prompting guide lays out an order, and it's worth following because it mirrors how a designer reads a brief. Start by defining the result: the subject, what the image is for (a product photo, an ad, a diagram), the composition, the aspect ratio and any placement constraints. Then describe the visible details: materials, lighting, colors and the medium. Then people and actions. Then exact text. Then, for edits, what changes and what must stay.
The point of leading with the result is that it decides everything after it. "A product photo for a marketplace listing" implies a clean background, even light and the whole object in frame. "A billboard key visual" implies negative space for copy and a single focal point. Tell the model the job and half the details stop needing to be said.
A square product photo for an online store listing. A matte black ceramic pour-over coffee dripper on a pale oak surface, centered, the whole object in frame with generous margin. Soft diffused daylight from the left, a gentle shadow to the right, warm neutral tones. Photorealistic, shot like a real studio photograph. No props, no text.
Describe What the Camera Sees, Not How It Feels
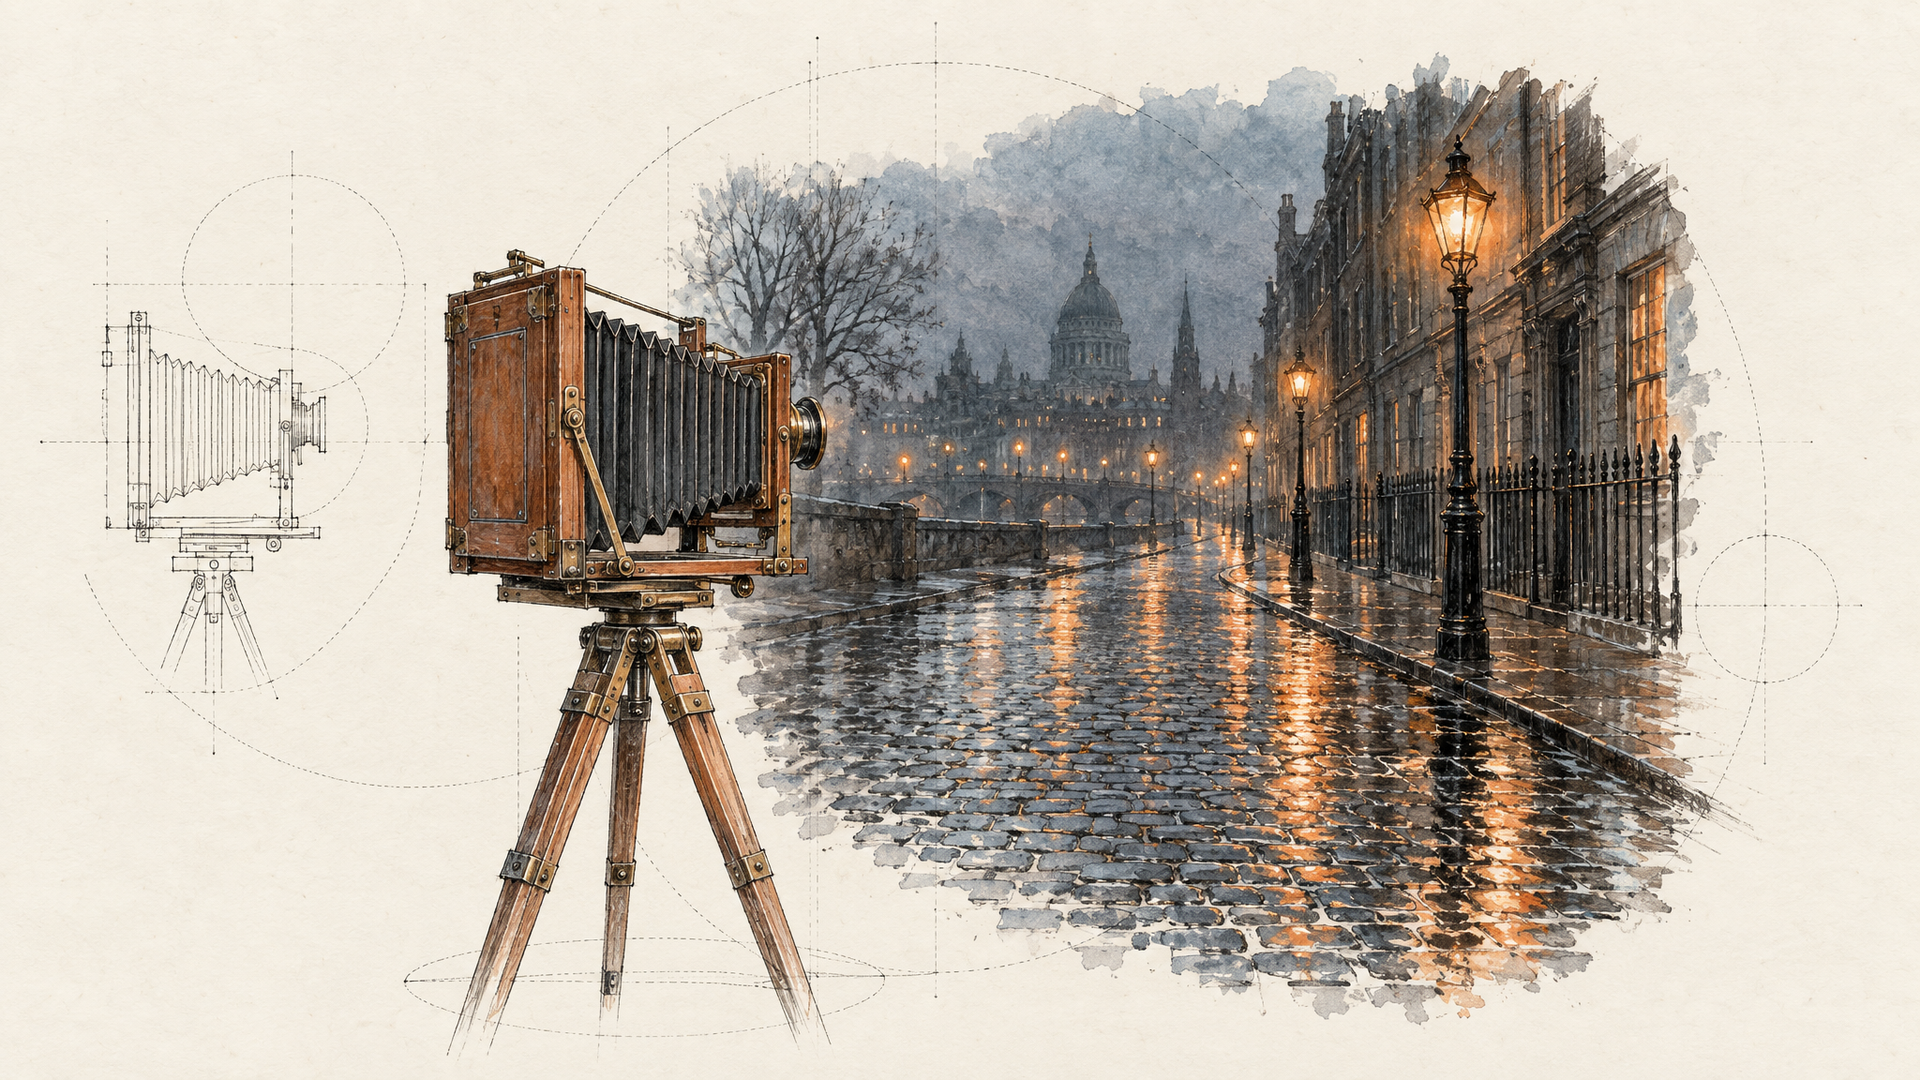
OpenAI's guidance here is blunt: describe images through subject, framing, light and texture instead of relying on mood words alone. For wide, low-light, rainy or neon scenes it asks you to specify scale, atmosphere and color. That's the fix for "cinematic". Say what makes it cinematic.
Compare two prompts for the same idea. The first says "a moody cinematic street at night". The second says what moody means:
A narrow Tokyo side street after rain, shot at eye level from the middle of the road. Wet asphalt reflecting red and teal neon signs, steam rising from a vent on the right, one figure with a clear umbrella walking away from camera in the mid-ground. Deep shadows, saturated reflections, fine rain visible in the light. 16:9.
Camera language helps too, with a caveat OpenAI states plainly: treat camera specifications as cues for appearance, not a guarantee of exact physical simulation. "85mm portrait lens, shallow depth of field" will push the look toward a compressed, blurred background. It won't compute real optics. Use it for the feel, and if you need a realistic photograph, say "photorealistic" or "real photograph" outright.
People Need Framing, Not Adjectives
Most failed people shots are framing failures. The model crops the feet, shrinks the subject or points their gaze somewhere random. OpenAI's guide asks for body framing, scale, gaze and how the person interacts with objects, down to details like "full body visible, feet included".
Full body visible, feet included: a woman in her thirties in a rust linen jumpsuit stands in a bright minimal studio, weight on one leg, looking directly at the camera, holding a woven tote bag in her right hand at hip height. Plain warm grey backdrop, soft front light. Vertical 2:3.
Notice the hand is specified, the bag height is specified, the gaze is specified. Every one of those is a decision the model would otherwise make for you, differently each time.
Get Exact Text Into GPT Image 2.5 Prompts
Text is where GPT Image models already earned their reputation, and the rules for getting it right are simple. Put the required words in quotation marks. Say where they go and how they look. Say how many times they should appear. For unusual words or brand names, OpenAI suggests spelling them out letter by letter. Then ask for no extra text, and check the spelling yourself before you ship.
A minimal concert poster, portrait. Deep navy background, a single brass trumpet in fine gold line art in the center. The title "LATE SET" appears once, at the top, in a tall condensed serif, cream color. Below the trumpet, the line "Friday 9pm, The Copper Room" appears once in small spaced capitals. No other text, no watermark, no logo.
One setting matters here. OpenAI recommends medium or high quality for small text, dense information or several fonts. Low is for drafts, and dense copy is not a draft.
GPT Image 2.5 Edit Prompts: Change Only X
This is the part people searching for a "GPT image editor" actually need. Editing on Flare Edit and Sunburst Edit works best when you separate two lists: what changes and what doesn't. OpenAI's wording is "change only X", followed by the details to preserve: identity, geometry, layout, lighting, labels, camera angle, surrounding objects.
Change only the mug: replace it with a clear glass of iced tea with a lemon slice. Keep the hand, the ring, the table, the window, the light direction and the color temperature exactly the same. Match the shadow of the glass to the original light.
Then iterate the way OpenAI suggests: pass the previous output in as the next input, ask for one change, and repeat the details to preserve. That last part feels redundant. It isn't. If something starts drifting after the third or fourth edit, restating the constraints is what pulls it back.
When a region has to stay pixel-identical, a prompt alone won't guarantee it. The Edit endpoints on each::labs accept a mask (a PNG with an alpha channel, same size as the first image, transparent where the edit goes), but OpenAI is clear that masking is guidance, not a stencil. For truly untouchable areas, it recommends compositing the approved edit back into the original rather than relying on prompting.
Number Your References and Give Each a Job
Both Edit endpoints take up to 16 source images. That's a lot of rope. OpenAI's advice is to identify each input by number and purpose (subject, style, clothing, background) and to explain how they combine and which elements move where.
Image 1 is the model, keep her face, hair and pose. Image 2 is the jacket, dress her in it with the same color, stitching and zipper. Image 3 is the background, place her on that street at the same time of day. Keep the lighting from Image 3 on her face and the jacket.
Without roles, the model guesses which image is the person and which is the style, and it sometimes guesses creatively. With roles, a try-on or a product placement becomes repeatable. Keep the set small and aligned. Four references that agree beat twelve that argue.
Pick the Model and the Quality Setting on Purpose
OpenAI describes Flare as the small model optimized for speed, with quality comparable to GPT Image 2, and Sunburst as the base model optimized for quality, above GPT Image 2. The same prompt works on both, so the prompt you write once is portable.
For quality, OpenAI's method is disciplined, and it's the right one. Keep the quality setting fixed while you compare models. If the output falls short, test a higher setting. Once your requirements are met, test lower settings to see whether they still hold. Reach for xhigh or max only when nothing else meets the bar. Most images never need them. A hero visual that will be printed or zoomed probably does.
A practical split: explore on Flare at medium, pick the direction, then finish on Sunburst. Because both share the same request shape on each::labs, that handoff is one model string. If you chain it with an upscale or a background step, build it once as an each::labs flow.
Transparent Backgrounds Need Three Things
GPT Image 2.5 supports transparent output, which GPT Image 2 didn't. To get it, set background to transparent, output PNG or WebP, and say it in the prompt too: OpenAI suggests asking for no solid backdrop, scenery, checkerboard or watermark.
A flat vector sticker of a smiling avocado with tiny arms waving, thick dark green outline, cheerful pastel palette. Single centered object with generous padding. Fully transparent background: no backdrop, no scenery, no checkerboard, no shadow, no watermark.
Then check the alpha channel, especially hair, glass, shadows and thin edges. Those are where a transparent asset quietly fails. For product cutouts at volume, compare the result with a dedicated step from the image-to-image models on each::labs, and keep whichever gives cleaner edges on your catalog.
Mistakes That Waste a Round
Stacking five edits in one request is the big one. You lose the ability to see which change broke the image. OpenAI's guide says to refine one thing at a time and inspect the result, and that's simply the fastest way to a finished picture.
The second is forgetting to restate what must stay. "Same as before" carries some context between rounds, but critical constraints like a face, a label or a product's geometry deserve to be repeated every time. The third is jumping straight to max quality on exploration rounds, which slows you down at the stage where speed matters most. The fourth is writing prompts like tag lists. Both models handle prompts up to 32,000 characters on each::labs. Full sentences in a clear order beat a comma-separated pile every time.
If you want the bigger picture on what changed in this release, read our image editing API integration notes alongside this guide, and compare GPT Image 2.5 against the other text-to-image models on each::labs with the same prompt.
Frequently Asked Questions
Do GPT Image 2.5 prompts work the same on Flare and Sunburst?
Yes. Both models take the same inputs, so one prompt runs on either. The difference is in the output: Flare is tuned for speed with quality comparable to GPT Image 2, Sunburst for higher quality. Write the prompt once, test on Flare, and move to Sunburst only where the gain is visible.
How do I edit one part of an image with GPT Image 2.5?
Start the prompt with "change only" and the element, then list everything that must stay: identity, layout, lighting, labels, camera angle. Add a mask on the Edit endpoint for local changes. For regions that must stay pixel-identical, composite the approved edit back into the original.
How long should a GPT Image 2.5 prompt be?
As long as the job needs, in a clear order. A listing photo might take three sentences. A poster with exact copy and layout rules might take ten. On each::labs prompts can run to 32,000 characters, but structure beats length: result first, then details, then text, then constraints.
How do I get readable text in GPT Image 2.5?
Quote the exact words, say where they go and how they look, say how many times they appear, and ask for no other text. Spell unusual names letter by letter, use medium or high quality for small or dense copy, and proofread before you ship.