Reframe Video With AI: One Master, Every Aspect Ratio
Stop cropping your best shots. Here's a step by step workflow to turn one horizontal master into vertical and square versions by outpainting, with fill prompts that actually match.
By Eftal Yurtseven · Nov 6, 2026 · 9 min read
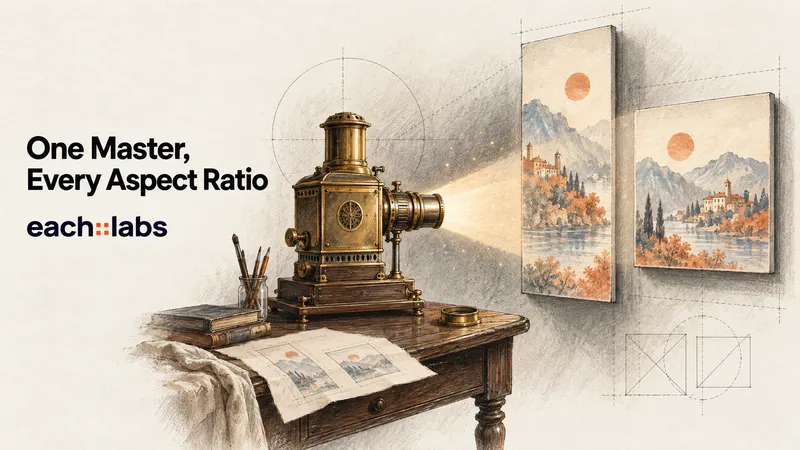
The horizontal cut is approved. The client loves it. Then someone asks for the Reels version, the Shorts version and a square one for the feed, and you're back in the editor dragging a 9:16 box across a 16:9 frame, watching your best shot lose its left half. The hero walks out of frame. The product sits on the cut line.
Cropping is the wrong tool for this job. What you want is to reframe video with AI: keep every pixel of the master and let a model paint the parts of the world the camera never saw. On each::labs you can do that today with Luma Ray 3.2 Reframe and PixVerse Video Expand, two partner models that outpaint around your footage instead of cutting into it. This guide walks through the full workflow, one master in, every aspect ratio out, with the fill prompts that make the new area look like it was always there.
Why Cropping a Horizontal Video to Vertical Breaks the Shot
Do the arithmetic once and you'll never crop casually again. A 9:16 window inside a 16:9 frame keeps roughly a third of the original width. Two thirds of your composition, the framing you or your model chose for a reason, goes in the bin. A square crop is kinder but still throws away close to half.
That loss isn't just pixels. It's intent. Wide shots are built on negative space, on a subject placed off center so the frame breathes. Crop to vertical and you get a subject jammed against the edge or a centered shot that feels like a security camera.
Outpainting flips the logic. Instead of choosing which part of the frame to sacrifice, you keep the whole frame and grow the canvas around it. A 16:9 shot becomes the middle band of a 9:16 shot, with new sky above and new ground below. Your composition survives.
Reframe, Crop or Extend: Pick the Right Verb
Three operations get confused constantly, and picking the wrong one wastes a run.
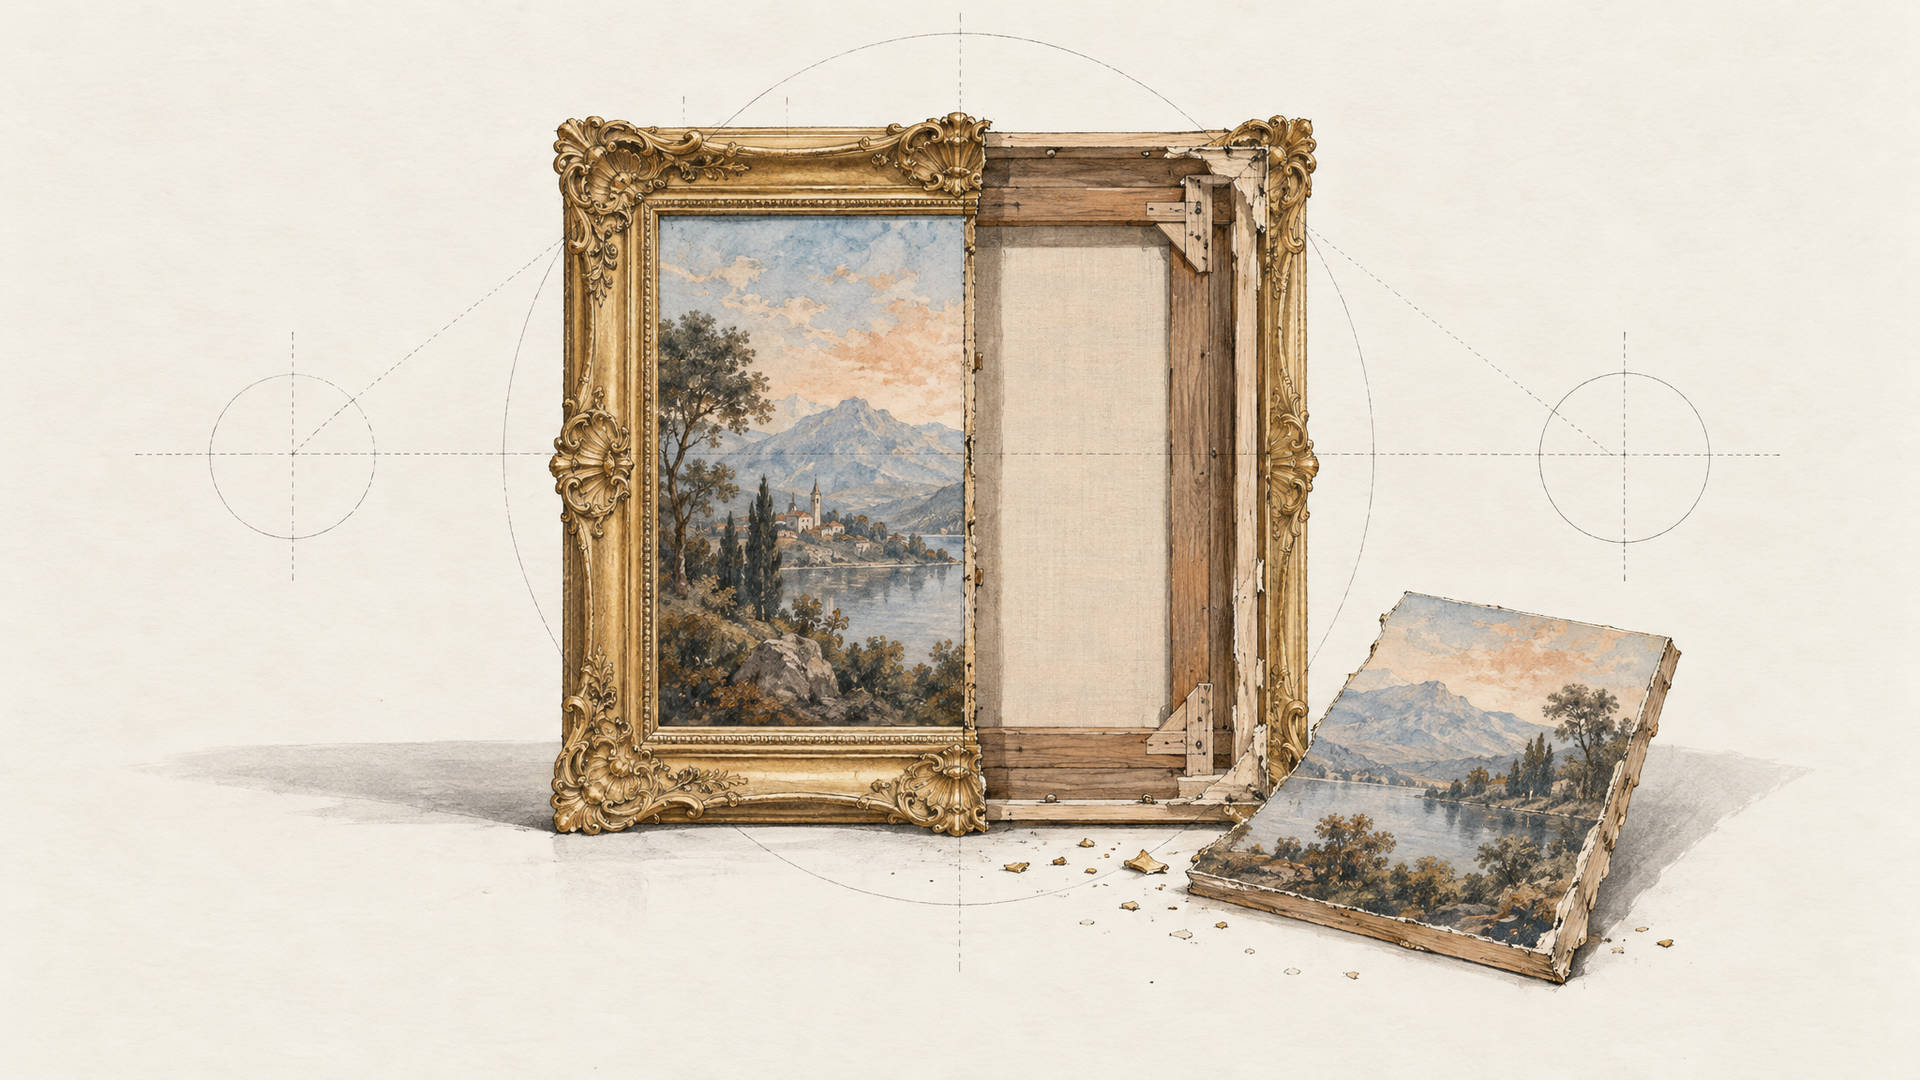
Reframe or expand changes the shape of the frame and generates new content around the original. Luma describes its reframe as converting an existing video to a new aspect ratio while the original footage stays intact frame by frame, with Ray 3.2 filling the new canvas area. PixVerse describes Video Expand the same way: new scene content around the original frame, no cropping, no stretching, no black bars.
Tracked crop invents nothing. It cuts a moving window that follows the subject. On each::labs that's Tracked Reframe, which re-crops to a new ratio while keeping the action centered, steered by a plain-language instruction. It's the right call when the shot is busy edge to edge.
Extend is about time, not space. PixVerse V6 Extend generates a continuation of the clip from a prompt, up to 15 more seconds. It won't change your frame by a single pixel.
My rule: outpaint when the edges of the world are simple and the composition matters; track-crop when the subject is the only thing that matters and the background is chaos.
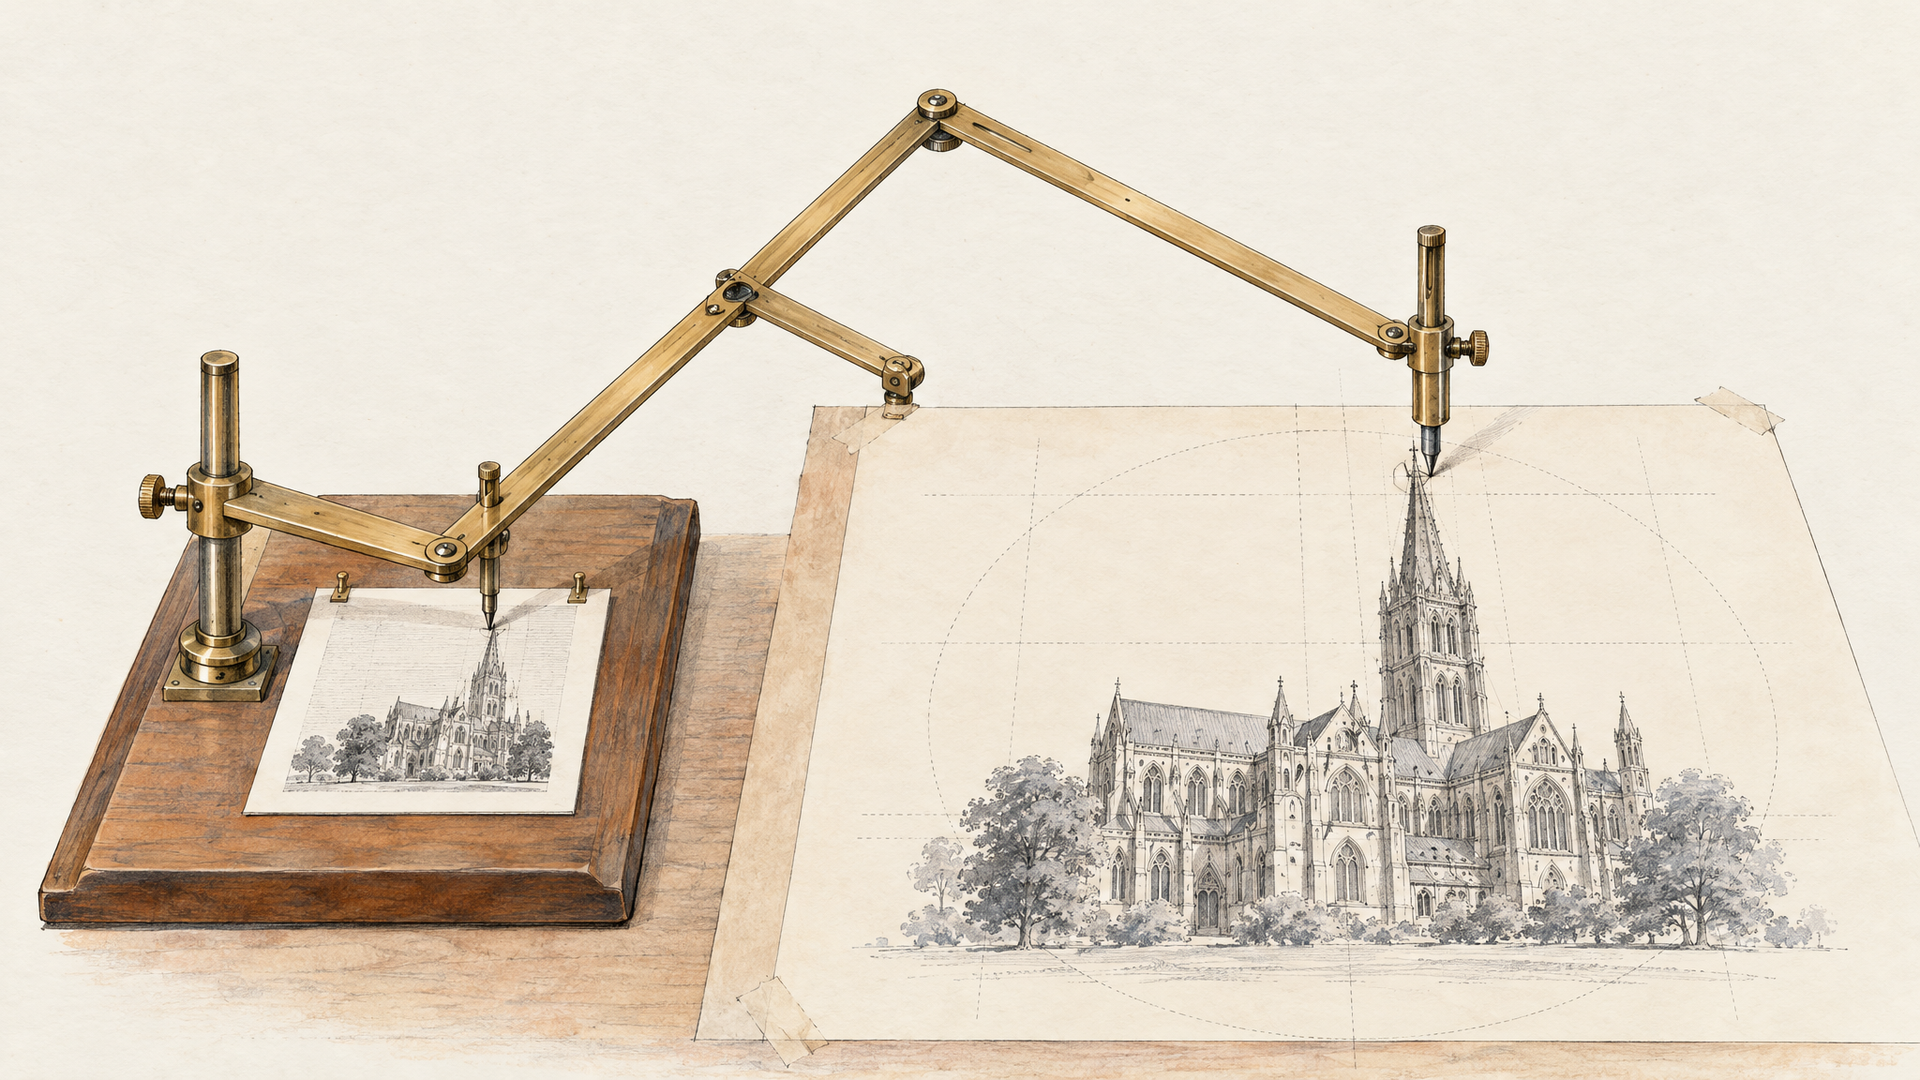
Step 1: Prep the Master Before You Reframe
Good reframes start with boring housekeeping. First, check length. On each::labs, Luma Ray 3.2 Reframe accepts a source of up to 10 seconds, and PixVerse Video Expand accepts MP4, MOV or WebM up to 30 seconds and 50 MB. Luma's own docs say it plainly: to reframe a longer clip, split it into segments of 10 seconds or less and reframe each one. Cut on your existing edit points, not mid-shot.
Second, look at your edges. The model only invents what sits outside the original frame, so whatever touches the border of your master is what it has to continue. A clean wall, open sky, a tabletop or a studio sweep continues easily. A dense crowd, foliage or a repeating tile pattern is harder, and PixVerse's own guidance flags exactly those cases as the ones that may need another attempt.
Third, strip anything burned in. Captions, lower thirds, watermarks and logos near the border are where edges misalign, and PixVerse itself says to expand that kind of footage conservatively. Reframe the clean master and add text afterwards in the new ratio.
Step 2: Reframe Video With AI in Luma Ray 3.2
Luma Ray 3.2 Reframe is the one to reach for when you want to direct the new area. On each::labs it takes three required inputs: your video_url, a target aspect_ratio (9:16, 3:4, 1:1, 4:3, 16:9 or 21:9) and a prompt describing the content to add around the source. Optional fields let you set resolution (540p, 720p or 1080p) and a duration of 5s or 10s; leave duration empty and the output matches the source.
A minimal vertical request looks like this:
{
  "video_url": "https://your-bucket.example/master_shot_04.mp4",
  "aspect_ratio": "9:16",
  "resolution": "720p",
  "prompt": "Extend the scene upward into a pale overcast sky with soft cloud texture, and downward into wet cobblestone street with faint reflections of the shop lights. Match the existing color grade, lens softness and film grain. No new people, no text."
}
The placement fields are where Ray 3.2 gets interesting. By default the model centers your source and outpaints everything else. Fill in source_x_norm, source_y_norm, source_w_norm and source_h_norm and you choose where the original sits on the new canvas, in normalized units. Luma's docs note that values beyond the 0 to 1 range push part of the source off canvas, and the model only outpaints the visible part. So you can slide a 16:9 master into the top third of a vertical frame and leave the bottom open for captions, or push it low so the outpainted sky carries a title card.
One resolution detail matters for vertical work. Luma's reframing docs state that 1080p is for landscape and square ratios, and that vertical outputs (9:16 and 3:4) should use 720p or lower. So render vertical at 720p and handle resolution in Step 5. If you've used Ray 3.2 for generation already, our Luma Ray 3.2 breakdown covers the base model's strengths.
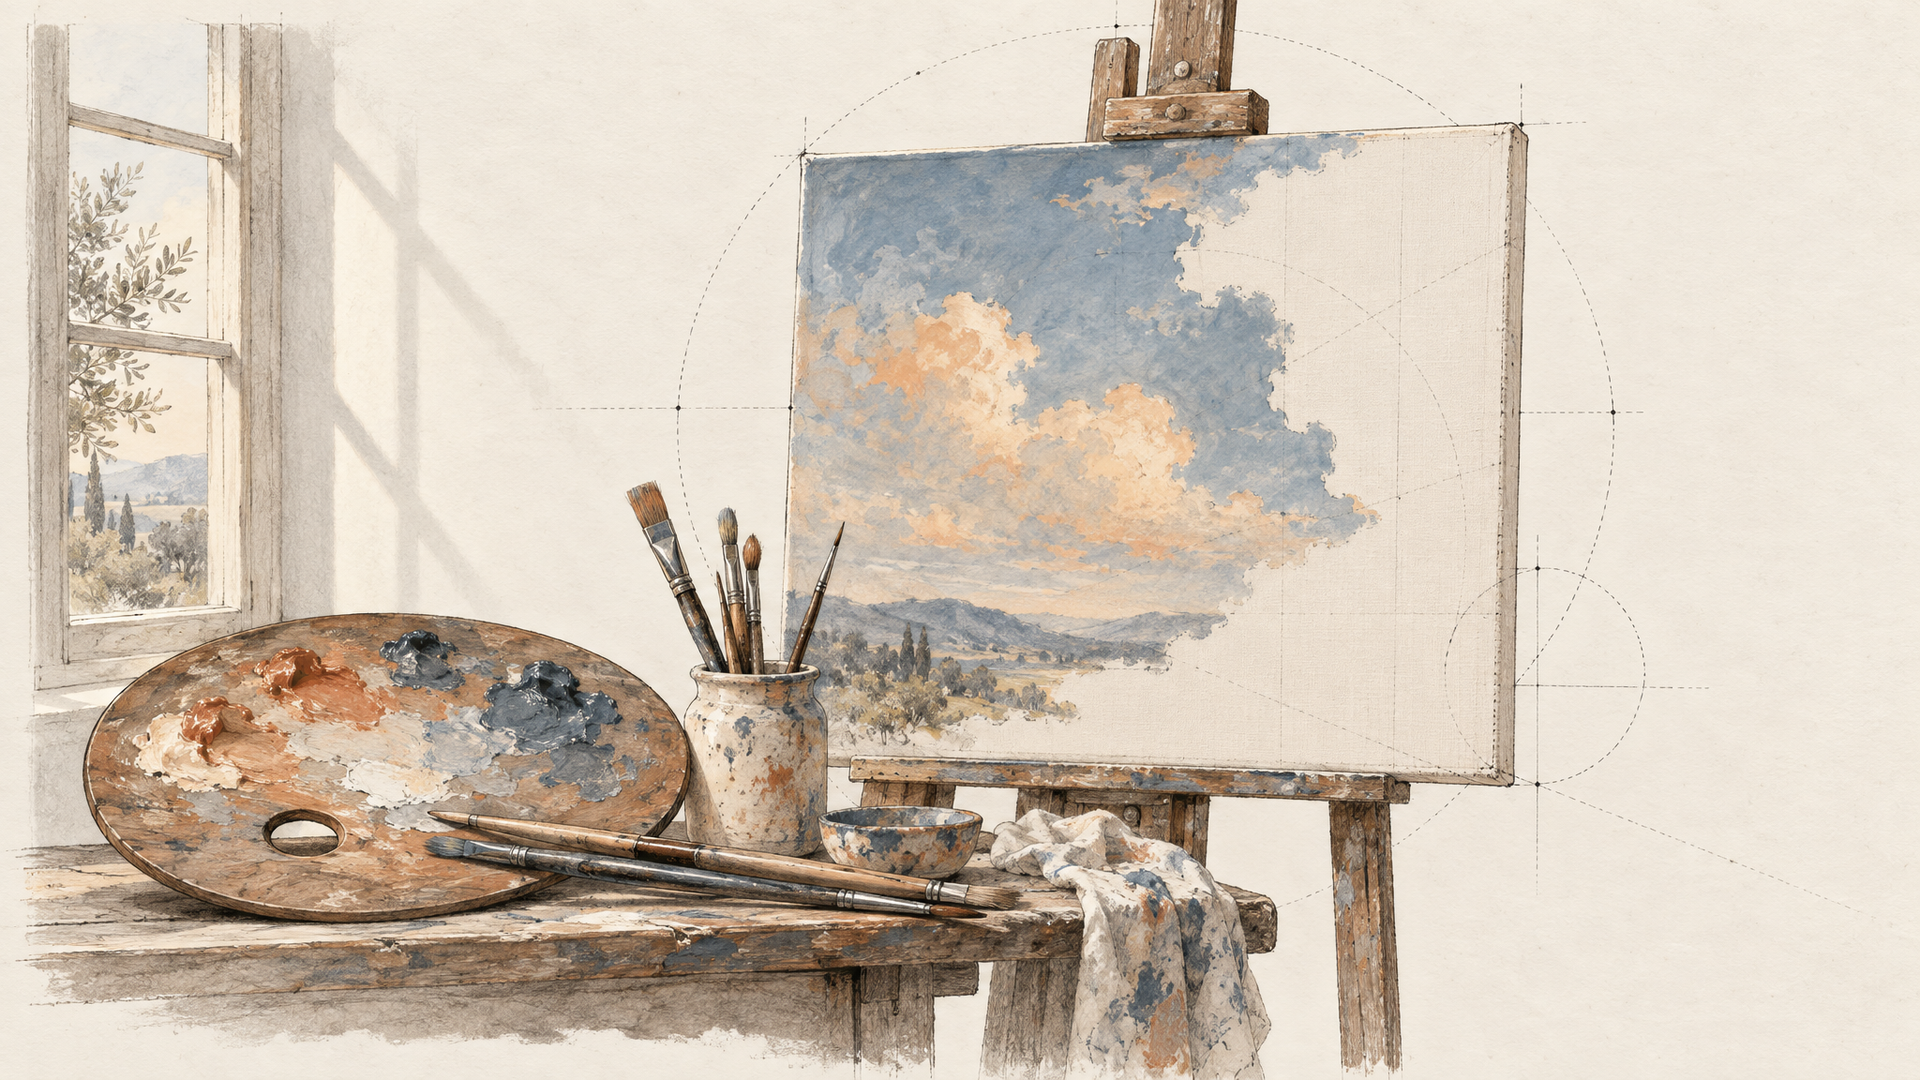
Step 3: Write the Fill Prompt, Not the Scene Prompt
This is where most reframes go wrong. People paste the original generation prompt into the reframe field, and the model reads it as an invitation to add a second hero, a second car, a second sunset. Stop describing the scene. The scene already exists. Describe only what lives in the margin.
A strong fill prompt does four things: names the content above or below (or left and right), ties it to what's already at the edge, locks the look to the existing footage, and forbids the stuff you don't want. Here are patterns that work across common shots.
For a 16:9 talking head going to 9:16:
Extend the office upward with a plain light gray wall and the edge of a ceiling light, and downward with the rest of the wooden desk and a closed laptop. Keep the same warm key light from the left and shallow depth of field. Do not add people, screens with text or plants that move.
For a landscape drone shot going to 9:16:
Continue the sky upward with high thin clouds fading to deeper blue at the top, and continue the valley downward with darker pine forest and the river curving toward the bottom edge. Keep the camera motion, haze and golden hour color exactly as in the source.
For a product shot on a tabletop going to 1:1:
Extend the seamless white studio sweep evenly on all sides, with the same soft shadow falling to the right of the bottle. No props, no text, no additional products, no reflections that weren't in the original.
Notice what these share. They talk about light, lens and grain as much as objects, because a mismatched grade gives an outpaint away first. And they end with exclusions, which do more work than they look like they should.
Step 4: Convert Horizontal Video to Vertical With PixVerse Video Expand
PixVerse Video Expand takes the opposite philosophy: no prompt at all. On each::labs you pass a video_url, pick an aspect_ratio from 16:9, 9:16, 21:9, 4:3, 3:4 or 1:1 (9:16 is the default), and choose quality at 720p or 1080p. The duration stays unchanged and the model decides what belongs in the new area.
{
  "video_url": "https://your-bucket.example/master_shot_04.mp4",
  "aspect_ratio": "1:1",
  "quality": "1080p"
}
That sounds like less control, and it is. It's also exactly right for a big batch of shots where the margins are obvious: sky above a skyline, floor below a dancer, more of the same studio backdrop. It also takes longer sources on each::labs, up to 30 seconds, so a full 20 second spot can go through in one pass rather than three segments.
PixVerse's own advice is sensible and worth following. Start with modest expansions, because a bigger jump means more invented content. Keep the subject centered in the source frame. Treat footage with text, logos or product UI conservatively. And if a seam or edge looks off, regenerate, since results vary between runs. If you're already producing on PixVerse V6, the approved master to production workflow pairs naturally with Expand as the final formatting step.
Step 5: Upscale and Polish Every Version
Your vertical cut came out of Luma at 720p or out of PixVerse at 1080p. Platforms want sharper, and your 16:9 master is probably sitting at a higher resolution than the new versions. Close that gap with an upscale pass rather than re-rendering.
P-Video-Upscale from Pruna is built for this: targets of 720p, 1080p, 2k or 4k, with the source aspect ratio and audio preserved, so your 9:16 stays 9:16. There's a turbo flag for faster processing when you're running a batch. Topaz Upscale Video works on a multiplier (2x by default) and lets you set a target frame rate, which is handy if your master was 24 fps and a platform cut needs 30. We compared both approaches in Best AI Upscalers in 2026 if you want the faithful versus creative tradeoff in detail.
Then watch every output on a phone before shipping. The seam should be invisible in motion, not just on a paused frame, and nothing invented should be absurd, like a lamp post growing out of a roof. If one shot fails, rerun only that shot.
Step 6: Chain the Whole Thing as a Flow
Doing this once is a task. Doing it for every campaign is a pipeline, and pipelines belong in each::labs AI Flows. Build it once: master segments in, branch into a Luma Ray 3.2 Reframe node for 9:16 and a second for 1:1 (each with its own fill prompt), feed both into P-Video-Upscale, collect the outputs. For batches where the margins are simple, swap the Luma nodes for PixVerse Video Expand and drop the prompt step entirely.
The master stays the single source of truth. Change the grade on the horizontal cut, rerun the flow, and every aspect ratio updates. Browse the other video-to-video models to add steps, like an extend pass when a platform wants a longer loop.
Luma or PixVerse: Choose Per Shot, Not Per Project
Use Luma Ray 3.2 Reframe when the new area needs direction. A vertical version where the bottom third must be clean floor for captions, or a beach that should continue into dunes and not into more sea. The prompt and placement fields are the reason to use it.
Use PixVerse Video Expand when the margins are self-evident and you have volume. Twenty product shots on the same backdrop, or a long take that runs past Luma's 10 second source window.
And use Tracked Reframe when outpainting is the wrong idea entirely, like a crowded concert shot where more of the scene would only distract. Three tools, three answers to the same request.
Frequently Asked Questions
How do I convert horizontal video to vertical with AI without losing the framing?
Outpaint instead of cropping. Both Luma Ray 3.2 Reframe and PixVerse Video Expand keep the source frame intact and generate new content around it, so your 16:9 composition becomes the middle band of a 9:16 frame and nothing gets cut.
What should I write in the prompt for Luma Ray 3.2 Reframe?
Only the margins. Describe what appears above and below (or left and right), match the lighting, lens and grain of the source, and list what not to add, such as extra people or readable text. Pasting the original scene prompt invites duplicates.
How long can my clip be for AI video outpainting on each::labs?
It depends on the model. Luma Ray 3.2 Reframe takes sources up to 10 seconds, so split longer edits at your cut points and reframe each segment. PixVerse Video Expand accepts up to 30 seconds and 50 MB in MP4, MOV or WebM, which covers most single spots in one pass.
Do I need to upscale after reframing?
Usually, yes, especially for vertical. Luma's docs recommend 720p or lower for 9:16 and 3:4 outputs, so a pass through P-Video-Upscale or Topaz Upscale Video brings the vertical version back in line with your master. P-Video-Upscale preserves the aspect ratio and audio, so the new format survives the pass untouched.