Image Upscaling API for Product Catalogs and Print
An image upscaling API for catalogs and print has one job: add resolution without inventing detail.
A bigger product image can still be the wrong product image.
Sharpness is an incomplete way to judge an AI upscaler. An output can look cleaner and reveal more texture while quietly changing stitching, label text, surface patterns, or fine geometry that describes the item being sold.
For a product catalog, fidelity comes before spectacle.
Direct answer
For product catalogs, choose an image upscaling API that favors source fidelity over maximum apparent detail. Use the smallest scale factor that reaches the required pixel dimensions, validate labels, texture, geometry, and color against the original, and handle print color management separately from the upscale itself.
You need enough pixels for the destination without changing the product along the way. That means choosing the right amount of creative latitude, using the smallest enlargement that meets the requirement, and checking the result before it replaces a production asset.
each::labs Image Upscaler gives you API access to image enlargement, but the model still matters. Different upscalers make different tradeoffs between preserving the input and reconstructing detail that was not clearly present in the source.
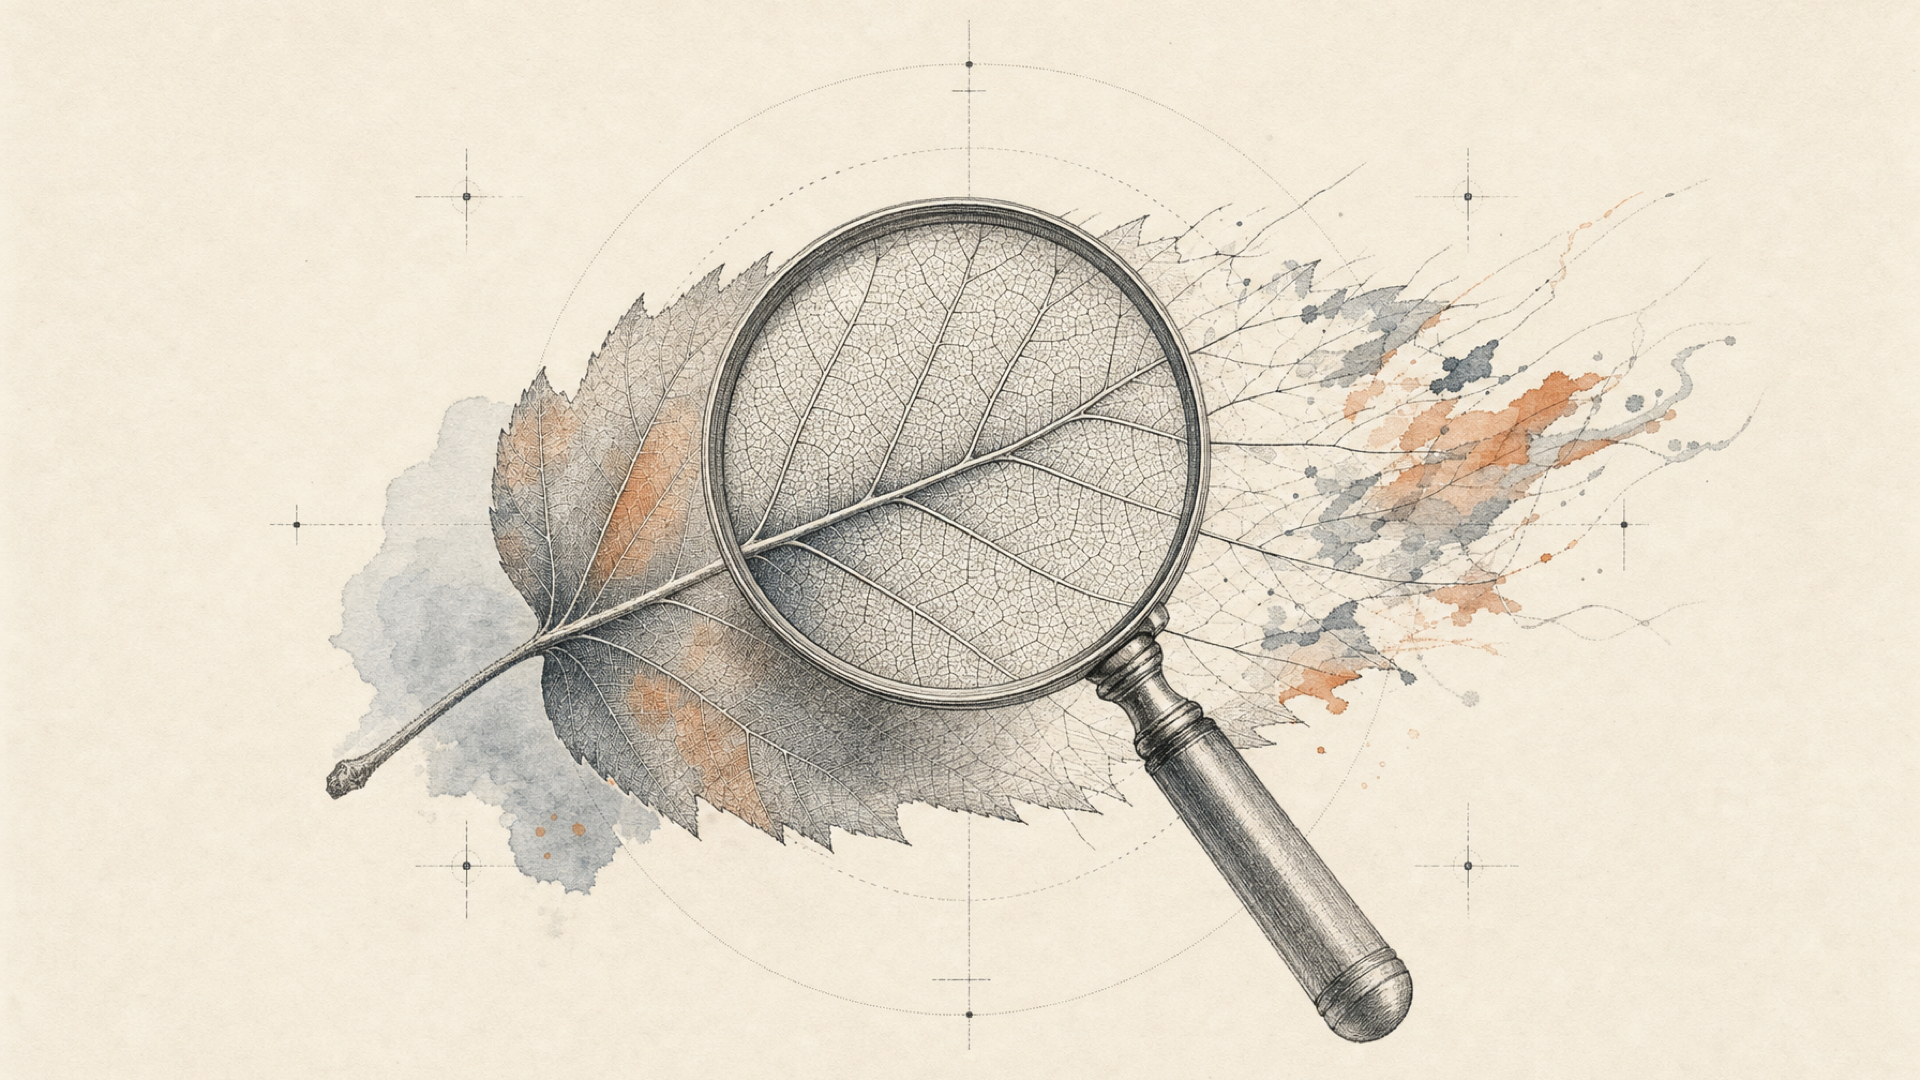
What an AI upscaler can recover — and what it has to guess
A low-resolution image contains less information than the high-resolution image you want to produce.
Some missing pixels are relatively easy to estimate. A clean edge, a gradual color transition, or a large geometric shape gives the model strong evidence about what belongs between the pixels it already has.
Fine detail is different.
Suppose a supplier sends you a small JPEG of a woven jacket. You can clearly see that the jacket is dark blue, but the individual threads are only a few pixels wide. Once that information has been lost through downsampling or compression, there is no single provably correct high-resolution weave hidden inside the file.
The upscaler has to estimate it.
That is why plausible detail and factual detail are not the same thing. A reconstructed fabric pattern can look perfectly believable and still differ from the real garment.
The same risk shows up in:
- embroidered logos;
- tiny packaging text;
- jewelry engravings;
- stitching;
- repeating surface patterns;
- small controls and ports;
- reflective edges;
- fine product geometry.
Generative reconstruction is not inherently bad. It is simply a different tradeoff, and the acceptable tradeoff depends on the job.
Preservation-first vs generative upscaling
A useful way to compare upscalers is by how much freedom they have to reinterpret the source.
| Upscaling behavior | Main objective | Good fit | Main risk |
|---|---|---|---|
| Preservation-first | Keep source structure and existing detail stable | Catalog images, packaging, logos, SKU photography | May produce less dramatic enhancement |
| Balanced reconstruction | Improve detail while keeping the image broadly faithful | General product photography | Fine textures or small features can drift |
| Higher creative latitude | Produce richer perceptual detail | Marketing derivatives, creative assets | Can invent texture, structure, or surface detail |
For catalog work, the safer default is usually toward the preservation side of that spectrum.
That does not mean choosing whichever output looks least processed. It means deciding what counts as a correct result before comparing models.
Canberk’s POV
I use the same rule for model selection more broadly: quality is not an intrinsic property of the model. It is conditional on the job. Teams often ask which model is best before they have defined what a good output means. For a catalog image, start with what must not change.
If that list includes the logo, texture, color, and product geometry, the most dramatic before-and-after result may be solving the wrong problem.
Choose the model by how much interpretation the product can tolerate
There is no useful universal answer to “which upscaler has the best quality?”
A better question is:
What kind of mistake can this image afford?
A lifestyle image used in a campaign may tolerate reconstructed foliage, background texture, or atmospheric detail. A straight-on photograph of a packaged product cannot be treated the same way. Its label, dimensions, logo, and physical form need to stay dependable.
For preservation-sensitive jobs, Eachlabs Image Upscaler Pro v1 is positioned as a finishing step for enlarging existing images while preserving sharpness and detail. Its visible request surface is small: provide an image URL, choose an upscale factor, and choose an output format.
Other approaches expose more creative control. That can be useful when you want the model to rebuild missing texture more aggressively. It also raises the amount of verification required before the result can stand in for a real SKU.
A practical way to choose is:
| Requirement | Bias the model choice toward |
|---|---|
| Exact SKU representation | Lower creative latitude |
| Packaging or labels | Preservation plus manual or automated text QA |
| Fine geometry | Preservation plus close inspection |
| Moderately soft product photography | Balanced reconstruction |
| Severely degraded input | Stronger reconstruction, but higher verification burden |
| Decorative marketing derivative | More perceptual enhancement may be acceptable |
Creative reconstruction is not low quality. In the right context, it may be the more useful result.
The problem starts when a catalog pipeline rewards visual richness without measuring whether the product changed.
Test the product, not the demo image
One polished before-and-after example tells you very little about production behavior.
A demo distribution is clean. A production catalog is not.
Canberk’s POV
One lesson I carried from earlier computer-vision products into generative media is that a model working on curated inputs does not mean the product works on real ones. The input distribution moves first: lighting, compression, camera quality, materials, backgrounds, and previous editing steps all arrive together.
Catalog data has the same problem.
A real image set may contain professionally shot hero images beside old supplier JPEGs, screenshots, inconsistent exports, and files that have already been recompressed several times. Materials behave differently too. A model that handles matte packaging well may struggle with fine fabric, glossy metal, or dense typography.
Before processing the full catalog, build a small test set from the images you actually expect to see in production.
Include the awkward cases.
For apparel, that might mean herringbone, embroidery, small logos, and dark fabrics with low local contrast. For jewelry, use chains, prongs, engraving, and highly reflective metal. For packaged goods, include small typography, barcodes, icons, and repeating graphic elements.
Then inspect for product-level failure rather than asking whether the output simply “looks better.”
| Check | What can go wrong |
|---|---|
| Text and labels | Characters become malformed, merged, or replaced |
| Logos | Curves, spacing, or edge shapes change |
| Texture | New patterns appear or real patterns repeat incorrectly |
| Geometry | Thin structures bend, disappear, or become thicker |
| Edges | Halos or ringing appear around the object |
| Surface | Material becomes over-smoothed or artificially textured |
| Color | Hue or saturation shifts enough to change product appearance |
| Compression | Existing blocks, ringing, or noise become more visible |
Keep the original asset. Treat the upscale as a derivative until it passes whatever checks your catalog requires.
When to stop upscaling and get a better source
AI cannot verify information that the source image never recorded.
If a tiny logo is unreadable in the original, an upscaler may generate something that resembles a clean logo. That does not make the reconstructed shape authoritative.
The same applies to ingredient text, engravings, stitching patterns, or small functional details.
Use upscaling when the source contains the information you need but lacks enough pixels. Get a better source image when the missing information itself has to be correct.
Sometimes another model call is the wrong fix. Use the higher-resolution master or reshoot the product.
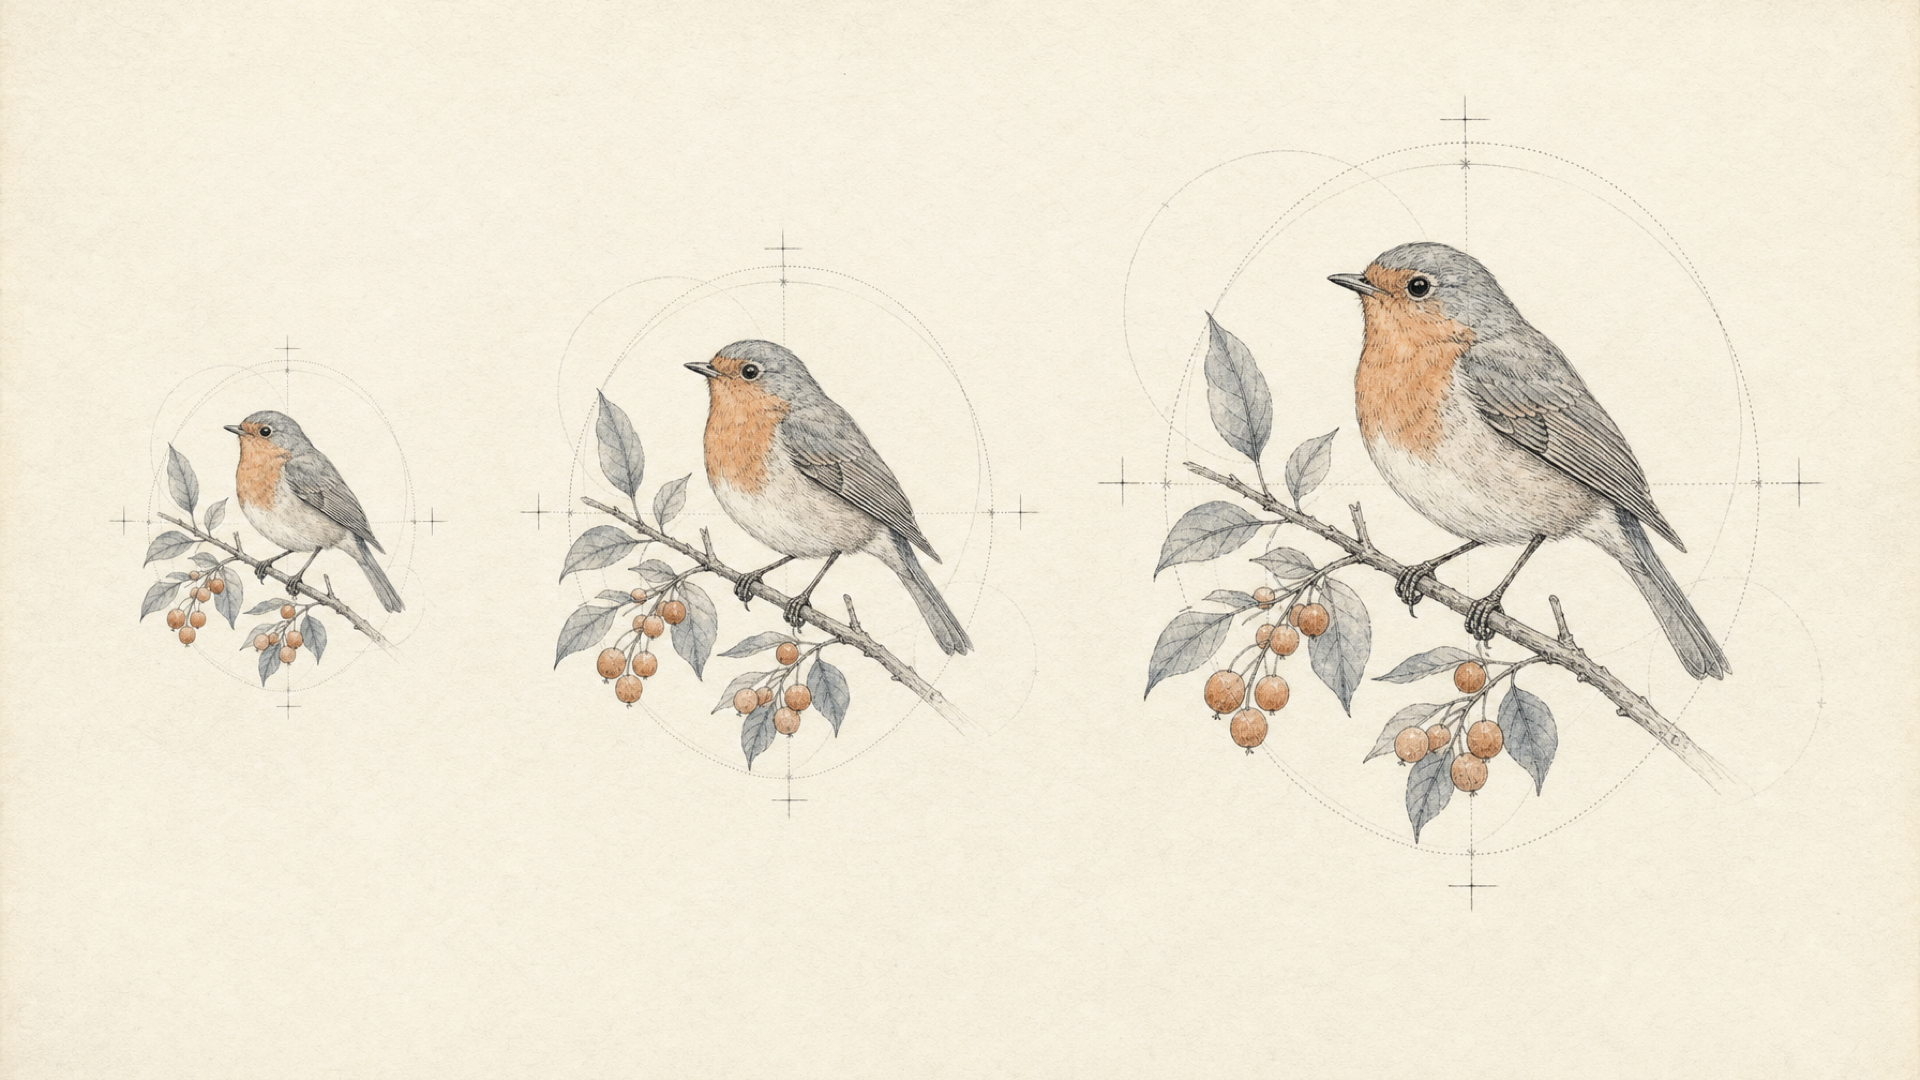
2× or 4×? Use the smallest enlargement that reaches the target
Maximum upscale factor is easy to compare and usually the wrong place to start.
Start with the output you actually need.
required output size
        ↓
compare with source dimensions
        ↓
choose the minimum useful scale factor
        ↓
inspect the result
        ↓
upscale further only if the target still requires it
Suppose your source image is 1200 × 1500 pixels and the target is 2400 × 3000.
A 2× upscale gets you there.
A 4× upscale would produce 4800 × 6000 pixels. Those additional pixels might be useful for another destination, but they do not make the 2400 × 3000 requirement more correct. You are asking the model to construct a larger high-resolution interpretation than the job requires.
Larger enlargement factors also deserve more scrutiny because more fine information has to be reconstructed between the original pixels.
So use the smallest enlargement that reaches the actual target.
Do not choose 4× because 4× sounds better than 2×.

For print, calculate pixels before you upscale
“4K” and “300 DPI” are often used as shorthand for print quality. Neither tells you whether an image is large enough for a specific print job.
Start with physical size.
required pixel width  = print width in inches × target PPI
required pixel height = print height in inches × target PPI
At a 300 PPI planning target:
| Print size | Required pixel dimensions |
|---|---|
| 4 × 6 in | 1200 × 1800 px |
| 5 × 7 in | 1500 × 2100 px |
| 8 × 10 in | 2400 × 3000 px |
| 8.5 × 11 in | 2550 × 3300 px |
| 11 × 17 in | 3300 × 5100 px |
Now the upscale factor has a reason to exist.
If the source for an 8 × 10 inch layout is 1200 × 1500 pixels, a 2× upscale gives you 2400 × 3000 pixels. That reaches 300 PPI at the intended physical size.
A 4× upscale would not make the print “more 300 PPI.” It would just give you more pixels than that layout needs.
If you are deciding between generating a larger image natively and enlarging an existing one, our guide to 4K image generation covers that separate decision.
PPI is not DPI
These terms are often treated as synonyms. They are not.
PPI — pixels per inch — describes how image pixels map to physical print dimensions.
DPI — dots per inch — describes characteristics of the output device.
When the question is whether an image contains enough resolution for a particular physical size, PPI is the useful image-side measurement.
Changing a metadata field from 72 to 300 does not create image information. If the pixel dimensions stay the same, you still have the same number of pixels.
Is 300 PPI always required?
No.
Around 300 PPI is a useful planning target for high-quality print viewed relatively closely, but it is not a universal pass/fail threshold.
The appropriate effective resolution depends on the print process, output size, viewing distance, and requirements of the printer or prepress provider. Large-format work viewed from farther away can have different requirements from a catalog page held in someone's hand.
Use the printer's specification when one exists.
The calculation is there to work backwards from a real requirement, not to enforce 300 PPI everywhere.

Upscaling does not handle your print color workflow
More pixels do not make an image fully prepared for press.
Upscaling and print color management are separate operations.
AI UPSCALING
reconstructs / adds pixels
        ↓
COLOR MANAGEMENT
maps those pixels to an output condition
An upscaler does not know which press, printer, ink, substrate, or paper the final image will use.
That is why “convert every print image to CMYK” is too broad to be useful.
Some print workflows expect an RGB source and perform the conversion downstream. Others require files prepared for a particular CMYK output condition. The correct choice comes from the printer or prepress specification, not from the fact that AI upscaling was involved.
The same applies to ICC profiles.
There is no universal ICC profile called “print.” A profile corresponds to a particular output condition.
The current upscaler request does not expose an ICC-profile or RGB/CMYK conversion control, so do not treat the upscale call as the prepress step. Check the resulting asset and handle any required profile assignment, proofing, or color conversion downstream according to the delivery specification.
For a catalog pipeline, the division of responsibility is simple:
Let the upscaler solve resolution. Let the print workflow solve output color.
Image upscaling API example
The basic each::api flow is asynchronous:
input image
    ↓
POST prediction
    ↓
prediction ID
    ↓
processing
    ↓
GET prediction status
    ↓
output reference
Here is a current request for Eachlabs Image Upscaler Pro v1:
curl --request POST \
  --url https://api.eachlabs.ai/v1/prediction \
  --header "Authorization: Bearer $EACHLABS_API_KEY" \
  --header "Content-Type: application/json" \
  --data '{
    "model": "eachlabs-image-upscaler-pro-v1",
    "input": {
      "image_url": "$IMAGE_URL",
      "upscale_factor": 2,
      "output_format": "PNG"
    }
  }'
A successful create request returns a prediction identifier. Store it alongside your internal asset or SKU identifier.
Then retrieve the job state:
curl --request GET \
  --url "https://api.eachlabs.ai/v1/prediction/$prediction_id" \
  --header "Authorization: Bearer $EACHLABS_API_KEY"
For a simple polling integration, check roughly every two seconds until the prediction reaches a terminal state. When it succeeds, treat the returned output reference as a candidate derivative.
Not as the new master.
The image still has to pass your catalog's fidelity checks.
For a production catalog pipeline, you can provide a webhook when creating the prediction instead of keeping a worker in a polling loop. If you use webhook signing, verify its HMAC signature before accepting the result.
Batch catalog processing needs a QA loop, not just parallel requests
One image is straightforward. A catalog adds state.
You need to know which source produced which derivative, what happened to the API request, and whether the resulting image actually passed product QA.
A simple pipeline looks like this:
original asset
      ↓
SKU / asset ID
      ↓
upscale job
      ↓
output validation
      ↓
approved derivative
      ↓
catalog or print pipeline
Keep the original immutable, or at least recoverable.
Associate every generation with the product and source asset that produced it. When a result returns, separate the infrastructure outcome from the image-quality outcome.
- API success: the system returned a usable prediction result.
- Catalog success: the image still represents the product correctly.
They are not the same boolean.
A technically successful upscale can still fail because a logo changed or a texture drifted.
Canberk’s POV
Retries deserve the same care. A generation request is nondeterministic, so retrying it is not equivalent to retrying an idempotent read. Another generation can produce another artifact, and it can incur another inference cost.
Retry transient infrastructure failures deliberately. Do not use retries as a substitute for fidelity QA.
For larger catalog jobs, each::workflows supports bulk execution. The current bulk-trigger endpoint accepts between 1 and 10 inputs per request, giving you a bounded unit for catalog processing without pretending the model itself accepts one huge array of SKUs.
The broader catalog pipeline—including background normalization and other enhancement stages—is covered in our product image enhancement API guide.
The upscale step only needs to answer one question:
Did we get the resolution we needed without changing the product?
FAQ
Can AI image upscaling change a product?
Yes. An upscaler can reconstruct fine textures, edges, text, or geometry differently from the source, especially when the original does not contain enough information to determine those details clearly. A visually convincing result is not automatically a faithful product image.
Is 4× upscaling better than 2×?
Not automatically. Choose the smallest factor that reaches your required output dimensions. If 2× already satisfies the delivery requirement, 4× creates additional pixels without necessarily improving product fidelity.
Can AI recover text that is unreadable in the original?
It may create clean text-like detail, but you should not treat information missing from the source as verified. If label text, engravings, or other factual details need to be correct, obtain a source image that actually resolves them.
Does an upscaled image automatically become print-ready?
No. Upscaling can provide the required pixel dimensions, but print readiness also depends on physical size, effective PPI, and the downstream color-management or prepress requirements of the actual output process.
Should I use RGB or CMYK after upscaling?
Follow the specification of the printer or prepress workflow. Some pipelines expect RGB input and convert later; others require preparation for a specific CMYK condition. Upscaling itself does not determine the correct color space.
Which ICC profile should I use for an upscaled image?
There is no universal print ICC profile. Use the profile associated with the actual output condition or the specification supplied by the print provider.
About the author
Canberk Sinangil — Co-founder & CTO, each::labs
I’m the Co-Founder and CTO of each::labs, where I focus on building the infrastructure and tooling that help developers bring AI models into production. My background spans computer vision, augmented reality, machine learning, and software engineering, including building AR and visual AI products before moving deeper into generative AI. I’m particularly interested in the engineering challenges behind making powerful AI models fast, scalable, and practical for real-world products.