How to Build a Text-to-Image-to-Video Workflow Definition
How to chain image and video models in one workflow definition, with outputs passed safely between steps.
Calling a video model is the easy part. The work starts when the first output has to survive contact with the next model.
Say a user asks for a five-second product shot. You generate the still first so they can approve the composition. That image has to become the video model’s starting frame. The clip comes back at a resolution you do not want to ship, so you upscale it. Then a voice track has to be generated and merged. If the shot is too short, the last frame has to become the starting state for another generation.
At that point you are no longer integrating “an AI video model.” You are running a media pipeline.
each::workflows is built for that layer: define the steps once, pass outputs into downstream inputs, and run the chain as one execution instead of rebuilding the glue in application code.
If you only remember five things
- Use text-to-video when the first frame does not need to be approved.
- Use text → image → video when composition, identity, or art direction should be fixed before motion.
- Pass media between workflow steps with references such as
{{generate_image.primary}}. - Do expensive post-processing after you know which generation you are keeping.
- Longer video is usually a continuation problem: accepted clip → last frame → next clip.
When text → image → video is actually worth the extra step
A text-to-image-to-video workflow separates two decisions: what the shot looks like, and how it moves. That split is useful when the visual state matters enough to inspect before animation. A product should have the right shape. A character should look right. The framing may need approval. If those things are wrong, it is cheaper to catch them before another generation begins.
But there is no prize for adding more nodes.
| If the job looks like this… | Start here |
|---|---|
| You need a quick exploratory clip | Text-to-video |
| The starting composition needs approval | Text → image → video |
| You already have a product or character image | Image-to-video |
| You need several connected clips | Image-to-video + continuation |
| You need something ready to publish | Generate → select → upscale → audio → merge |
Canberk Sinangil’s rule
“Don’t turn one generation into a maze of nodes because the diagram looks sophisticated.”
Every model call has to buy you something. Here, the image stage earns its place when it gives the user a state worth approving before video generation. If direct text-to-video already does the job, call it directly.
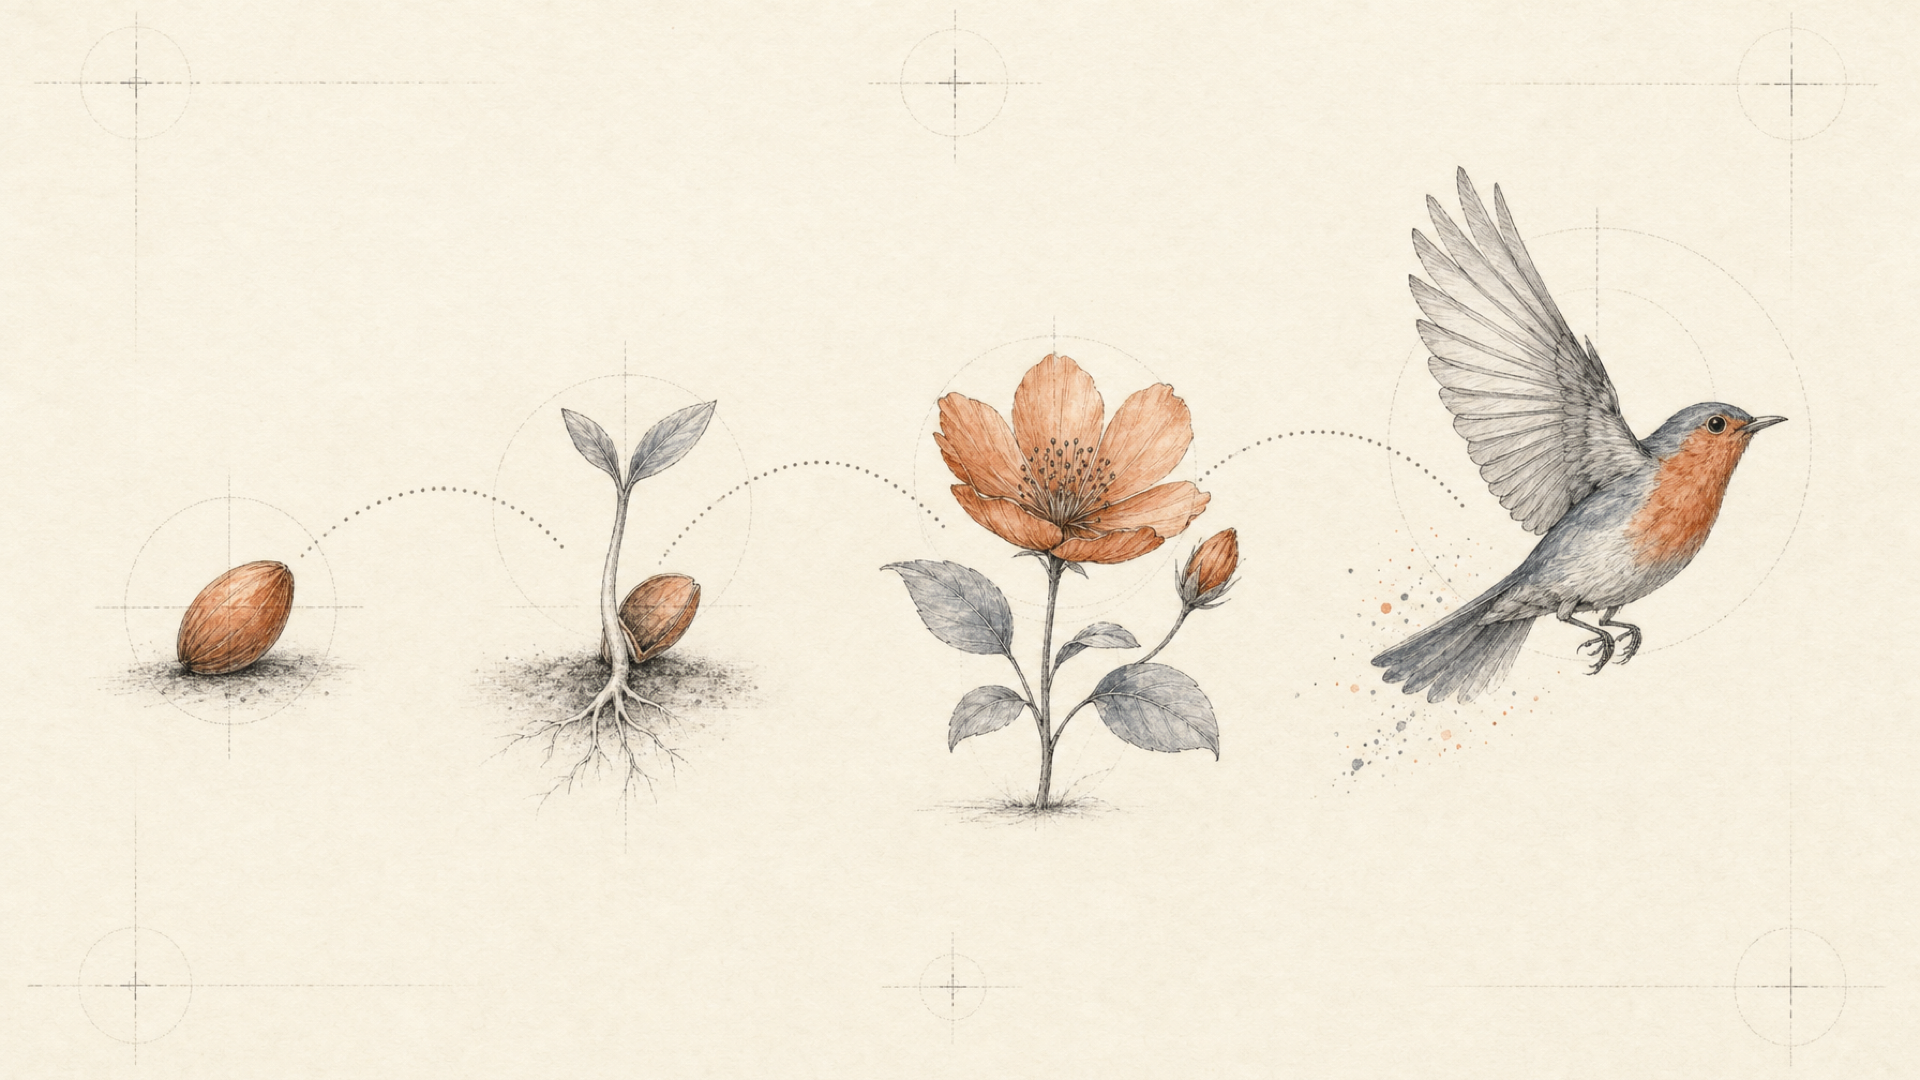
The pipeline
Prompt
  ↓
Generate image
  ↓ {{generate_image.primary}}
Generate video
  ↓ {{generate_video.primary}}
Upscale video
  ↓ {{upscale_video.primary}}
Generate voiceover
  ↓ {{generate_audio.primary}}
Merge video + audio
  ↓
Finished video
Some of those steps are generative. Some are not. That distinction matters less than whether the handoff is explicit. Workflow Structure supports model, HTTP, Python, parallel, conditional, and pass-through steps, so a workflow can mix inference with ordinary media processing without pushing the orchestration back into your app.
The handoff is the part that matters
The most useful line in this whole article is not a prompt. It is this:
"start_image_url": "{{generate_image.primary}}"{{generate_image.primary}} points to the primary media asset produced by the image step. When that step finishes, each::workflows resolves the reference and supplies the generated image URL to the next model.
generate_image
      │
      └── primary → generated image URL
                         │
                         ▼
              generate_video.start_image_url
Without a workflow layer, your backend has to wait for the image job, read its response, persist or retrieve the URL, create a second job, pass the URL into the video request, and keep both states tied to the same user action. With parameter references, the relationship sits in the workflow definition instead.
Build the pipeline, one boundary at a time
Generate the anchor image
We will use FLUX 1.1 Pro for the first frame. Its current each::labs model card documents prompt and aspect_ratio inputs, so the step can stay small:
{
  "step_id": "generate_image",
  "type": "model",
  "model": "flux-1-1-pro",
  "params": {
    "prompt": "{{inputs.prompt}}",
    "aspect_ratio": "16:9"
  }
}
The image is not there to make the diagram longer. It gives us a concrete visual state that can be accepted, rejected, reused, or passed forward.
Animate that image with an explicit motion prompt
For video, we will use Kling V3 Pro Image-to-Video. Its current input schema separates the starting image from the text instruction, which is exactly what this workflow needs.
{
  "step_id": "generate_video",
  "type": "model",
  "model": "kling-v3-pro-image-to-video",
  "params": {
    "prompt": "{{inputs.motion_prompt}}",
    "start_image_url": "{{generate_image.primary}}",
    "duration": "5",
    "generate_audio": false,
    "aspect_ratio": "16:9"
  }
}
The image already carries the composition; motion_prompt can concentrate on camera movement, subject motion, and the behavior you want over time.
If the car is the wrong color, regenerate the image. If the car looks right but the camera move is wrong, regenerate the video. Keeping those failures separate makes the pipeline easier to reason about.
Upscale the clip you decided to keep
Do not automatically upscale every candidate. First decide which motion is usable.
The current Topaz Upscale Video model card uses video_url and upscale_factor:
{
  "step_id": "upscale_video",
  "type": "model",
  "model": "topaz-upscale-video",
  "params": {
    "video_url": "{{generate_video.primary}}",
    "upscale_factor": 2
  }
}
This is a good example of why workflow code should follow the current model schema, not an old snippet copied into application code months ago. The workflow idea is stable; model input contracts can change.
Canberk Sinangil’s rule
“Nobody writes a launch post about audio normalisation. Nothing ships without it.”
Generation gets the attention. The less glamorous steps—upscaling, trimming, subtitles, audio handling, encoding—are often what turn a model output into something a user can publish. They belong in the architecture too.
Generate the voice track, then merge it deterministically
For a simple voiceover, Google Text to Speech currently accepts mode, text, and voice:
{
  "step_id": "generate_audio",
  "type": "model",
  "model": "google-text-to-speech",
  "params": {
    "mode": "single",
    "text": "{{inputs.voiceover}}",
    "voice": "Despina"
  }
}
The merge itself should not be another creative model call. each::labs exposes a deterministic FFmpeg Audio-Video Merge endpoint with video_url and audio_url inputs:
{
  "step_id": "merge_audio_video",
  "type": "model",
  "model": "ffmpeg-api-merge-audio-video",
  "params": {
    "video_url": "{{upscale_video.primary}}",
    "audio_url": "{{generate_audio.primary}}"
  }
}
If your video model already generates the audio you actually want, remove this branch. The point is not to force text-to-speech into every video workflow. It is to keep the finished deliverable, rather than the last model response, as the unit you design around.
The complete workflow definition
{
  "name": "Text to Image to Video",
  "description": "Generate an image, animate it, upscale the accepted clip, add voiceover, and merge the final asset.",
  "categories": ["video-generation"],
  "definition": {
    "version": "v1",
    "input_schema": {
      "type": "object",
      "required": ["prompt", "motion_prompt", "voiceover"],
      "properties": {
        "prompt": {"type": "string", "description": "Visual description for the first frame"},
        "motion_prompt": {"type": "string", "description": "Motion and camera direction for the video"},
        "voiceover": {"type": "string", "description": "Narration for the final clip"}
      }
    },
    "steps": [
      {
        "step_id": "generate_image",
        "type": "model",
        "model": "flux-1-1-pro",
        "params": {"prompt": "{{inputs.prompt}}", "aspect_ratio": "16:9"}
      },
      {
        "step_id": "generate_video",
        "type": "model",
        "model": "kling-v3-pro-image-to-video",
        "params": {
          "prompt": "{{inputs.motion_prompt}}",
          "start_image_url": "{{generate_image.primary}}",
          "duration": "5",
          "generate_audio": false,
          "aspect_ratio": "16:9"
        }
      },
      {
        "step_id": "upscale_video",
        "type": "model",
        "model": "topaz-upscale-video",
        "params": {"video_url": "{{generate_video.primary}}", "upscale_factor": 2}
      },
      {
        "step_id": "generate_audio",
        "type": "model",
        "model": "google-text-to-speech",
        "params": {"mode": "single", "text": "{{inputs.voiceover}}", "voice": "Despina"}
      },
      {
        "step_id": "merge_audio_video",
        "type": "model",
        "model": "ffmpeg-api-merge-audio-video",
        "params": {"video_url": "{{upscale_video.primary}}", "audio_url": "{{generate_audio.primary}}"}
      }
    ]
  }
}
Before you ship this: check the current model cards for the models you choose and pin a workflow version you have tested end to end. Model slugs and input schemas change faster than the orchestration pattern.
Trigger the whole job once
The current workflow quickstart uses https://api.eachlabs.ai with Bearer authentication. Once the workflow exists, the application sends the user inputs in a single trigger request:
curl -X POST \
  https://api.eachlabs.ai/v1/workflows/trigger/YOUR_WORKFLOW_ID/v1 \
  -H "Content-Type: application/json" \
  -H "Authorization: Bearer YOUR_API_KEY" \
  -d '{
    "inputs": {
      "prompt": "A red sports car parked on a wet Tokyo street at night, cinematic reflections",
      "motion_prompt": "Slow dolly forward. Rain crosses the headlights. Keep the car centered and the camera movement steady.",
      "voiceover": "Built for the city after dark."
    }
  }'
The response gives you an execution ID for the entire chain. From there, fetch the execution state or use workflow webhooks and let your backend react when the job finishes.
User-supplied media fits into the same pattern. Upload it through each::storage, then pass the returned public URL into the workflow rather than teaching every downstream service how to handle uploads.
Longer video: carry the last frame forward
Most video generators produce bounded clips. A longer sequence is therefore less about finding one giant generation call and more about preserving enough state between calls.
clip_1
  ↓
extract last frame
  ↓
clip_2 starts from that frame
  ↓
extract last frame
  ↓
clip_3
The Extract Frame endpoint accepts a video_url and a frame_type. For this use case, set frame_type to last:
{
  "step_id": "extract_last_frame",
  "type": "model",
  "model": "extract-frame",
  "params": {
    "video_url": "{{generate_video.primary}}",
    "frame_type": "last"
  }
}
That frame can become the next generation’s start_image_url.
There is a limitation worth being explicit about. A still frame carries appearance, composition, and pose; it does not carry camera velocity, acceleration, action timing, or intent. If clip one ends during a fast pan, the last frame alone cannot tell clip two how that pan was moving. Carry the motion direction in the next prompt as well, and use calmer handoff frames when continuity matters.
Character state, seam repair, and multi-shot continuity go deeper than that. They are better treated as a separate guide rather than turning this one into a general filmmaking article.
The model contract shapes the workflow
Before you put a model into a production path, check the constraints its neighbors will have to live with. A few matter again and again:
| Constraint | Why you care |
|---|---|
| Maximum clip duration | Tells you whether continuation or stitching is part of the design. |
| Accepted image formats | May force a conversion step before image-to-video. |
| Start/end-frame support | Changes how much continuity control you have. |
| Native audio support | May remove—or complicate—the separate audio branch. |
| Output resolution | Determines whether upscaling is still necessary. |
| Parameter semantics | The same-looking field can mean different things across models. |
That last row is easy to underestimate. A unified schema helps with syntax; it does not make two generative models behave the same. Check the current model catalog when you change a model or workflow version.
Once it works, make failure boring
Retries, fallbacks, versioning, and webhooks matter, but they do not need four separate architectures.
Retry infrastructure failures. A timeout or temporary provider failure may deserve another attempt. A bad creative output is different. If the starting image is wrong, rerunning the video step wastes money on an input you already know is bad. each::workflows exposes retry controls in the workflow definition.
Do not confuse “available” with “equivalent.” Fallback configuration can move a step to another model when the primary fails. That can improve availability and still hurt the product if the fallback handles identity, motion, or prompts differently. Test the fallback on the same workload you care about.
Version changes you intend to make. Models and prompts move underneath applications. A workflow version gives you something stable to observe and something concrete to roll back to.
When not to use a workflow
If the feature is one model call, with no post-processing, no branching, no fallback, and no execution state to carry forward, call the model directly through each::api.
Canberk Sinangil’s rule
“If all we add is another network hop, you shouldn’t use us.”
An orchestration layer earns its place when it removes coordination your application would otherwise own. One output feeding another is the clearest signal. Retries, post-processing, fallbacks, and long-running execution state are others.
FAQ
What is a text-to-image-to-video workflow?
It is a pipeline where text produces a still image, that image becomes the starting input for a video model, and later steps can upscale, add audio, merge, or otherwise prepare the clip for delivery.
Why generate an image before video?
Do it when you need to inspect the first frame before animation. If composition and identity do not need that checkpoint, direct text-to-video may be simpler.
How do you pass one model’s output into another?
each::workflows lets a later step reference an earlier output with syntax such as {{step_id.primary}}. The engine resolves that reference after the upstream step completes.
Can the whole pipeline run from one API request?
Yes. Once the workflow is defined, one trigger request starts the chain and returns an execution ID for the job.
How do you make an AI video longer than one model call?
Extract the final frame from an accepted clip, use it as the next clip’s starting image, and carry the motion direction forward in the next prompt. The frame preserves visual state, not full temporal state.
Should every generated video be upscaled?
No. If a clip may be rejected, upscale after selection. Otherwise you are spending post-processing time and money on outputs that never ship.
About the author
Canberk Sinangil
Co-founder & CTO
I’m the Co-Founder and CTO of each::labs, where I focus on building the infrastructure and tooling that help developers bring AI models into production. My background spans computer vision, augmented reality, machine learning, and software engineering, including building AR and visual AI products before moving deeper into generative AI. I’m particularly interested in the engineering challenges behind making powerful AI models fast, scalable, and practical for real-world products.