Veo 3.1 First and Last Frame: Decide How a Shot Ends
Image to video tells the model where to start. Veo 3.1 first and last frame tells it where to land. Here's how to build both frames and the prompt in between.
Image to video is a starting gun. You hand the model a frame, describe some motion, and hope the last second lands somewhere usable. Sometimes it does. Often the clip wanders off: the product ends half out of frame, the character turns the wrong way, the sunset never quite arrives. You can't cut a sequence together from clips that end wherever they feel like.
Veo 3.1 first and last frame fixes the ending. You give Google's model the opening image and the closing image, write what happens between them, and it generates the motion that connects the two, with sound. Google's own docs call it interpolation and frame it as precise control over a shot's composition, since you define both the start and the finish. It's the closest thing AI video has to a storyboard you can actually enforce.
This guide walks through the full build: making the two frames, writing the prompt for the middle, and picking the right settings on each::labs.
What Veo 3.1 First and Last Frame Actually Does
In the Gemini API docs for Veo, Google describes the feature plainly: Veo 3.1 can create videos "using interpolation, or specifying the first and last frames of the video." It's a Veo 3.1 feature only. You pass a starting image, a final image, and a prompt, and the model fills the gap.
On each::labs there are three versions of it. Veo 3.1 First Last Frame to Video is the full model. Veo 3.1 Fast First Last Frame trades some fidelity for quicker turnarounds, which is what you want while you're still testing whether two frames can be bridged at all. Veo 3.1 Lite First Last Frame is the lightweight option for volume work. All three take the same three ingredients: first frame, last frame, prompt.
The settings are short. Clips run 4, 6 or 8 seconds. Resolution is 720p by default, with 1080p and 4K on the full and Fast versions, and both of those higher resolutions need the 8-second length. Lite tops out at 1080p. Frames go in as JPEG or PNG, and the aspect ratio is 16:9 or 9:16. Audio is on by default: Veo 3.1 generates synchronized dialogue, effects and ambience natively, and you can switch it off on each::labs if you plan to score the clip yourself.
Step 1: Design the Pair, Not Two Pictures
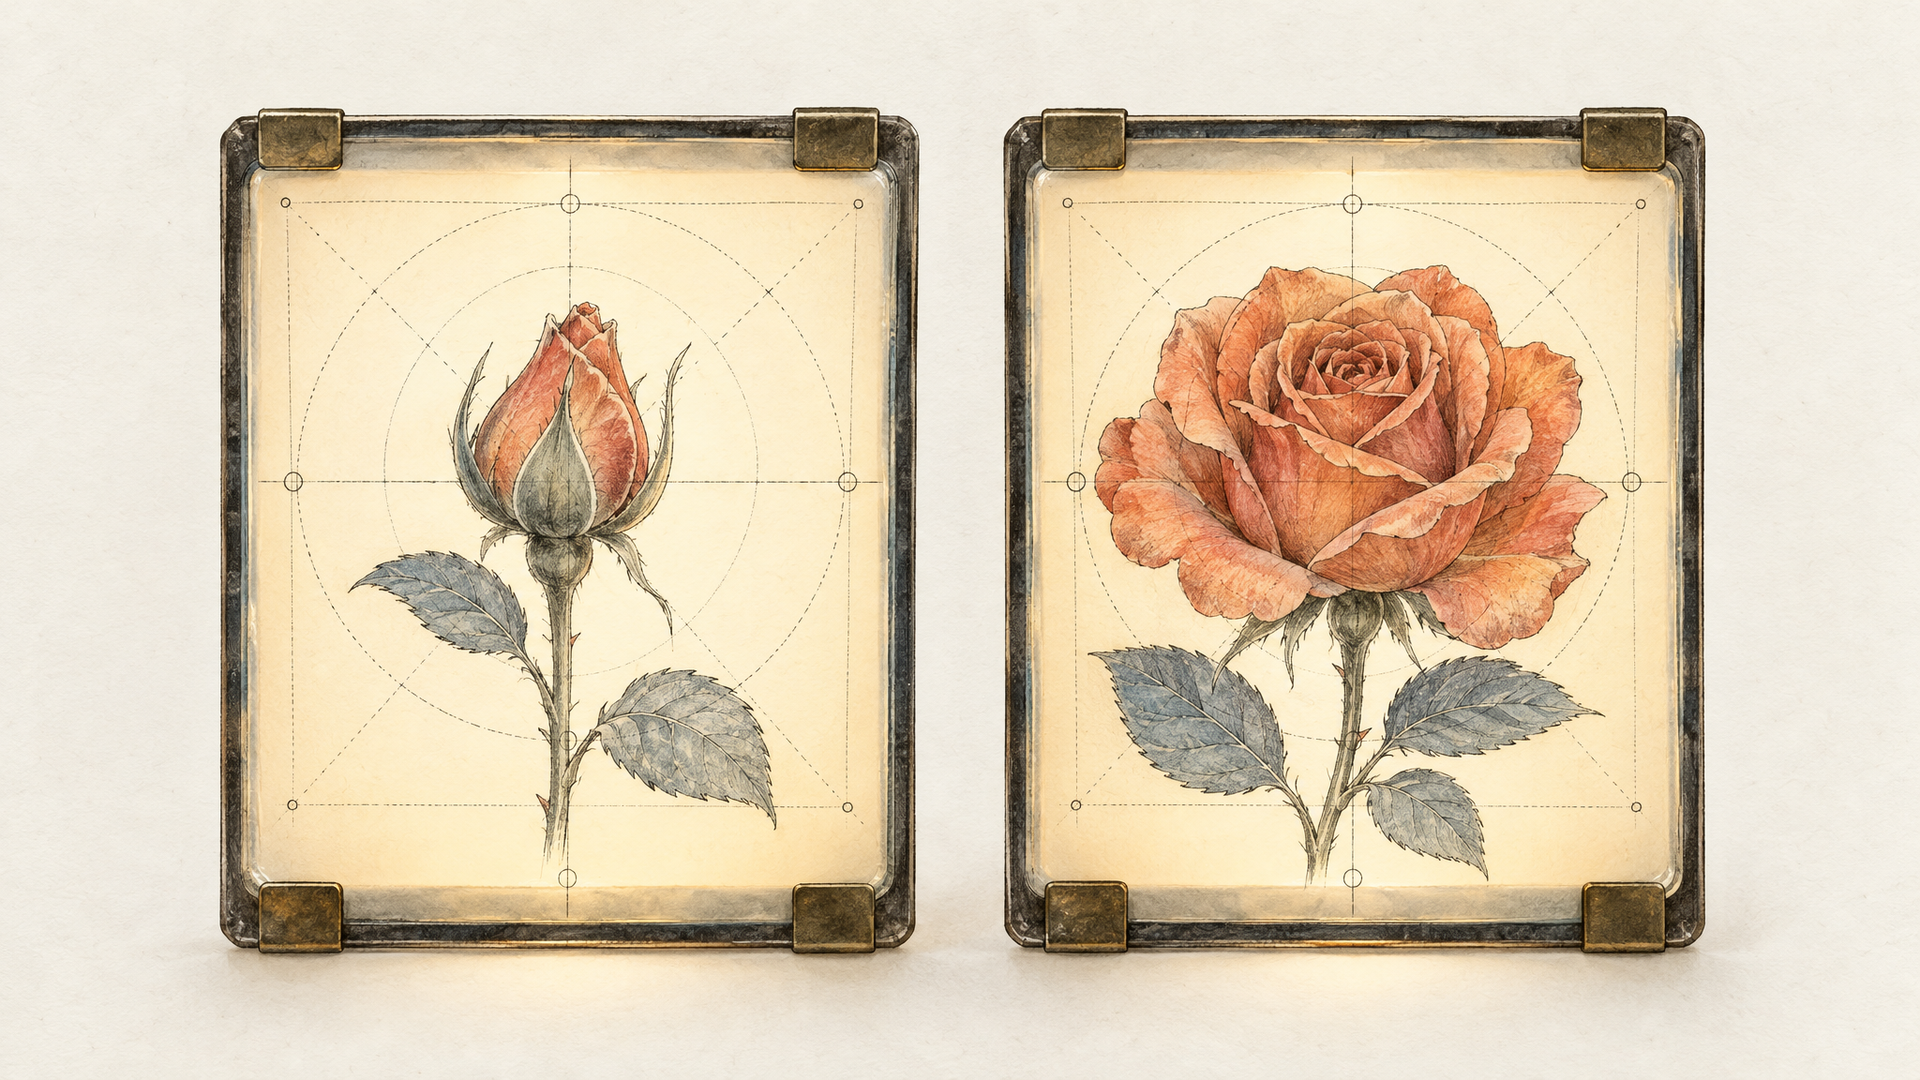
Here's where most first attempts go wrong. People make a nice start frame, make a nice end frame, and then ask the model to get from one to the other. If the two images disagree about the world (different lens, different light direction, a different room) the model has to invent a transformation to explain the gap, and you get morphing instead of motion.
Treat the pair as one design problem. Same location, same lighting logic, same character and wardrobe, same lens feel. What should differ is the thing the shot is about: a door that was closed is open, a product that was in shadow is lit, a character who was facing away is facing camera. One clear change reads as action. Five simultaneous changes read as a glitch.
The cleanest way to get a matched pair is to generate the first frame, then edit it into the last frame instead of generating both from scratch. Build the opening shot with a strong text to image model, then send it to an edit model with an instruction like this:
Keep the room, the camera angle, the lighting and the woman's clothes exactly the same. Change only her position: she is now standing at the window with her back to the camera, one hand on the glass.
Edit models such as Meta Muse Image Edit or Nano Banana are built to change one thing and keep the rest, which is exactly the property you need here. Your two frames now share a world, and the video only has to animate the difference.
Step 2: Write the Prompt for the Middle
The frames handle composition. The prompt handles everything frames can't show: how the change happens, how fast, with what camera behaviour and what sound. Don't spend words re-describing what's already visible in the images.
Google's prompt guidance for Veo lists the building blocks: subject, action and style, plus optional camera positioning and motion, composition, focus and lens effects, and ambiance. For an interpolation prompt, action and camera carry most of the weight.
She rises slowly from the armchair, crosses the room in three unhurried steps and stops at the window, resting one hand on the glass. The camera holds still, locked off. Soft rain against the window, the creak of the floorboards, a distant car passing.
Notice what that prompt does. It gives the motion a pace ("slowly", "three unhurried steps"), it pins the camera so the model doesn't invent a move, and it tells the audio model what the room sounds like. Google's docs recommend exactly this for sound: put dialogue in quotes, describe sound effects explicitly and name the ambient soundscape.
Step 3: Choose a Camera Move That Fits the Gap
A first and last frame that differ in framing imply a camera move, and you should name it rather than let the model guess. If the last frame is tighter than the first, say "slow push in". If the subject has moved across the frame, decide whether the camera follows ("smooth tracking shot") or stays put ("static shot, the subject walks through frame").
The trap is asking for a move that fights the frames. "Orbit around the subject" between two frames shot from the same angle forces the model to come back to where it started inside 8 seconds, and it'll usually cheat. Pick the move that the difference between your two images already suggests. Our guide to camera movements and the camera movement prompt list have the vocabulary if you need it.
Step 4: Pick Length and Resolution on Purpose
Length is a pacing tool, not a quality setting. The same pair of frames feels like a cut at 4 seconds and like a scene at 8. A product reveal (box closed, box open) usually wants 4 or 6 so it snaps. A mood transition (dusk to night, empty street to busy street) needs the full 8 to breathe.
Resolution has one hard rule: 1080p and 4K only come at 8 seconds. That suggests a workflow. Prototype at 720p on the Fast model with whatever length feels right, and once the motion works, render the final at 8 seconds and the resolution your delivery needs. If the final has to be shorter, trim it in the edit; Veo's motion at 8 seconds is usually smoother than a squeezed 4-second version anyway.
Choose the aspect ratio before you make your frames, not after. A 9:16 pair for Reels and a 16:9 pair for YouTube are different compositions, and cropping a finished interpolation always costs you something.
Five Shots First and Last Frame Does Best
Product reveals. Frame one is the closed package on a table, frame two is the product standing beside the open box under a key light. The model handles the unboxing, and the last frame guarantees the hero shot lands exactly as the brand approved it.
Before and after. A room before renovation and after, a plain plate and a plated dish, bare skin and finished makeup. The interpolation becomes the transformation itself, which is the whole story of the ad.
Time passage. Same street at noon and at night, same tree in spring and in autumn. Ask for a time-lapse feel in the prompt, and the matched frames keep the architecture from drifting while the light changes.
Character blocking. A character starts at the door and ends at the desk. You control the beginning and end of the performance, which is what makes the clip cut cleanly against the next one.
Shot-to-shot continuity. Use the last frame of one generated clip as the first frame of the next pair. Each clip ends exactly where the next one begins, and you build a longer sequence that actually holds together.
Common Mistakes and Quick Fixes
If the clip morphs instead of moving, your frames disagree about something besides the action. Check the light direction, the lens and the background, then regenerate the last frame as an edit of the first.
When the motion feels rushed, you've asked for too much change in too little time. Go to 8 seconds, or split the action into two pairs and chain them.
If the camera does something you didn't want, you didn't tell it what to do. Add "locked off" or "static camera" for a still frame, or name the exact move.
When the audio is wrong for the scene, describe the sound in the prompt rather than leaving it to inference. Or switch audio off and score the sequence once it's cut.
For more prompt patterns that work across Veo clips, our Veo prompt examples are a good next stop.
Run Veo 3.1 First and Last Frame on each::labs
Open Veo 3.1 Fast First Last Frame to prototype. Add your first frame URL and last frame URL, paste the in-between prompt, pick 16:9 or 9:16, keep 720p, and generate. When the motion is right, move the same inputs to the full Veo 3.1 model at 8 seconds and your final resolution.
Because the frame generation, the edit and the video all sit behind one each::labs API, the whole chain is scriptable: text to image for frame one, an edit model for frame two, Veo 3.1 for the motion. You can also start from a ready pipeline in each::labs flows or browse the other image to video models for shots where you only need a start frame.
Frequently Asked Questions
How does Veo 3.1 first and last frame differ from image to video?
Image to video fixes only the opening of the clip and lets the model decide where it ends. With a last frame as well, the ending is yours too, so the clip lands on a composition you chose and cuts cleanly into the next shot.
How long can a Veo 3.1 first and last frame clip be?
Each clip runs four, six or eight seconds. For a longer sequence, chain them: the last frame of one clip becomes the first frame of the next.
Does Veo 3.1 add sound to first and last frame videos?
Yes, by default. Veo 3.1 generates synchronized dialogue, effects and ambience natively, and the prompt is where you steer it. You can turn audio off on each::labs if you'd rather add your own.
Can I use 4K with first and last frame?
On the full and Fast versions, yes, at 8 seconds. Lite goes up to 1080p.