Sync 3: Lipsync That Reads the Whole Scene
Most lipsync breaks on real footage: side profiles, shadows, two people in frame. Sync 3 reads the whole shot first, then moves the lips. Here's how to put it to work on each::labs.
Lipsync looks easy in a demo. A face, square to the camera, evenly lit, one person talking. Then you drop in real footage: a handheld shot, a speaker turned three quarters away, a window throwing half the face into shadow, a second person nodding in the frame. That's where most lipsync falls apart, and it's exactly the footage you actually have.
Sync 3 is sync. labs' answer to that problem, and it's live on each::labs. The team behind it also built wav2lip, which it describes as the first zero-shot lipsync model, so this isn't a newcomer guessing at the job. The pitch for Sync 3 lipsync is simple and a little bold: stop treating speech as a mouth problem. Read the whole scene first, then move the lips.
Here's what that means in practice, where it earns its place in a pipeline, and how to run it.
Lipsync Was Never Just a Mouth Problem
The older way to do lipsync is to crop tightly around the mouth and paint a plausible new one onto the face. Sync calls this out directly in its launch post, describing the approach as trying to "paint a plausible mouth back onto the face." It works when the mouth is the only thing that matters. It rarely is.
Think about what a person actually does when they talk. The jaw drops, the cheeks shift, the head turns slightly on a stressed word, the eyes narrow before a joke lands. A mouth pasted onto a frozen face reads as wrong even when every phoneme is technically correct. Viewers can't always say why. They just stop trusting the clip.
So the real question for any lipsync model isn't "does the mouth match the audio?" It's "does the person still look like they're the one talking?" That's a scene-level question, and Sync 3 is built to answer it at that level.
What Sync 3 Actually Does Differently
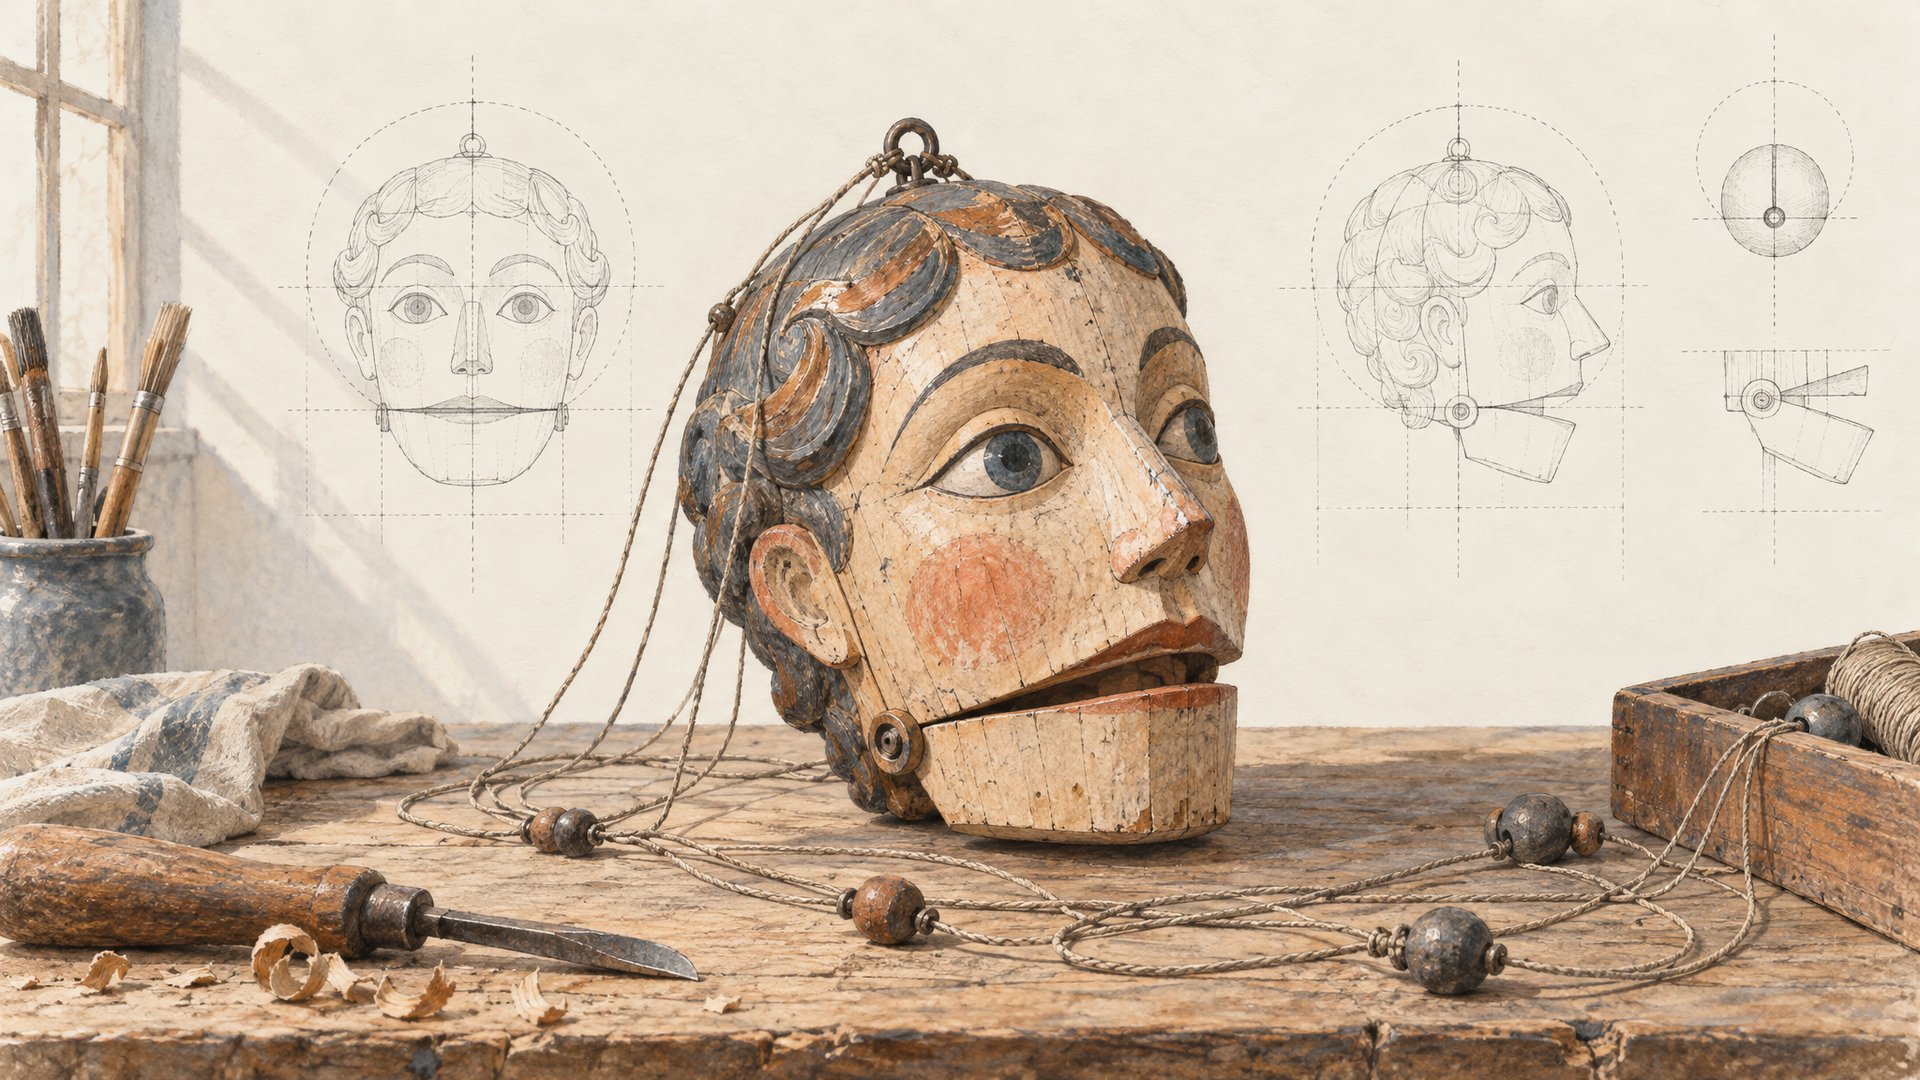
According to Sync's own announcement, the model first builds a wide spatial read of the whole shot rather than a crop. It looks at where the face sits in the frame, how it's lit, which way the head is oriented, who else is in the shot, and who is speaking. Only then does it drive the lips.
That order of operations is the whole idea. A model that knows the head is turned 40 degrees doesn't try to draw a frontal mouth. A model that knows the left side of the face is in shadow doesn't light the new mouth like it's noon. A model that knows there are two people in frame figures out which one should be talking before it touches anyone.
Sync also puts a lot of weight on keeping the original performance intact. Its phrasing is worth quoting because it's the right goal: "The little pauses, the half-smile, the breath before a line." In other words, only the words should change. Everything that made the take worth keeping stays.
On output, Sync says the model supports up to 4K at up to 60fps, which matters if your source is broadcast or campaign footage and you can't afford a resolution drop at the last step.
Built for the Shots That Usually Break
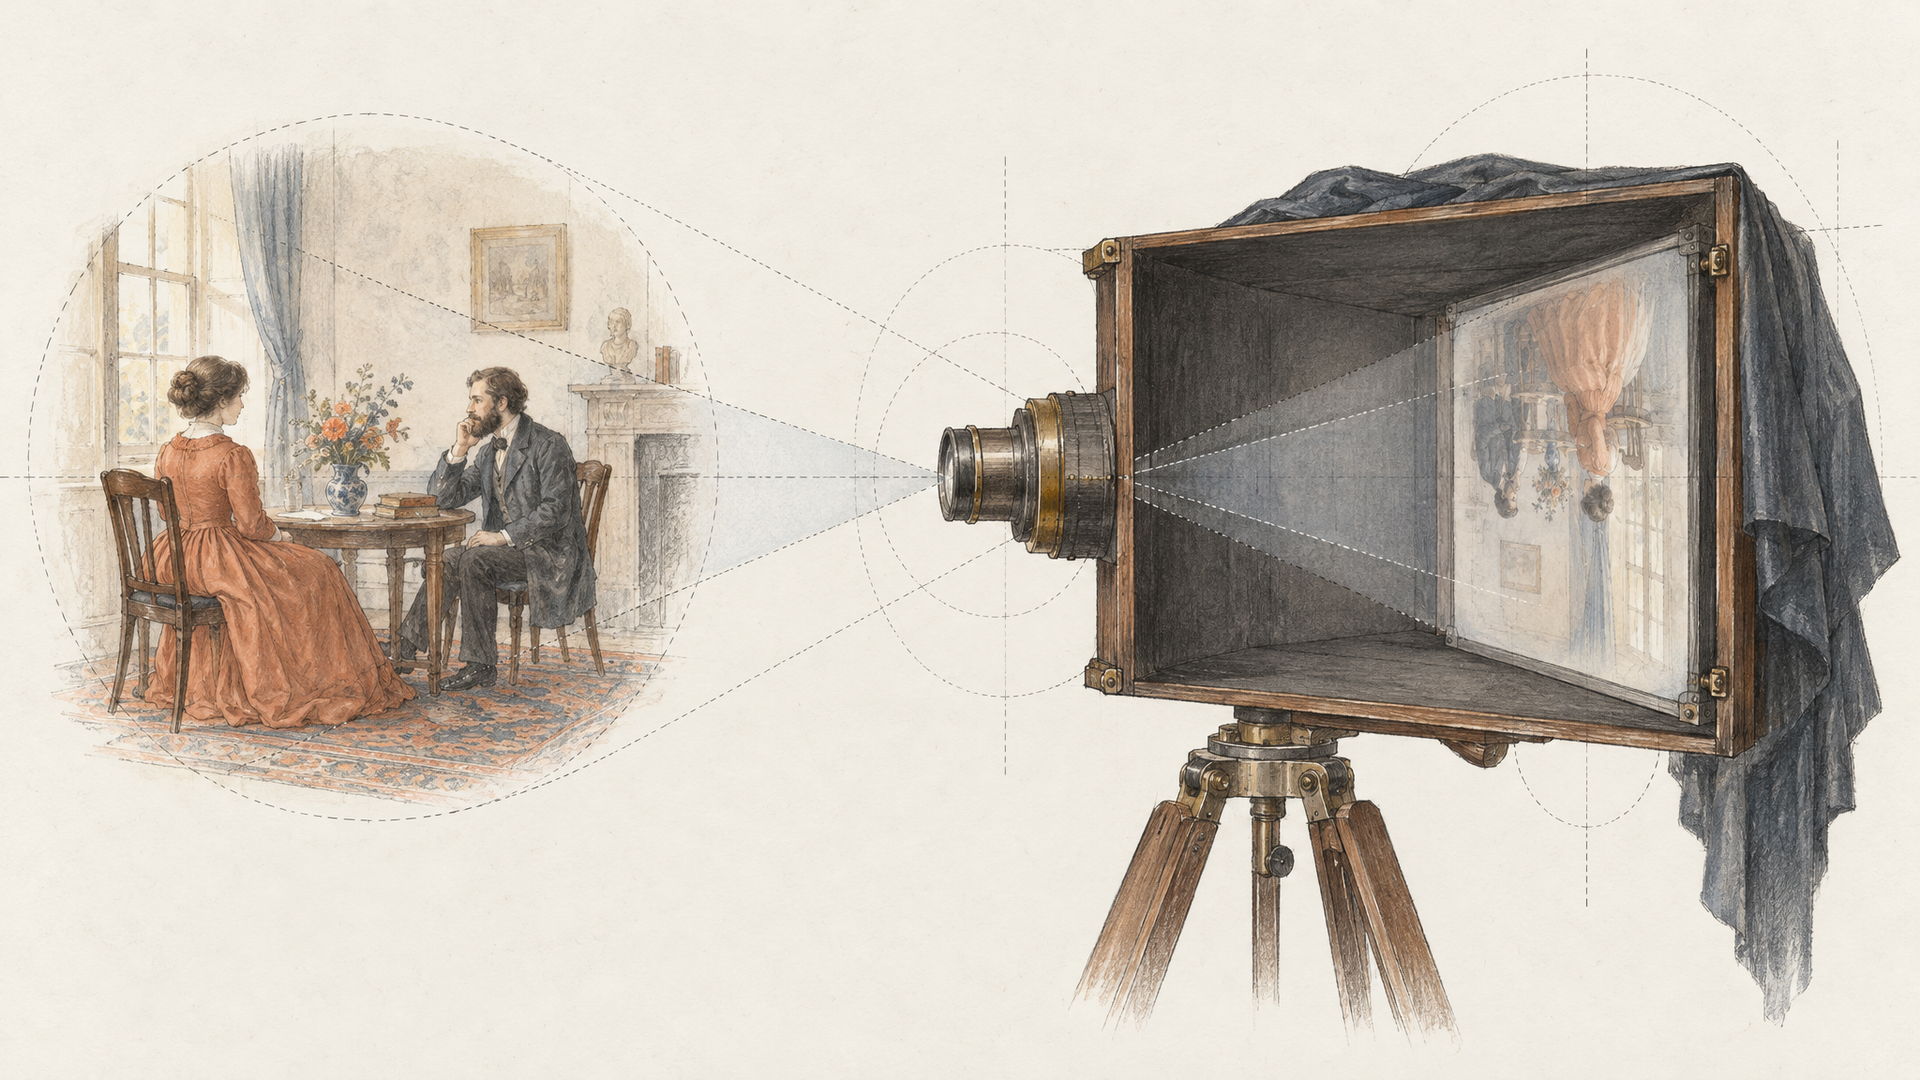
The hard cases are where a lipsync model proves itself, and Sync is unusually specific about which ones it targets.
Sharp angles and side profiles. When half the mouth is hidden, a crop-based model has nothing to work with. A model that understands head orientation can keep the visible half consistent with the hidden half.
Low or uneven light. Sync names partial shadow from a boom or a window as a target case. That's not an exotic scenario; it's most interviews ever shot indoors.
Multiple speakers. Sync 3 identifies the active speaker before syncing. If you've ever had a model animate the wrong face in a two-shot, you know why this matters.
Movement. Handheld shake, heavy background depth, and even an extreme angle change mid-sentence are all listed. Real footage moves. A model that only works on a locked-off tripod shot is a demo, not a tool.
Our take: if your pipeline only ever feeds clean, front-facing talking heads, plenty of models will do. The moment your footage starts to look like footage, the scene-aware approach is the difference between a usable take and a reshoot.
Where Sync 3 Lipsync Earns Its Place
Sync frames the model around a handful of jobs, and each maps to a real production problem.
Dubbing and localization
This is the obvious one. You have a finished spot in English and need it in Spanish, German and Japanese. Traditional dubbing leaves the lips out of step with the words, which audiences notice more than marketers like to admit. With Sync 3 you swap the audio and the speaker's mouth follows the new language, while the delivery and timing of the original take carry through. We walked through the full pipeline in our AI dubbing and lipsync guide.
Fixing a line in post
A product name changed after the shoot. Legal wants one claim softened. The actor flubbed a word in the only take where the lighting was perfect. Re-recording the line is easy; re-shooting it is not. Record the corrected audio, run Sync 3 on the original clip, and keep the take.
Characters that were never filmed
Generated characters need voices too. If you build a character clip with a video model and add the dialogue afterward, Sync 3 handles the mouth so the voice and the face agree. That's the bridge between a nice-looking generated shot and a character who actually speaks.
Multi-market campaigns
One shoot, many markets. This is localization at scale: a single hero spot becomes a set of regional versions without a separate production for each, and every version keeps the original performance.
How to Run Sync 3 on each::labs
The each::labs endpoint is refreshingly minimal. Sync 3 Lipsync takes two inputs, both required: a video_url with the footage and an audio_url with the speech you want the speaker to say. No mask, no face box, no tuning knobs. The model does the scene analysis itself, which is the point.
{
  "model": "sync-3-lipsync",
  "input": {
    "video_url": "https://your-cdn.com/interview-take-04.mp4",
    "audio_url": "https://your-cdn.com/interview-take-04-de.wav"
  }
}
Send that to the prediction endpoint, poll for the result or pass a webhook_url, and you get back the synced video. Because it uses the same request shape as every other model in the each::labs catalog, chaining it after a voice model or a video model is just another step in the same code.
If you were already using the previous generation, Sync Lipsync v2 Pro is still available, so you can run the same clip through both and judge the difference on your own footage. That's the only benchmark that really matters.
Build a Full Talking Video Pipeline
Sync 3 does one job, and it's better when it sits inside a chain. Here are three pipelines worth building on each::labs, all from models in the same catalog.
Script to localized spot
Start from the finished video. Generate the translated voiceover with a text-to-speech model such as MiniMax Speech 2.8 HD or Gemini 3.1 Flash TTS, then pass the original video and the new audio to Sync 3. One script per market, one Sync 3 call per version. You can browse more voices in text-to-voice models.
Photo to talking presenter
The each::labs Sync 3 endpoint expects video, not a still. So make the still move first: animate the photo into a short, natural clip with an image-to-video model like Seedance 2.5, asking for subtle head movement and no speech. Then sync it to your voiceover. Keep the generated motion calm; Sync 3 handles turns well, but a presenter who doesn't flail is easier to watch anyway. Our talking photo and avatar guide covers the broader options.
Generated scene with dialogue added later
Generate the scene for look and blocking, record or synthesize the lines once the edit is locked, then sync. Separating picture from dialogue means you can rewrite a line on the last day without regenerating a shot you love. If you want to wire these steps together without glue code, build it as a flow in each::labs AI Flows.
Get Better Results Out of Sync 3
Give it clean audio. The video side is where Sync 3 is forgiving. The audio side is where you control quality. Background music and room noise under the voice make the speech harder to read. Export a dry voice track and mix the music back in after.
Match the length. Trim the clip and the audio to the same span before you send them. A video that runs well past the end of the speech leaves the model deciding what a silent mouth should do for the rest of the shot.
Respect the rhythm of the original. Translations rarely run the same length as the source. If the new line is much longer, the speaker will be talking through moments where the original performance paused. Have your translator or your TTS step aim for similar pacing, and the preserved performance will actually line up.
Test on your worst shot first. Everyone tests on the clean close-up. Test on the dim, handheld, three-quarter two-shot. If Sync 3 handles that, everything easier will follow.
Keep the source resolution. If your footage is 4K, send 4K. Downscaling to save time and upscaling later throws away exactly the detail around the mouth that makes a sync look real.
Frequently Asked Questions
What makes Sync 3 lipsync different from earlier lipsync models?
The order of operations. Instead of cropping the mouth and repainting it, Sync 3 first reads the whole shot (face position, lighting, head orientation, other people, who is speaking) and drives the lips from that understanding. That's why Sync targets side profiles, uneven light and multi-speaker shots that crop-based models struggle with.
What inputs does Sync 3 need on each::labs?
Two URLs: the source video and the audio you want the speaker to say. Both are required, and there are no extra settings to tune. Generate the audio with any voice model on each::labs and pass both files to the endpoint.
Can Sync 3 animate a single photo?
On each::labs it works on video. The practical route is to animate the photo into a short clip with an image-to-video model first, then run Sync 3 with your voiceover on that clip.
Does Sync 3 work for dubbing into other languages?
That's one of its main jobs. Sync says the model keeps the timing, delivery and emotion of the original take across translation, so only the words change. Pair it with a multilingual TTS model and you have a localization pipeline.