Kling 3 Motion Control: Copy Any Move, Step by Step
Kling 3 Motion Control copies a move from any reference clip onto your character. Here's the build order that keeps faces and limbs intact, from the first frame to the final upscale.
Typing a dance move into a prompt box is a losing game. You write "spins twice, drops low, hits a shoulder pop on the beat" and get back something that looks like a person remembering a dance they once saw at a wedding. Words are bad at choreography. A ten-second phone clip of someone actually doing the move is perfect at it.
That's the whole idea behind Kling 3 Motion Control: you hand it a reference video and a character image, and it puts the motion from the clip onto the character. No keyframes, no rig, no motion capture suit. The catch is that the model copies exactly what you give it, so a sloppy clip or a badly framed image comes straight back to you as a sloppy video. This guide is the build order that avoids that, from picking the clip to the final upscale, all on each::labs.
What Kling 3 Motion Control Actually Does
The job has three inputs. A reference video supplies the movement and the expressions. A character image supplies who is moving. A text prompt fills in everything the other two don't cover, like the background or a detail of the scene. Kling describes VIDEO 3.0 Motion Control as building on the Motion Control it introduced with VIDEO 2.6, and the headline upgrade is the face: Kling's own Motion Control user guide says 3.0 keeps facial features stable and expressions smooth even through complex, multi-angle, long motions.
That matters more than it sounds. If your character is a brand mascot, an AI influencer or a recurring person in a series, the face is the asset, and a drifting face ruins the clip no matter how good the dancing is.
If you've used the older versions, our complete Kling Motion Control guide and the Kling v2.6 Standard Motion Control guide cover the earlier generation. This post is about building one clip properly on 3.0, step by step.
Step 1: Pick a Reference Clip the Model Can Actually Copy
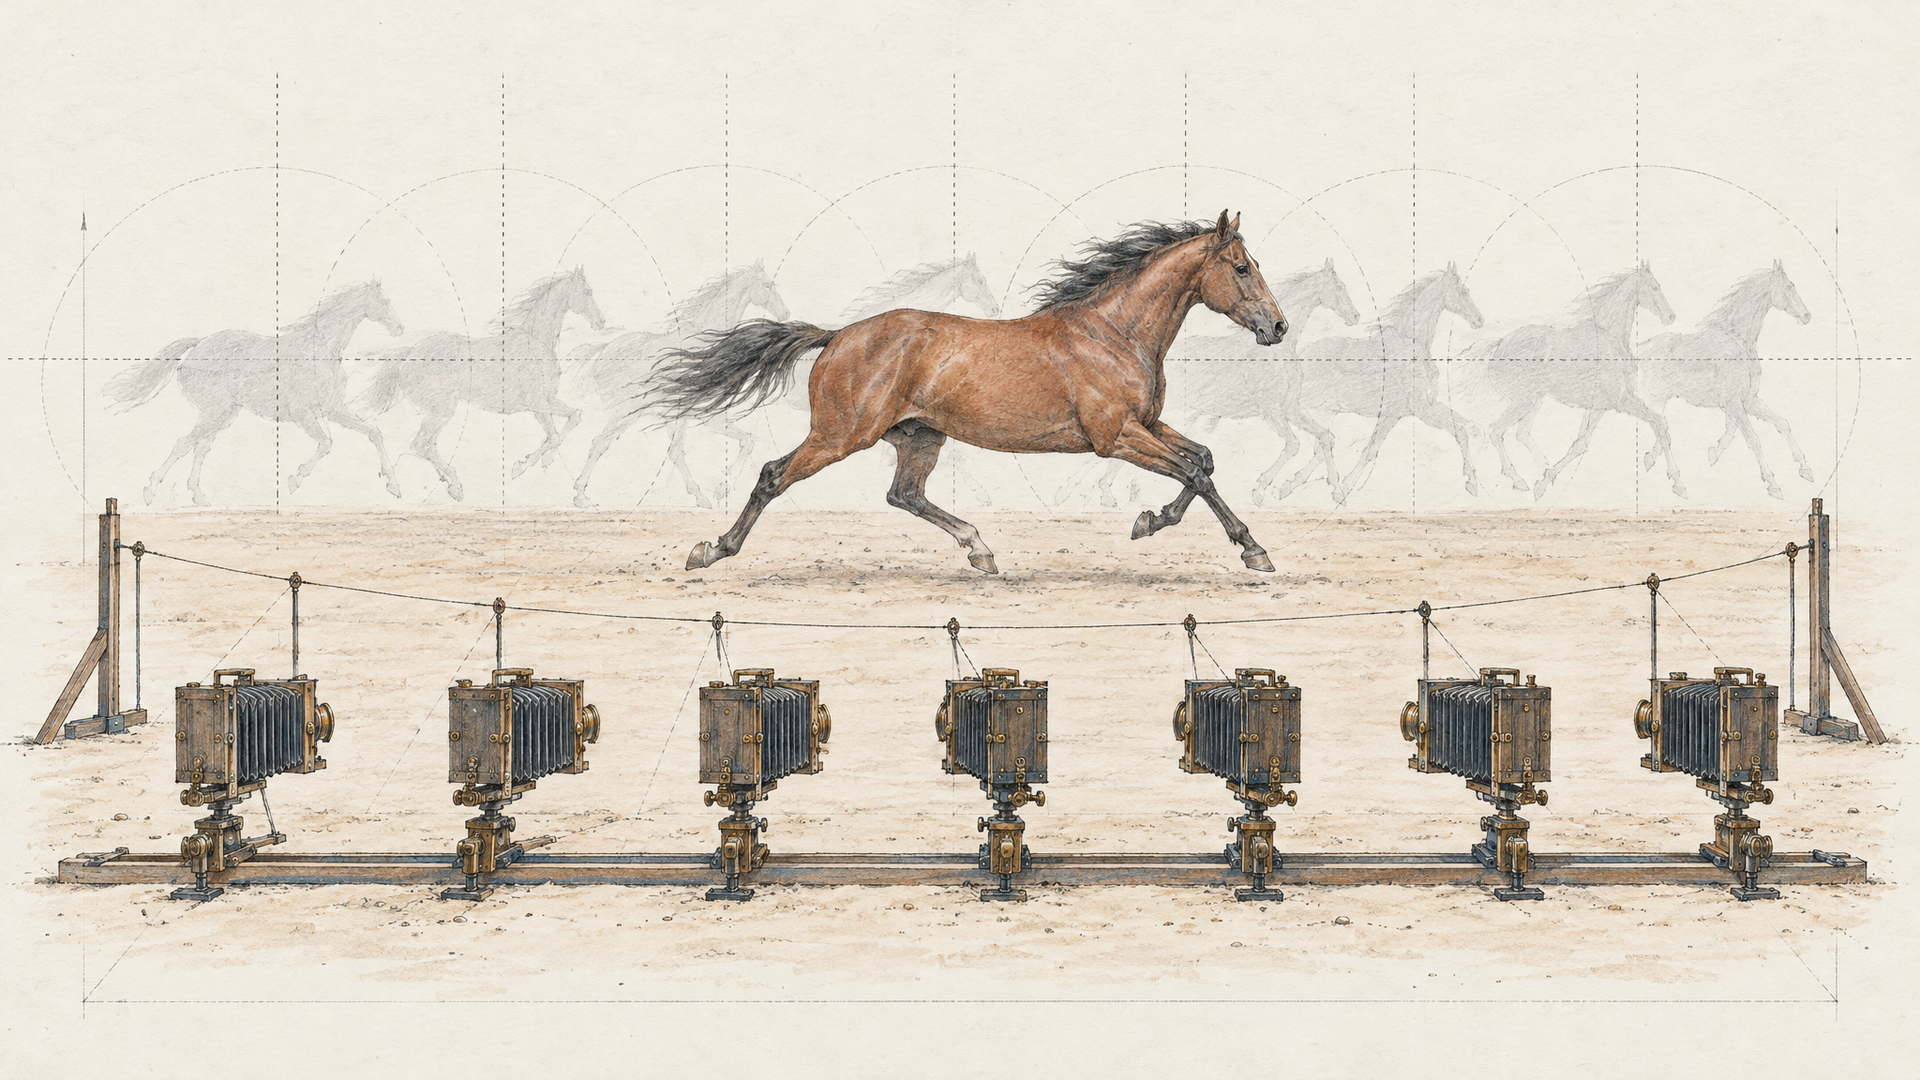
Most failed runs are decided before you upload anything. The reference clip is a set of instructions, and Kling reads it literally. Kling's guide gives clear requirements: the clip should run 3 to 30 seconds, its short edge must be at least 340 pixels and its long edge no more than 3850 pixels. The rest of the guidance is about readability.
One person, one continuous shot. If several people appear, Kling picks whoever takes up the most of the frame, and if two people are about the same size, it may not pick anyone. Hard cuts are trouble too, because the model only uses valid, continuous action. A clip with a cut in the middle can come back shorter than what you uploaded.
Moderate speed beats impressive speed. Kling recommends steady, moderate movement and real human action, and warns that overly fast or complex motion can get truncated, with at least 3 seconds of usable motion required. So the blurred clip of a breakdancer at full tilt is the wrong pick, however exciting it looks. Film it again slower, on a tripod, with the whole body in frame.
Quick test: pause on a random frame. If you can't see one person's hands, feet and face, neither can the model.
Step 2: Build the Character Image to Fit the Clip
The character image is not a mood board. It's the first frame of a performance, and it has to physically fit the motion you're about to apply. Kling asks for an image where the character's entire body and head are clearly visible and not blocked by anything. Crossed arms or a hand over the face are things the model has to guess the moment the motion starts.
Match the framing. A full-body dance clip needs a full-body character. A half-body talking clip wants a half-body portrait. Mixing them forces the model to invent legs or crop a body that has nowhere to go. Leave room around the figure too, because a big arm swing or a step to the side needs empty canvas to move into. The each::labs model pages also flag aspect ratio: if your image and clip disagree, expect cropping. Keep both vertical or both horizontal.
Technical basics from the model page: JPEG or PNG, ideally at least 1024 by 1024, and not a huge file (the page warns about uploads over 5MB). The face deserves the most care. Kling notes that when the reference face is very different from the face in the first frame, facial quality can drop, so a clear, front-facing, well-lit face gives version 3's identity tracking the best possible start.
Don't have a character yet? Generate one. Nano Banana Pro is a strong pick for this because you can describe the pose you need, not just the look:
Full-body photo of a young woman in a mustard yellow track jacket, black wide-leg trousers and white sneakers, standing upright facing the camera, arms relaxed at her sides, hands visible, neutral expression, plain light grey studio background, soft even lighting, vertical 9:16 frame with generous space around her
Notice what that prompt does: arms down, hands visible, facing forward, empty space around the body. You're setting a starting position, the way a choreographer places a dancer before the music starts.
Step 3: Choose Who Owns the Orientation
Both Kling v3 motion control models on each::labs take a character_orientation input with two values, video and image. This one setting changes what the prompt is responsible for, so pick it on purpose.
With video, the reference clip owns almost everything. Movement, expressions, camera movement and the direction the character faces all follow the clip, and your prompt only shapes the remaining details. This is the right call for dance, sport and any full-body performance where the clip's staging is the point.
With image, the body still copies the clip's movement and expressions, but the character keeps the orientation from your image, and camera movement becomes something you describe in the prompt. Kling's Motion Control user guide demonstrates this with its 2.6 model, using simple AI camera movements: zoom in, zoom out, camera up, camera down, or a fixed position. Use this when your character image is already composed the way you want and you'd rather direct the camera yourself than inherit the shaky handheld move from a phone clip.
There's also a keep_original_sound switch. Turn it on when the clip's audio is part of the result, like a lip-synced line or a dance to a specific track. Turn it off when you plan to score the video later.
Step 4: Write a Kling v3 Motion Control Prompt for What the Clip Can't Say
Here's the mistake almost everyone makes: they describe the motion. The motion is already in the video. Writing "she spins and raises her arms" adds nothing and can pull against what the clip shows. The prompt's job is the stuff the reference doesn't carry: the setting, the light, small scene details and, in image orientation, the camera.
For a video-orientation dance clip, keep it short and environmental:
A woman dancing on a rooftop at golden hour, city skyline softly out of focus behind her, warm low sunlight, light breeze moving her jacket
For image orientation, where the camera is yours to direct, give it one clear move:
A man in a navy suit talking and gesturing in a modern glass office, slow zoom in toward his face, soft window light from the left, shallow depth of field
And for a locked-off product or brand shot, say so explicitly:
A cartoon fox mascot waving in front of a bright teal studio wall, fixed camera, no camera movement, even studio lighting
One camera instruction per clip. Stack a zoom, a tilt and a pan into five seconds and you'll get a camera that does none of them well.
Kling v3 Pro vs Standard: Draft on One, Finish on the Other
Kling ships Motion Control 3.0 in two modes, Professional and Standard, and each::labs carries both: Kling v3 Pro Motion Control and Kling v3 Standard Motion Control. The inputs are identical (prompt, image, reference video, orientation, sound), which is the useful part. You can swap the model id without touching anything else in your request.
That makes the workflow obvious. Use Standard while you're testing whether the clip, character, orientation and prompt agree with each other. Those questions don't need the top tier. Once a combination works, rerun the exact same inputs on Kling v3 Pro for the version you'll actually publish. The each::labs model pages list typical run times of around five minutes for Standard and six for Pro, so batch your tests instead of waiting on them one by one.
Our take: never use Pro to find out whether an idea works. Use it to make a working idea look its best.
Fix the Failures You'll Actually See
Motion control failures are predictable, and almost all of them trace back to the inputs rather than the model.
The output is shorter than your clip. Kling only keeps valid, continuous action, so cuts, sudden camera jumps or motion too fast to track get trimmed. Re-shoot or re-trim the reference into one clean take with moderate speed, and make sure at least three seconds of it is usable.
The wrong person moves, or nobody does. There was more than one person in the reference. Crop the clip so a single performer clearly dominates the frame.
The face drifts or looks off. Check the character image first. A small, angled or shadowed face gives the model little to hold on to. Regenerate the character with a clear, front-facing, evenly lit face, and keep the reference performance's head angles within reason.
Limbs melt or vanish mid-move. Something in the character image was hidden: a hand in a pocket, crossed arms, a long coat over the legs. Rebuild the image with every limb visible in a neutral pose, matched to the framing of the clip.
The result is cropped strangely. Your image and video disagree on aspect ratio. Bring them into the same shape before you run again.
The camera ignores your prompt. You're probably on video orientation, where the camera follows the reference. Switch character_orientation to image if you want the prompt to direct the camera.
A Full each::labs Workflow: Image, Motion, Upscale
Put together, the cleanest build is a three-model chain, and every piece runs on each::labs through the same API.
First, the character. Generate it with Nano Banana Pro using a pose-aware prompt like the one above. If you already have a character and only need to change the outfit or straighten the pose, Nano Banana Pro Edit lets you adjust an existing image instead of starting over, which keeps the face consistent across a series.
Second, the motion. Run the character and your trimmed reference clip through Kling v3 Standard Motion Control with a short environmental prompt. Iterate on the orientation and prompt until the draft holds up, then rerun the same inputs on Kling v3 Pro Motion Control.
Third, the polish. If the final needs to go somewhere larger than a phone screen, pass it through Topaz Upscale Video. Upscaling last is the right order: you only spend that step on the clip you've already approved.
Wire the three steps into a reusable pipeline with each::labs AI Flows and the next character only needs a new image prompt and a new clip. For movement no reference clip can provide, the regular image-to-video models are the other half of the toolbox: motion control for copied performance, image-to-video for invented motion.
The craft here isn't in the prompt box. It's in the ten minutes you spend choosing a clean clip and a well-posed character. Get those two right and Kling 3 Motion Control does the hard part.
Frequently Asked Questions
What's new in Kling 3 Motion Control compared with 2.6?
The face. Kling built VIDEO 3.0 Motion Control on top of the 2.6 version and focused the upgrade on facial consistency, so features stay stable and expressions stay smooth through head turns, multiple angles and longer performances. The recipe of reference clip plus character image is unchanged.
How long can the Kling v3 Motion Control reference video be?
Kling's guide sets the range at 3 to 30 seconds for the uploaded clip. Treat the upper end with care, though: fast or broken-up motion gets trimmed, so a clean 8 second take will often give you more usable output than a messy 25 second one.
Should I use Kling v3 Pro or Standard for motion control?
Both, in order. The two take identical inputs on each::labs, so drafting on Standard and rendering the approved version on Kling v3 Pro is a one-line change in your request. Standard answers "does this work?" and Pro delivers the version you publish.
Can I control AI camera movements with Kling 3 Motion Control?
Yes, through the orientation setting. On image orientation, the camera is described in your prompt. Kling's user guide illustrates it with plain moves (zoom in, zoom out, camera up, camera down and a fixed camera). On video orientation, the camera simply follows whatever the reference clip did.