Ideogram 4.5 Mask Editing: Edit One Spot, Keep the Rest
Black edits, white keeps. A practical guide to the Ideogram 4.5 Edit mask on each::labs: how to make one, when to use it instead of a prompt, and six jobs where it pays off.
Prompt-only editing has a quiet tax. You ask for one change, the change lands, and three things you never mentioned move with it: a label softens, a shadow shifts, a background color drifts half a shade warmer. Do that five times and the image you started with is gone. The Ideogram 4.5 Edit model was built to stop that drift, and its mask is the most direct way to tell it where it's allowed to touch.
Ideogram pitched 4.5 as "the most precise edit model," one that "eliminates artifact buildup, making multi-turn editing possible." With one, you stop hoping the model guesses the right region and start drawing the boundary yourself. This guide covers what the mask is, how to make one in a minute, when it's worth the trouble, and six jobs where it beats a prompt every time.
What the Ideogram 4.5 Mask Actually Does
A mask is a second image you send next to your source. It's a plain map with two meanings. In Ideogram's own words from the official API docs: "Black marks the area to edit and white the area to keep; values in between are rounded to the nearer of the two."
Read that last clause twice, because it shapes everything else. There is no partial edit. A pixel at 40 percent grey becomes white, a pixel at 60 percent grey becomes black, and the model sees a hard yes or no for every spot in the frame. Two more rules come with it: the mask has to match the source image's width and height exactly, and after that rounding it has to contain both black and white areas. On each::labs the mask_url field says the same thing in one line: "Black edits, white preserves. Must contain both regions after rounding."
What you get back respects the frame. The docs say the output "always matches this image's width and height, and pixels the edit did not meaningfully change are copied exactly from it." So the white area of your mask isn't regenerated to look similar. It's your original pixels, untouched, which is exactly what you want when the rest of the picture is already approved.
Mask or Just Prompt? Pick Before You Paint
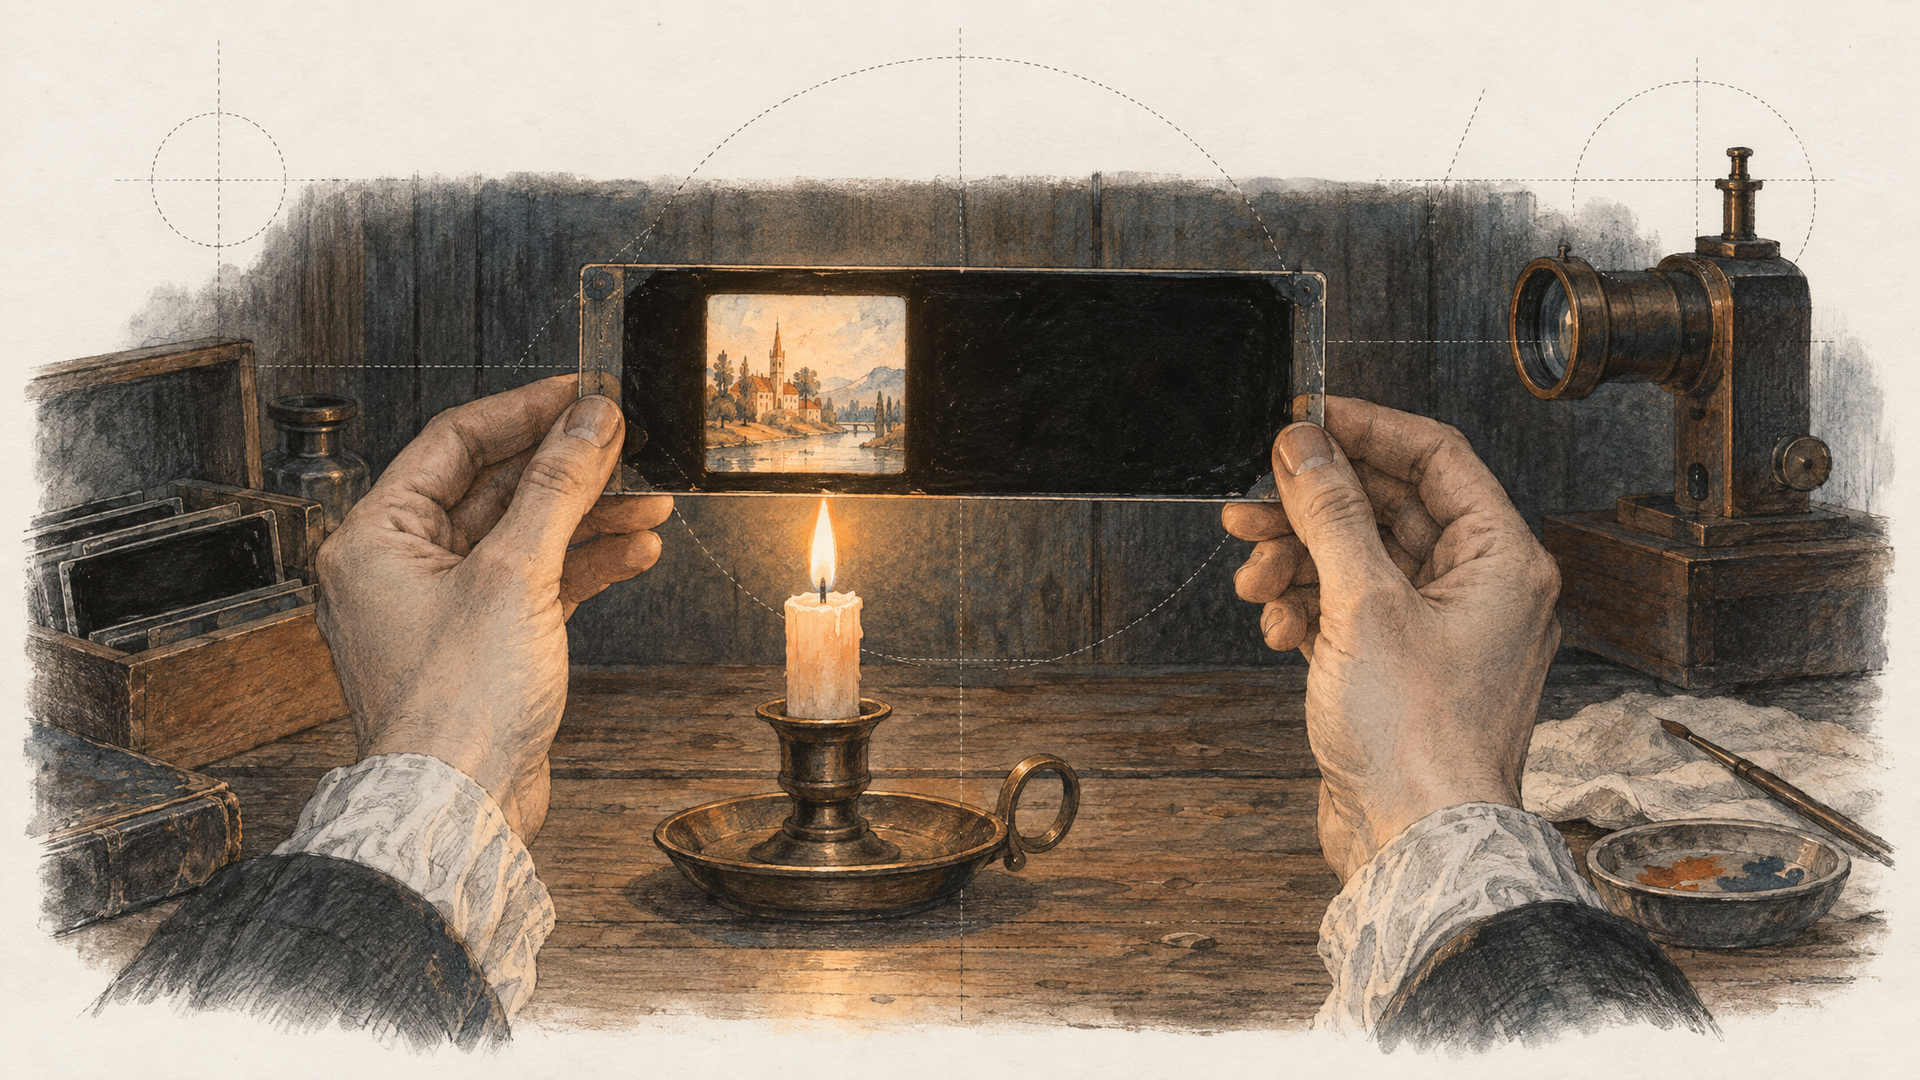
Not every edit needs a mask. Ideogram 4.5 already tries to change only what you describe, so a clear prompt like "make the mug red" on a photo with one mug usually lands fine.
Reach for the mask when the prompt alone is ambiguous or the stakes are high. Ambiguous means there's more than one candidate: three posters on a wall, a shelf of near-identical bottles, two people with raised hands. High stakes means the untouched parts are already signed off, like a product shot the client approved or a layout where moving a single letter breaks the grid. If you'd be annoyed by the model "helping" somewhere you didn't ask, mask it.
There's one structural trade-off to know up front. With a mask, image_size stays on auto, which preserves the source geometry. Only unmasked edits accept named presets or custom sizes (dimensions of at least 256, in multiples of 32). So if you also want to reframe or resize, do that as a separate unmasked pass, then mask the final frame.
How to Make an Ideogram 4.5 Mask
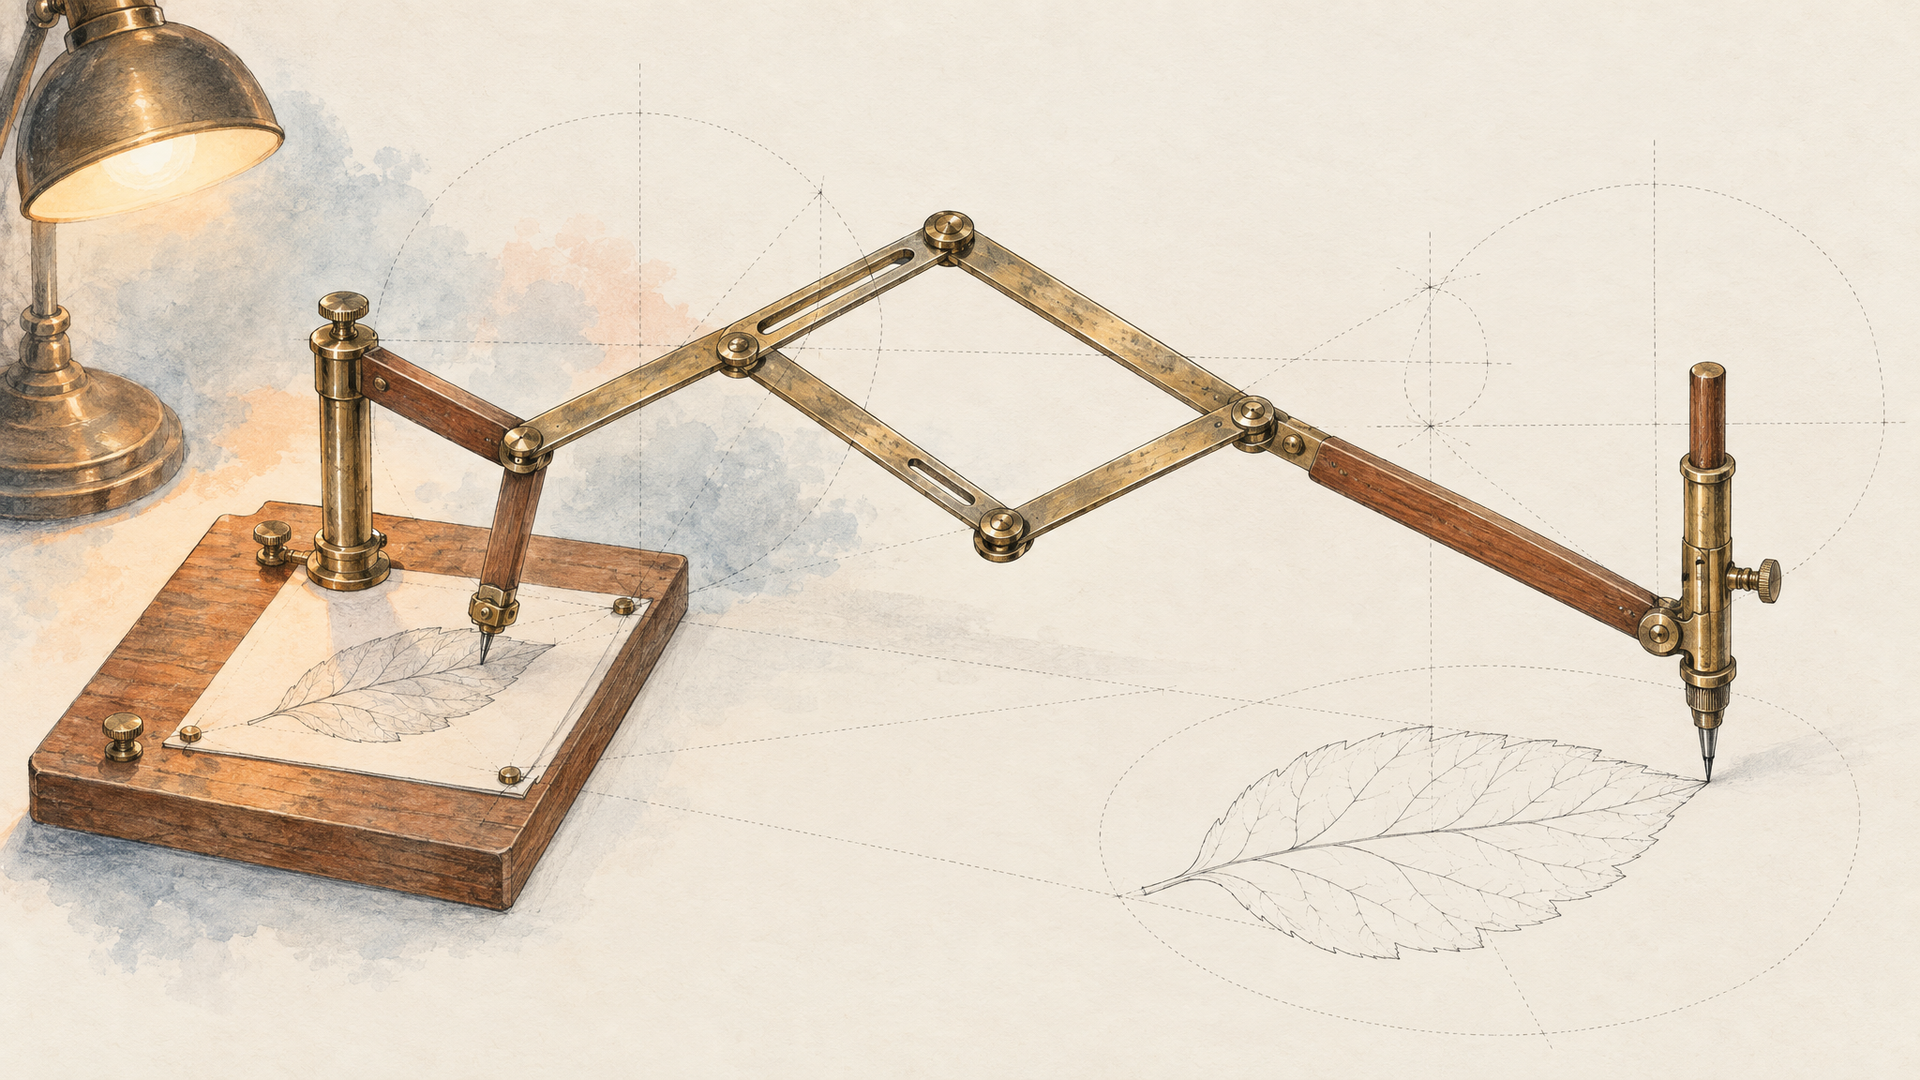
Any image editor works. Open the source, add a new layer, fill it white, paint black over the area you want changed, flatten, and export a PNG at the original size without cropping. The only things that matter are the two colors and the dimensions.
If you're editing at volume, a script is faster and never drifts by a pixel. Here's a short Python snippet with Pillow that builds a white canvas the exact size of the source and paints one black rectangle where the edit should happen:
from PIL import Image, ImageDraw

src = Image.open("shelf.jpg")
mask = Image.new("L", src.size, 255)      # white everywhere = keep
draw = ImageDraw.Draw(mask)

# (left, top, right, bottom) in pixels of the source image
draw.rectangle((420, 310, 780, 690), fill=0)   # black = edit

mask.save("shelf-mask.png")
print(src.size, mask.size)                # these must match
Because the canvas takes its size from src.size, the dimensions can't go wrong. Swap rectangle for ellipse or polygon when the region isn't boxy, and draw several shapes if you need more than one area changed in the same call. Upload the PNG anywhere that gives you a public URL and pass it as mask_url.
Size the Black Area Like You Mean It
The most common instinct from photo editing is to feather the mask edge so the change blends in. With Ideogram 4.5 that instinct doesn't buy much. Since every grey value rounds to black or white, a soft blurred edge just becomes a hard edge somewhere around its midpoint. Blending is the model's job, not the mask's.
What does matter is margin. A mask traced tight to the object's outline leaves the model no room to redraw contact shadows, reflections or the edge where a new object meets the shelf. A practical habit is to pad the black area a little past the thing you're changing, enough to include its shadow and a sliver of the surface around it. If the replacement is bigger than the original (a tall bottle where a short jar stood), the black area has to cover the space the new object will occupy, not the old one.
The opposite mistake is just as real. Mask half the frame to change one label and you've handed back most of the protection you wanted. Keep the black region as small as the edit allows and no smaller.
Combine the Mask With References
Words describe a pattern badly. A reference image shows it. Ideogram 4.5 Edit takes up to four reference images through reference_image_urls, and the docs are clear that references "are never edited themselves; only image is." Add a mask and the ceiling drops to three references, so the request stays at five images total: your source, your mask, and up to three references.
The combination is where masked editing gets genuinely useful. The mask decides where; the reference decides what. Point the black area at a jacket and attach a photo of the fabric you want, or mask an empty spot on a counter and attach the exact product to place there. In the prompt, name what the reference is for, so the model knows it's borrowing a pattern and not a whole scene.
Six Cases Where the Mask Earns Its Keep
Replace a product on a shelf. Retail and packaging teams want one bottle swapped while every neighbor stays pixel-identical. Mask the bottle plus its shadow, attach the new packshot as a reference, and describe the fit.
Replace the bottle in the masked area with the product from the reference image, standing upright on the same shelf, matching the shelf lighting and casting a soft shadow to the left.
Change text on one sign, label or poster line. Ideogram's whole reputation is typography, and 4.5 can edit stylized lettering in place. The mask matters when the frame has a lot of text and you want exactly one line rewritten. Mask that line only and quote the new words.
Change the masked headline to read "OPEN LATE FRIDAYS" in the same hand-painted red lettering, same size and baseline.
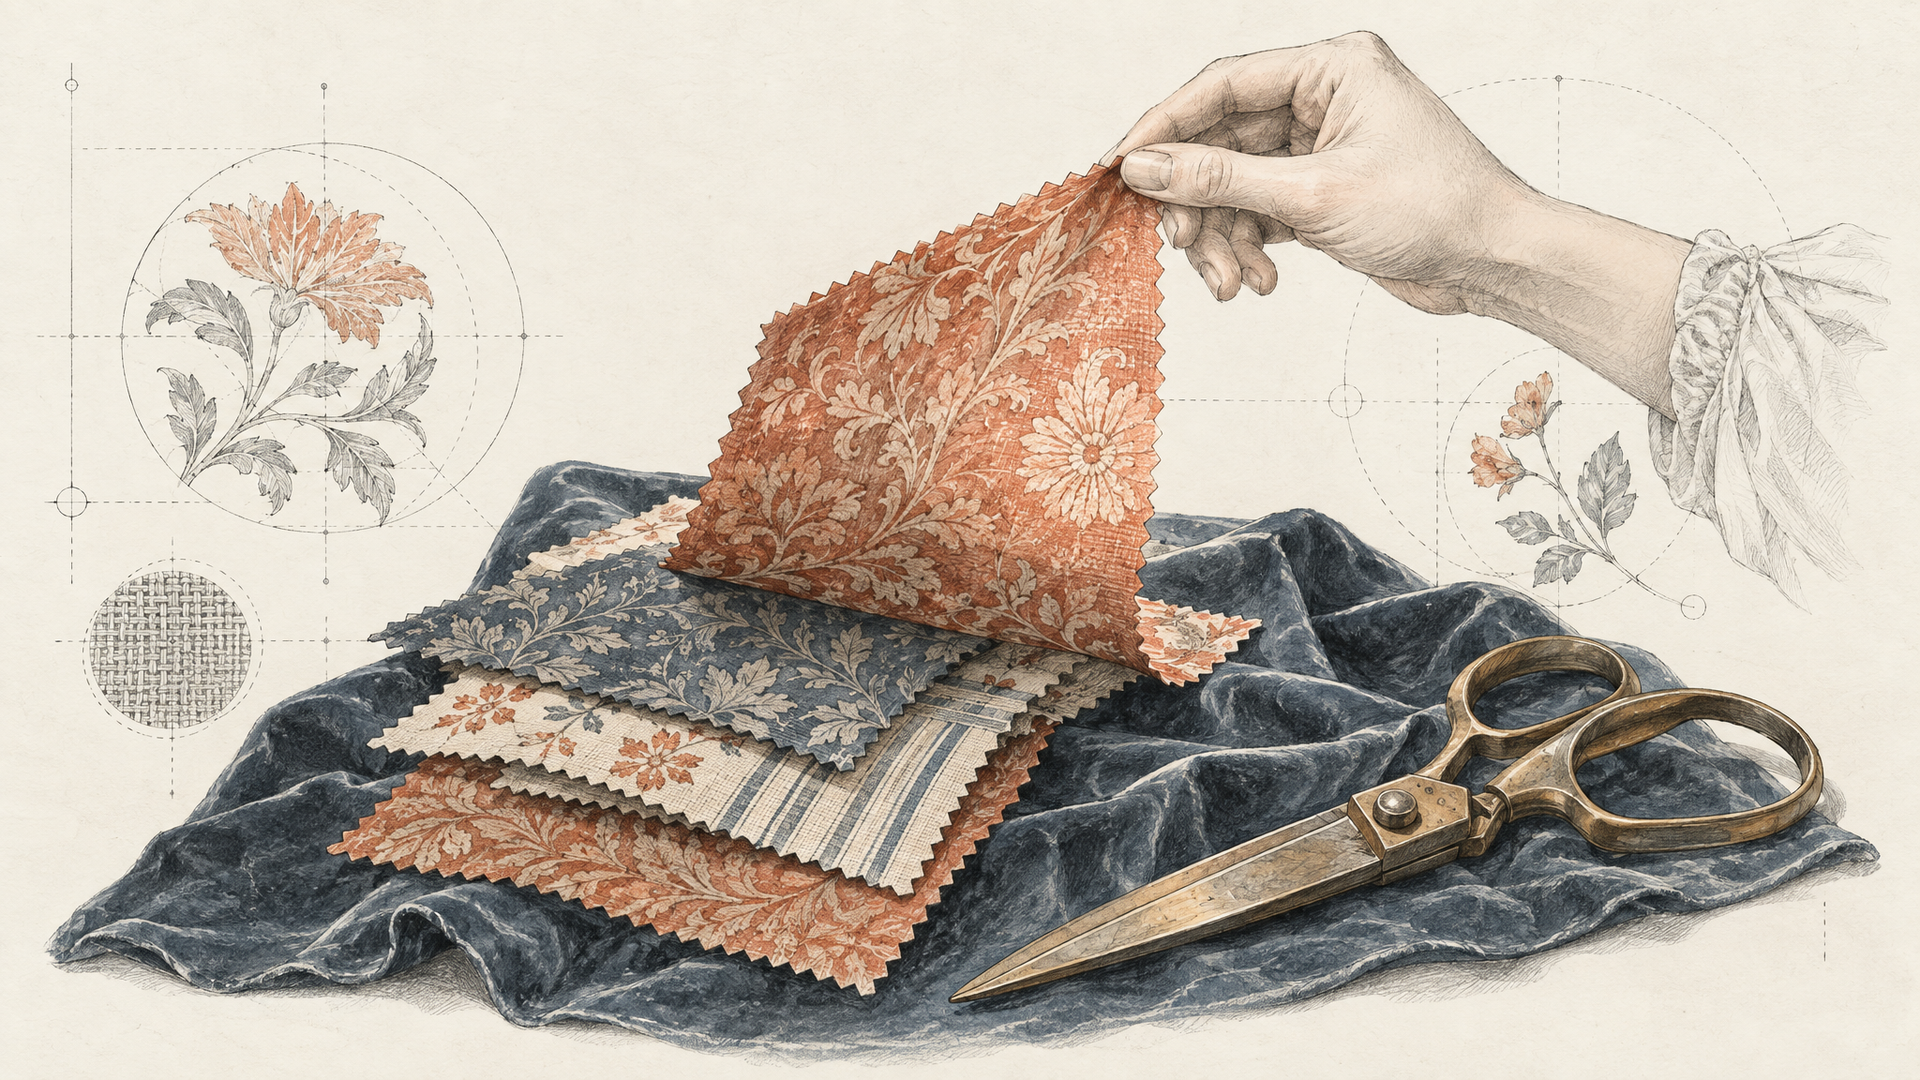
Swap a garment color or pattern from a reference. Mask the shirt, not the person. Attach a fabric swatch or a flat lay of the print and keep the prompt about the material.
Recolor the masked shirt using the plaid pattern from the reference image, keeping the folds, buttons and collar shape exactly as they are.
Remove an object. A stray cable, a passerby, a logo you don't have rights to. Mask the object generously and describe what should be there instead, because "remove" alone gives the model nothing to paint.
Fill the masked area with the empty wooden floor and the wall baseboard continuing naturally from both sides.
Fix one hand or one face area. A great portrait with one odd finger is a classic case. Mask just the hand so the face, hair and outfit stay locked.
Redraw the masked hand as a relaxed right hand with five fingers resting on the table, same skin tone and lighting.
Localize one block of copy. Launch coverage highlighted that 4.5 can translate copy while keeping the surrounding layout. For a poster or a banner with several text blocks, mask the one you're localizing and leave the brand lockup and legal line alone.
Translate the masked paragraph into German, keeping the same font style, weight, color and left alignment, fitting inside the same area.
A Full Ideogram 4.5 Edit Request, Field by Field
Here's what a masked request looks like on each::labs, using the field names from the model's schema. This one swaps a garment pattern with a single reference:
{
  "prompt": "Recolor the masked jacket using the houndstooth pattern from the reference image. Keep the jacket's cut, seams and folds unchanged.",
  "image_url": "https://example.com/model-shot.jpg",
  "mask_url": "https://example.com/model-shot-mask.png",
  "reference_image_urls": [
    "https://example.com/houndstooth-swatch.jpg"
  ],
  "image_size": "auto",
  "quality": "high"
}
image_url is the only required image and the only one that gets edited. quality runs from very_low through low and medium (the default) to high; a sensible routine is to find the right mask and prompt on a lower setting, then rerun the keeper on high.
Because the output keeps the source's size and copies unchanged pixels, it drops straight back into a multi-turn chain: draw the next mask, run the next edit. That loop is what Ideogram designed 4.5 for. Running it on a whole catalog? Wire it into an each::labs flow. If you need to create the starting image too, Ideogram 4.5 text to image sits right next to the edit model.
Three Mistakes That Waste a Run
The inverted mask. This is the big one, and it bites hardest when you switch models. Conventions disagree across the catalog. Ideogram paints black to edit. Bria Fibo Edit 1.5 and Flux Fill Pro both do the reverse: white is edited, black is preserved. Reuse a mask built for one of those on Ideogram 4.5 and you'll get the whole frame changed except the one thing you wanted changed. Put the convention in the filename, or invert in one line with Pillow's ImageOps.invert(mask) before sending.
Wrong dimensions. The mask must match the source's width and height. Masks drawn on a resized preview or a screenshot will be off. Build the mask from the source file itself, as the snippet above does, and check both sizes before upload.
An all-black (or all-white) mask. After rounding, the mask needs both regions. An all-black mask means "edit everything," which defeats the point of masking, and the schema requires both colors anyway. A light-grey wash that you thought was "slightly masked" rounds to pure white and fails the same way. If you want to change the whole image, drop the mask and write the prompt.
Where the Mask Fits in the Wider Ideogram Lineup
Ideogram 4.5 Edit isn't the only Ideogram model on each::labs that takes a mask. Ideogram V3 Turbo handles fast image-plus-mask inpainting, and Ideogram Character uses a mask to place a consistent character into an existing picture. Both follow the same black-is-edited rule, so the masks you build for 4.5 carry over. You'll find the rest of the family on the Ideogram provider page and the wider set of editors under image-to-image models.
For a broader view of instruction-only editing, our guide to the most effective ways to use AI image editing models pairs well with this one. The short version: prompt when the target is obvious, mask when it isn't, and never mask more than you have to.
Frequently Asked Questions
Which color edits in an Ideogram 4.5 mask, black or white?
Black is the edit zone and white is protected. Every grey pixel gets rounded to whichever of the two it's closer to, so there's no half-strength region. This is the reverse of Bria Fibo Edit 1.5 and Flux Fill Pro, which is why masks moved between models are the first thing to check when an edit lands in the wrong place.
Can I feather the mask edge for a softer blend?
You can, but the rounding turns any soft edge into a hard one near its midpoint. Spend that effort on margin instead: extend the black area slightly past the object so the model has room to redraw shadows and contact edges, and let it handle the blending.
How many reference images can I use with a mask?
Three. Without a mask Ideogram 4.5 Edit accepts up to four references, and adding the mask takes one of those slots. The references guide the content of the black area but are never edited themselves.
Why can't I change image_size on a masked edit?
A masked edit maps pixel for pixel onto your source, so the size has to stay on auto and keep the original geometry. Named presets and custom sizes only work on unmasked edits. Resize first in an unmasked pass, then build your mask on that new frame.