Realistic Vision: AI Image Generation Guide
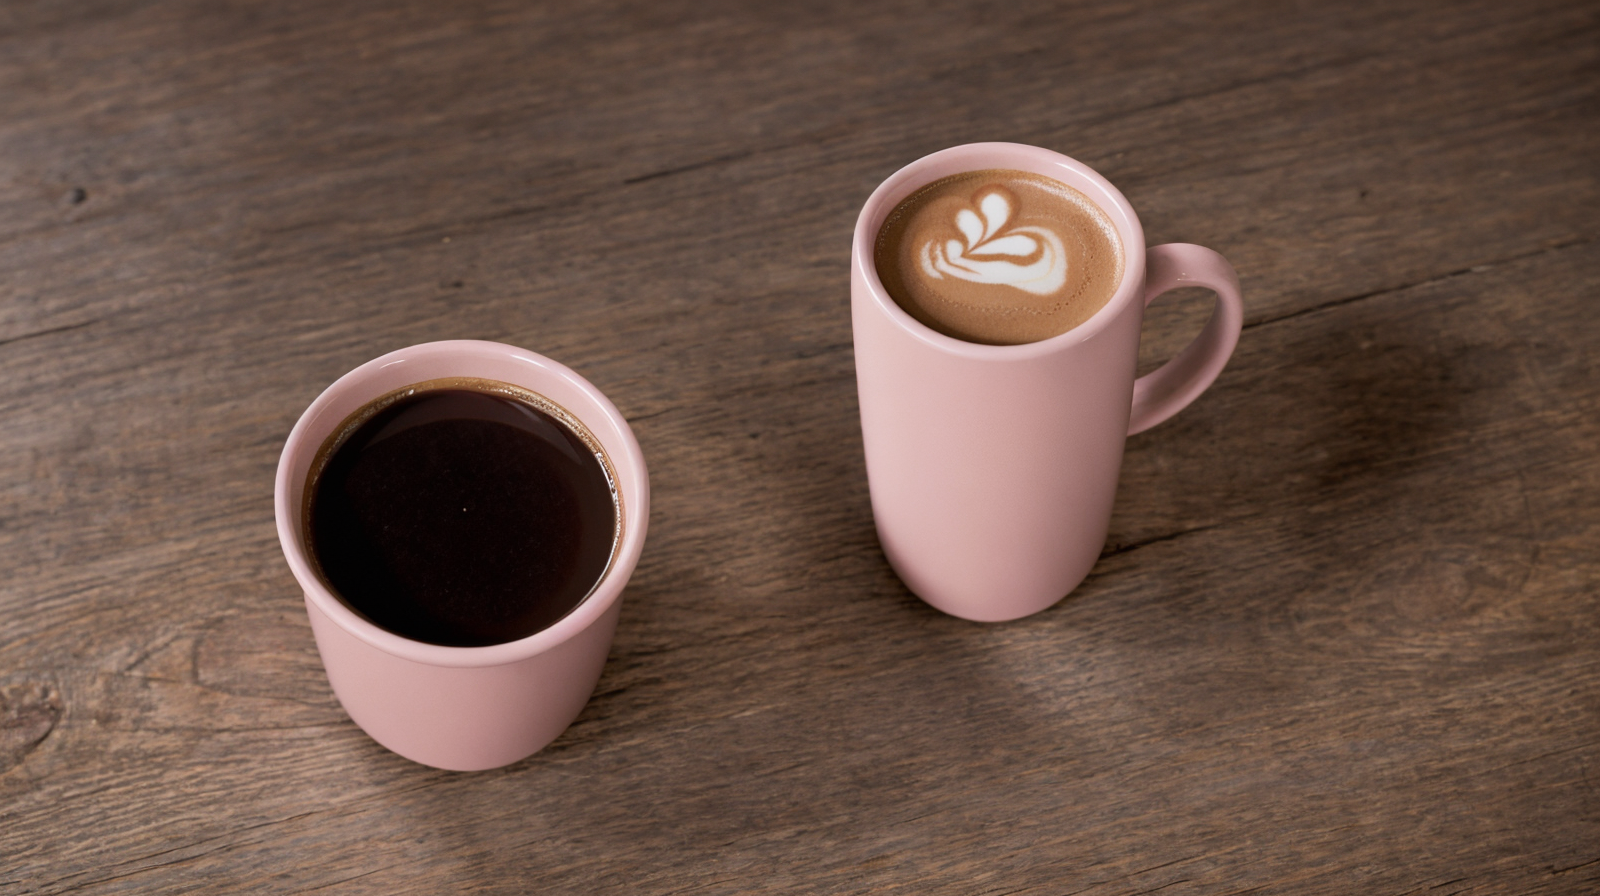
Good photography costs money. Equipment, location, lighting, a subject willing to stand still it all adds up before you've taken a single shot. Realistic Vision cuts through all of that. You write a description, and what comes back looks like a photograph. Skin texture, natural shadows, real depth. It generates lifelike images ideal for creative and professional projects, and honestly, the outputs are the kind that make people do a double take. The version available on Eachlabs is v6.0 B1 and i
Good photography costs money. Equipment, location, lighting, a subject willing to stand still it all adds up before you've taken a single shot. Realistic Vision cuts through all of that. You write a description, and what comes back looks like a photograph. Skin texture, natural shadows, real depth. It generates lifelike images ideal for creative and professional projects, and honestly, the outputs are the kind that make people do a double take.
The version available on Eachlabs is v6.0 B1 and it's noticeably better than what came before it.
What Is Realistic Vision?
Most AI image models try to do everything. They generate illustrations, paintings, concept art, photorealistic scenes, anime all from the same model. Realistic Vision made a different decision: just focus on one thing and do it better than anyone else. That one thing is photorealism.
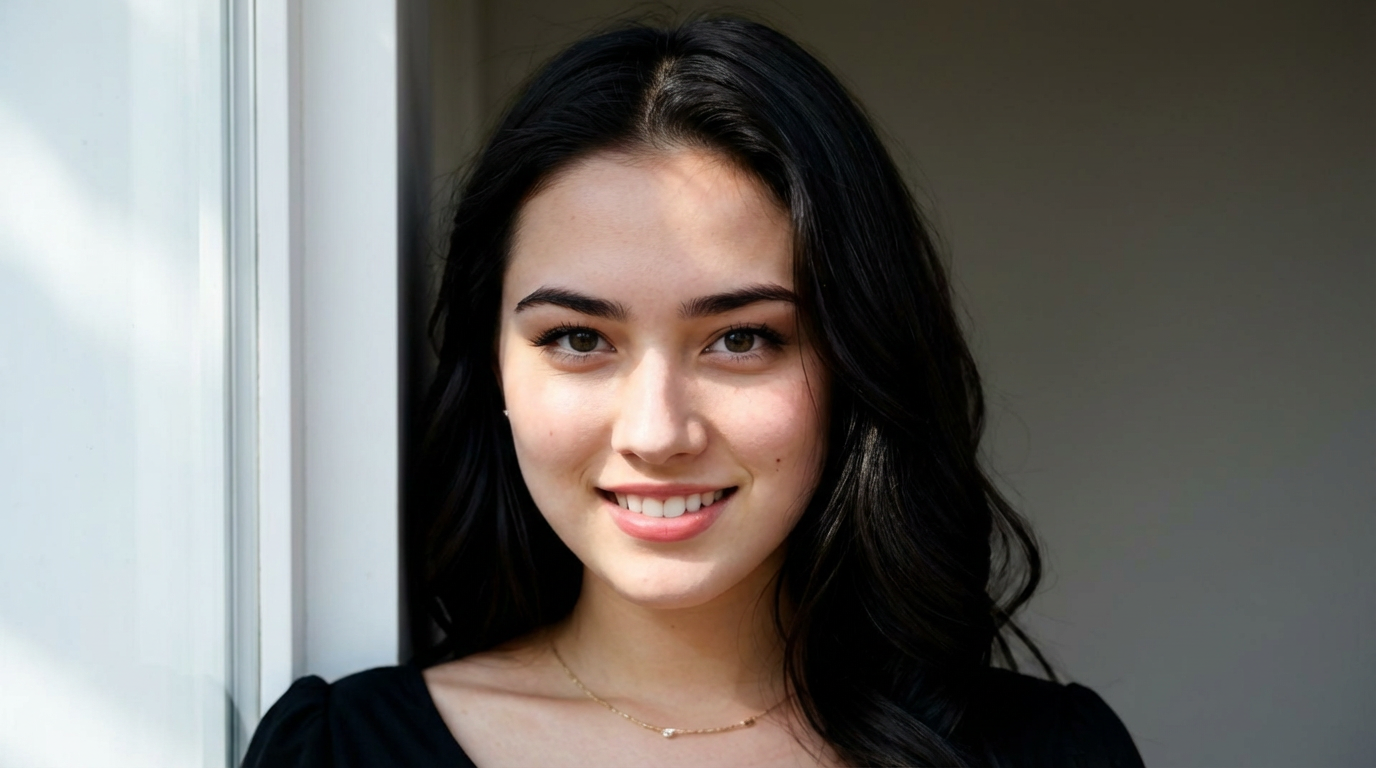
Faces are where most image models quietly fail. Eyes go soft. Skin looks like rubber. Hair becomes a vague blur. Realistic Vision was trained almost entirely on photographic reference material, with a specific focus on getting human subjects right portraits, half-body shots, full-body compositions. The results show. When the output is a close-up portrait, it genuinely looks like someone took the photo.
The v6.0 B1 version is the latest release, built to address persistent issues from earlier iterations. Skin tones that used to shift under certain lighting conditions now hold. Portrait proportions are more consistent. The improvements are visible even if you don't know what to look for the outputs just look more natural.
How Realistic Vision Works
You type a description and the model builds an image from it. That's the simple version, and honestly it's close enough to the full version for most people.
What's happening underneath is that Realistic Vision starts with noise and refines it step by step into a coherent image, guided by what you wrote. Because it was trained on photographs specifically not illustrations or digital art — the patterns it learned to recognize skew toward real-world visual information. That's why the lighting behaves like actual light and the skin reads like actual skin.
On Eachlabs, there are two main ways to use it. You can describe something from scratch and let it generate entirely from your prompt. Or you can upload a reference photo and have the model use it as a starting point, applying its photorealistic style on top of your existing composition. The strength setting controls how much creative freedom the model takes with your reference — higher means more departure, lower means it stays closer to what you uploaded.
The other parameters inference steps, guidance scale, scheduler are mostly fine at their defaults. Guidance scale at 7, steps at 30, DPMSolverMultistep with Karras Sigmas on. You don't need to touch them unless you're deliberately experimenting.
Key Features of Realistic Vision
People Look Like People
Everything else about Realistic Vision is secondary to this. Eyes have natural reflections. Skin has texture. Hair separates into strands rather than merging into a solid shape. When you generate a portrait and zoom in, what you find isn't soft blurring or artificial smoothing it's detail. The kind of detail that makes the image usable for anything professional rather than just passable for a quick draft.
This matters most if you're generating images of people regularly. Models built for general use often compromise on human figures to handle a broader range of subjects. Realistic Vision didn't make that compromise.
Edit Just One Part of an Image
Upload an existing image, draw a mask over the part you want to change, and Realistic Vision regenerates only that area while leaving everything else intact. This is called inpainting, and it's one of the more practical things the model does. Background looks wrong? Mask it. Expression is slightly off? Target just the face. You're not starting over you're making a surgical fix to something that's mostly already working.
The mask input on Eachlabs makes this straightforward: white areas in your mask get regenerated, black areas stay exactly as they were.
Resolution Options That Actually Work at Scale
Realistic Vision handles higher resolutions without the quality breakdown that a lot of image models run into when you push dimensions up. Square outputs, portrait orientation, landscape format, tall vertical crops each has a resolution configuration that works cleanly. For professional use, that means you're getting files that hold up in production, not just on screen.
Photography Language in Prompts
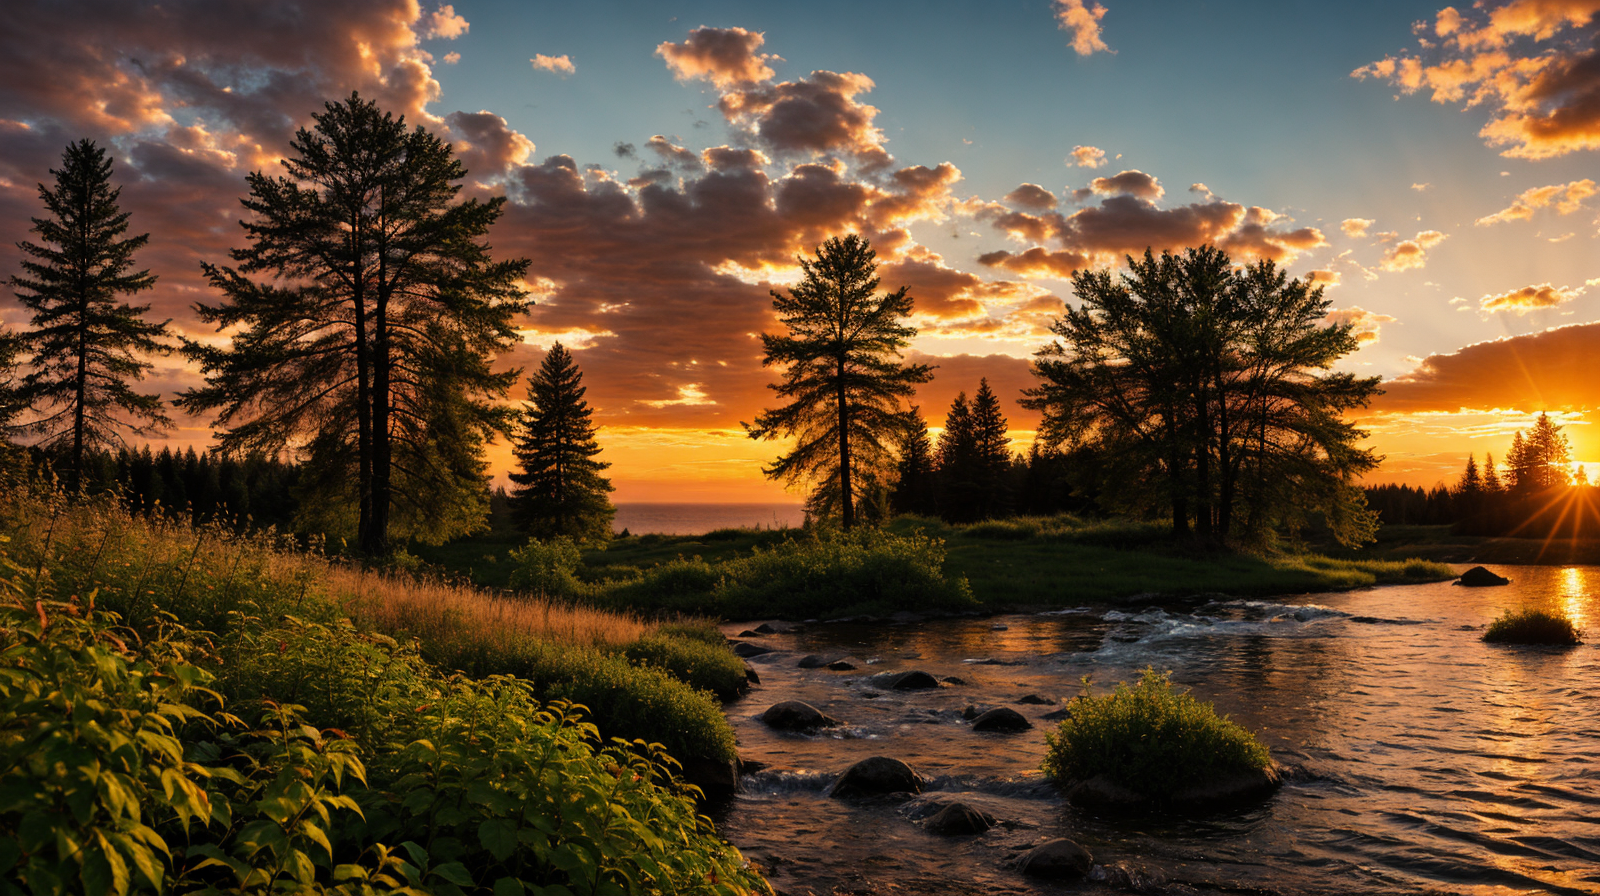
Describe an image the way a photographer would describe a shoot and Realistic Vision understands. "Soft morning light," "shallow depth of field," "film grain," "DSLR, 35mm" these shift the output toward specific visual aesthetics in ways that generic models don't track as reliably. If you have any photography background, that vocabulary translates almost directly into the generated result.
Use a Reference Image as Your Starting Point
Beyond generating from text alone, Realistic Vision can take an existing photo and rebuild it in its photorealistic style. Upload something as a reference, describe what you want, and the model creates a new image that draws from both. Useful for maintaining a consistent look across a set of images, or for taking a rough visual concept and making it production-ready.
Real-World Use Cases
The business case for Realistic Vision is clearest in e-commerce. Product photography is expensive to produce at volume studio time, lighting, a photographer, a model for clothing or accessories. Generate that same content with Realistic Vision instead and the economics change completely. A brand needing fifty product context shots a week doesn't need a studio for that anymore.
Marketing agencies have found their own angle on it. Before committing to a full production shoot, they'll generate a handful of realistic visual concepts to show a client. Different lighting treatments, different background settings, different compositions all produced in minutes rather than scheduled weeks out. Clients can react to something real instead of trying to approve a mood board.
Photographers and retouchers use Realistic Vision specifically for the inpainting capability. Great portrait, distracting background. Sharp image, slightly wrong expression in the frame you want to use. These are fixable problems with a mask and a generation rather than hours in a photo editor.
Content creators who need steady visual output blog imagery, social posts, newsletter headers also rely on Realistic Vision for original photography-style assets they actually own, instead of licensed stock that looks like licensed stock.
Realistic Vision v6.0 B1 vs. Earlier Versions
Earlier versions of Realistic Vision had a known list of issues. Skin tone shifted in certain lighting conditions. Full-body compositions produced incorrect proportions sometimes. Female figures especially came out inconsistently in the v5 range faces that didn't quite look right, eye sizes that varied between generations.
The v6.0 B1 training worked through a lot of that. The training dataset grew to over 3,000 images, with significantly more steps compared to v5.1. The result is more consistency the same prompt run multiple times produces outputs that feel like they belong together, rather than wildly varying interpretations.
Complex full-body poses can still produce occasional issues. The model is still marked as B1 a beta iteration and development continues. But for portraits and the majority of practical use cases, v6.0 B1 is a visible step up from what came before.
How to Use Realistic Vision on Eachlabs
Open the Realistic Vision page on Eachlabs and the Playground is ready to use without any setup.
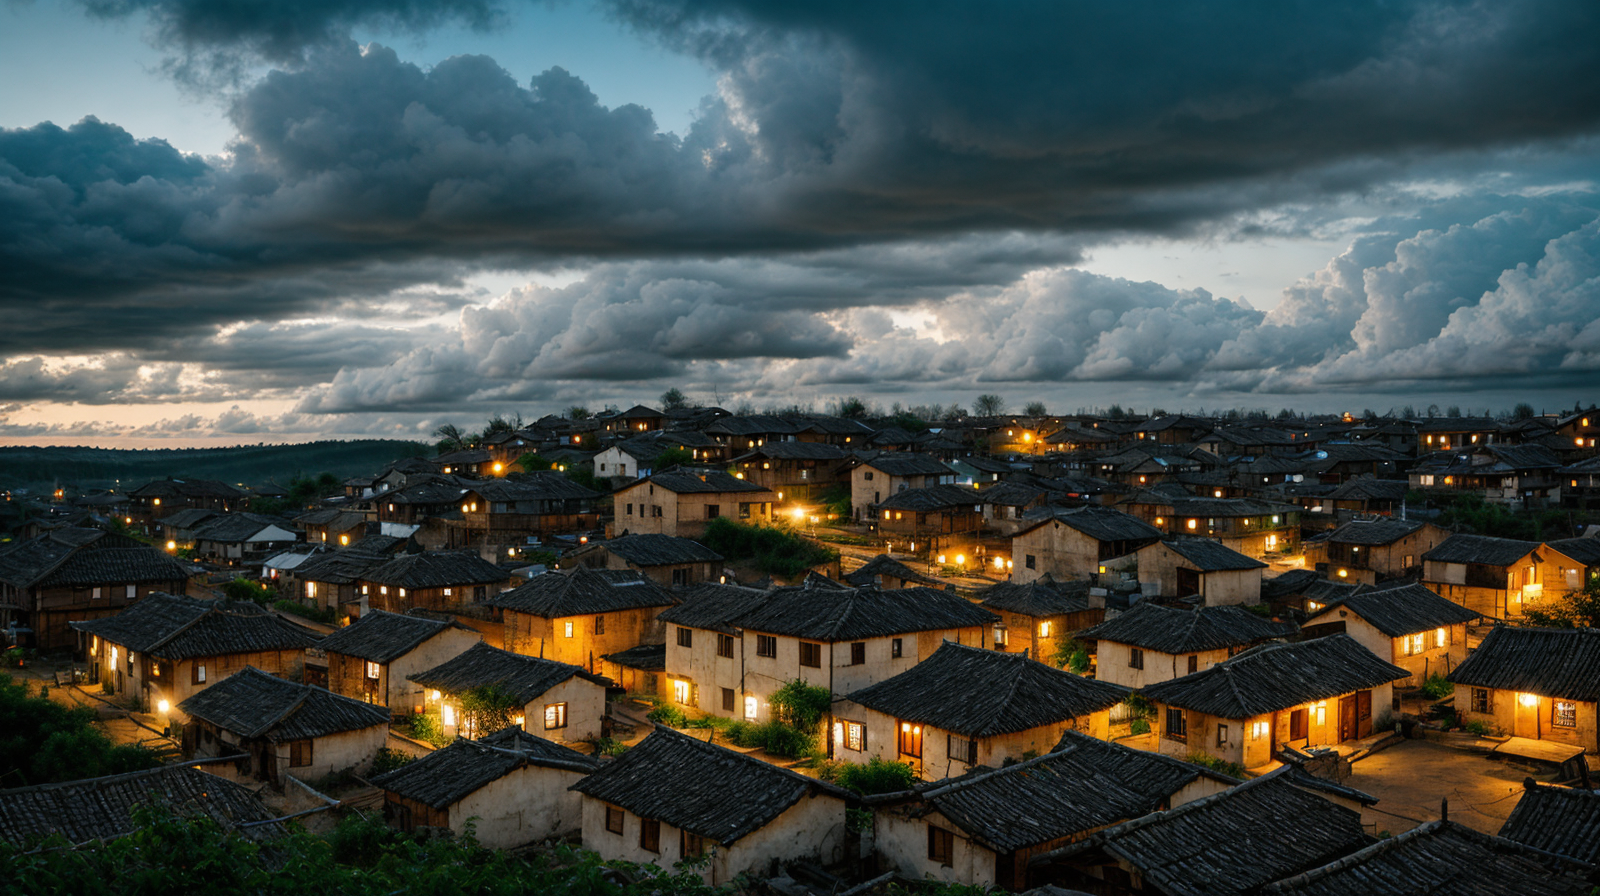
Write your prompt as a scene description. Photography style language helps here describe the subject, the light, the mood. The default example, "photo of old village, evening, clouds," is intentionally simple, but adding detail consistently improves results. Think about what a photographer would think about: the direction of light, the time of day, what the subject is doing.
The negative prompt field comes pre-filled. Leave it. That long list of exclusions is doing real work, steering the model away from non-photographic aesthetics and common AI artifacts. You can add your own terms at the end, but clearing the defaults will hurt your output quality.
If you're uploading a reference image, the strength setting is the main thing to think about. Start at 0.8 and go from there. That setting keeps enough of your reference to maintain composition while still applying the model's quality. Lower it if you want to stay closer to the original.
Save your seed number when you generate something you like. It's what locks the randomness, and going back to it lets you iterate on prompts without throwing away a promising composition.
Tips for Getting the Best Results
Describe Light Like You Mean It
Lighting is the single biggest lever in Realistic Vision prompts. "Soft afternoon window light" produces something fundamentally different from "harsh overhead fluorescent." Be specific about light direction, quality, and time of day. The model responds to this more reliably than almost any other part of the prompt.
Don't Touch the Negative Prompt
The default negative prompt on the Eachlabs playground looks long and maybe unnecessary. It isn't. Every term in there exists because that specific artifact appeared in real outputs. Clearing it to simplify the input is a reliable way to get worse results. If you want to customize it, add to it don't replace it.
Match Your Dimensions to Your Subject
A portrait doesn't need landscape dimensions. A full body standing figure needs vertical space. Realistic Vision has resolution configurations for each use case, and using the wrong one introduces compositional problems that no amount of prompt adjustments will fix. Think about what you're generating before setting the output dimensions.
Explore Prompts Before Changing Settings
Most people get better results faster by improving their prompt than by adjusting parameters. Before reaching for the guidance scale or inference steps, try rewriting the description. Add more specificity. Describe the lighting differently. Change a word. Settings adjustments are a second-pass refinement tool, not a first solution.
Keep Your Seed When Something Works
The seed number controls the randomness in your generation. When an output is close to right, copy that seed and use it in your next few attempts. You'll keep the compositional character of what worked while being able to tune other elements. Without locking the seed, every generation starts from scratch.
Wrapping Up
Realistic Vision has a clear purpose and delivers on it consistently. If you need images that look like photographs it's the right model for that job. The v6.0 B1 version on Eachlabs is more stable and more consistent than earlier releases, with portrait quality that genuinely holds up in professional contexts. For anyone generating visual content at any kind of scale, Realistic Vision closes a lot of gaps that used to require expensive production work.
Frequently Asked Questions
Why does Realistic Vision handle portraits better than other models?
Most image models spread their training across a wide range of visual styles illustrations, concept art, photography, everything. Realistic Vision trained specifically on photographic material, which means its learned sense of what things look like is grounded in real cameras and real light. That focus shows up most clearly in faces, where the difference between a model trained on photography and one that wasn't becomes very obvious very fast.
Can I use Realistic Vision to replace product photography?
For product context shots and lifestyle imagery, Realistic Vision on Eachlabs handles it well. Object textures leather, metal, glass, fabric render with enough fidelity for most commercial uses. It's particularly effective in image-to-image mode, where you can feed in a reference and get production-quality context around it. Results vary by product type and complexity, so running a few test generations on your specific subject is the fastest way to find out if it fits your workflow.
Do I need technical experience to use Realistic Vision on Eachlabs?
Not really. The defaults are set up to produce good results without adjustment the negative prompt, the scheduler, the inference steps. Write a clear description, leave the other settings as they are, and run a generation. The model does the heavy lifting. The only thing worth learning early is how to write descriptive prompts, and that comes quickly with a few attempts.