A Practical Guide to Building Workflows with Veo 3
Getting the best results from Google Veo 3 often comes down to how prompts are written. Even small differences in wording can influence the pacing, mood, and overall structure of the generated video. Veo 3 is highly sensitive to intent, and the way a scene is described can affect everything from motion speed to visual emphasis. In this guide, we’ll explore how Veo 3 interprets prompt structure, what makes a prompt feel more controlled and consistent, and how experimenting with variations can he
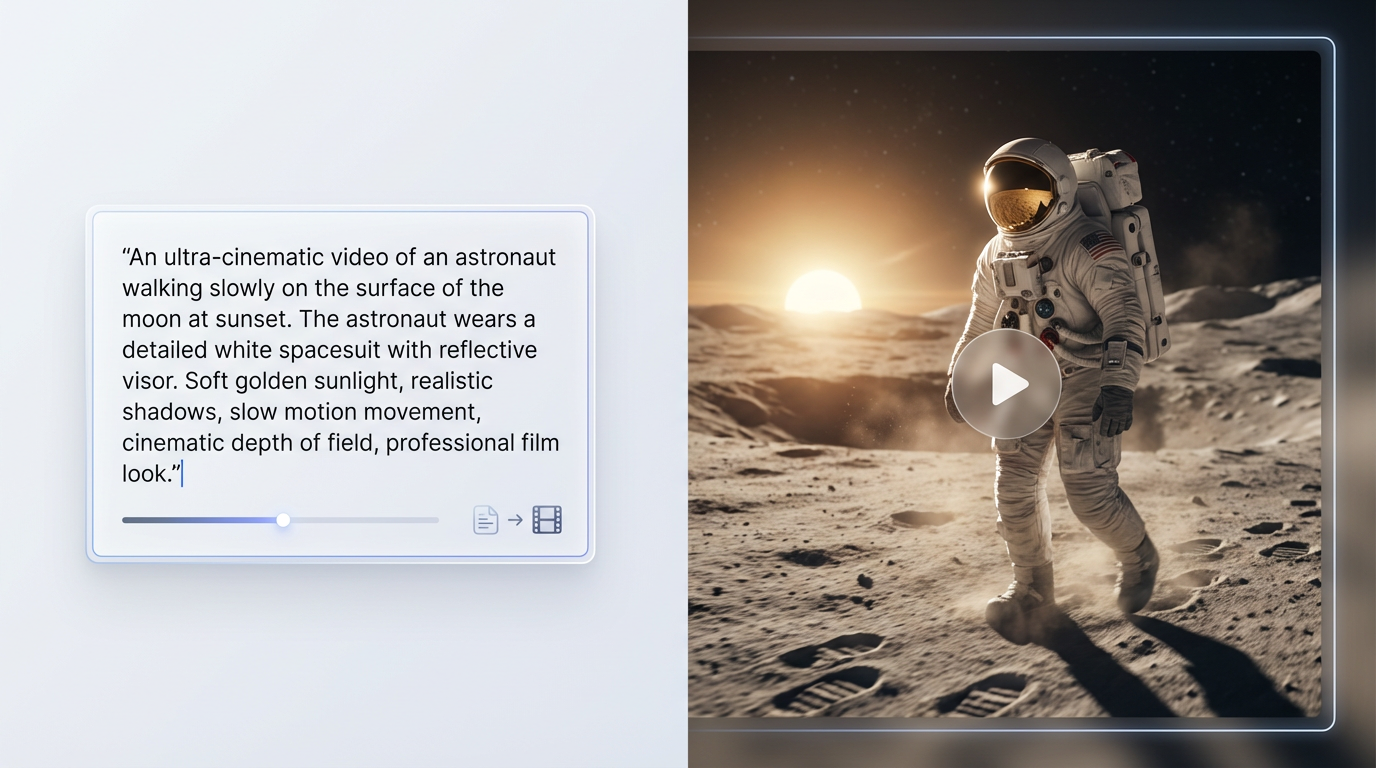
Getting the best results from Google Veo 3 often comes down to how prompts are written. Even small differences in wording can influence the pacing, mood, and overall structure of the generated video. Veo 3 is highly sensitive to intent, and the way a scene is described can affect everything from motion speed to visual emphasis.
In this guide, we’ll explore how Veo 3 interprets prompt structure, what makes a prompt feel more controlled and consistent, and how experimenting with variations can help refine your results. From simple prompt adjustments to more advanced techniques, we’ll walk through practical ways to achieve the flow and visual style you’re aiming for with Veo 3.
Key Takeaways
- To get better results from Veo 3, structure your prompts clearly. Start with the subject, then the action, camera details, and finally lighting. This order helps keep the video stable.
- Use specific camera and lighting cues to shape the mood and look of your video. For example, warm light can create a dramatic feel, while clean studio light is good for product shots.
Crafting Effective Veo 3 Prompts For Stable Outputs

So, you're trying to get Veo 3 to make videos that actually look like what you're picturing, right? It can be a bit of a puzzle sometimes. You type something in, and the video comes out… well, not quite what you expected. Maybe the camera moves too fast, or the lighting is all over the place. This happens because Veo 3 pays close attention to how you structure your instructions. Even small changes in wording can really shift things like the pace, the motion, or even what the main subject is. That's why having a good example prompt is so important. It shows you how the model interprets each part of what you ask for and where you can actually take control.
Getting consistent results from Veo 3 really comes down to how you write your prompts. Think of it less like writing a story and more like making a clear, step-by-step list. When your prompts are broken down into short, direct segments, Veo 3 has an easier time focusing on the subject and keeping the motion smooth. It also helps avoid those weird, unexpected shifts in lighting or pacing.
Here’s a breakdown of what works best:
Subject First: Always start by clearly defining your main subject. This helps Veo 3 know what to track and keep stable throughout the clip.
- Action Follows: Next, describe what the subject is doing. Keep these actions simple and sequential.
- Camera Cues: After the action, add instructions for the camera. Things like "wide shot," "close up," or "camera tracks smoothly" help reduce random movement and keep the framing steady.
- Environment and Mood: Finally, you can add details about lighting, style, and sound to set the mood. Simple backgrounds and clear lighting cues are your friends here.
When you structure your prompts this way, you're essentially giving Veo 3 a clear roadmap. It knows what's most important and can follow your instructions more accurately, leading to fewer surprises and more predictable outputs. This approach is key to building reliable visual workflows.
For instance, instead of one long sentence, try breaking it down:
Bad Prompt: A man walks down a street at night with a streetlamp, the camera follows him slowly.
Good Prompt:
- Shot 1: Medium shot of a man walking on a city street at night.
- Camera follows from behind at a steady pace.
- Streetlamp casts warm light on the wet pavement.
This kind of structured approach makes a big difference.
Camera and lighting instructions are where you really start to shape the feel of your video. They're not just afterthoughts; they're powerful tools for controlling the mood and ensuring your subject stays clear.
- Camera Framing: Use specific terms like "wide shot," "medium shot," "close up," or "extreme close up" to define how much of the scene is visible. This directly impacts how the subject is presented.
- Camera Movement: Be precise about how the camera moves. Words like "pan," "tilt," "dolly in/out," "track," or "locked off" tell Veo 3 exactly how to behave. For example, "camera tracks smoothly from the side" is much better than just "camera follows."
- Lighting Direction and Quality: Lighting can dramatically change the mood. "Golden hour light" creates warmth, while "harsh overhead lighting" can feel sterile. You can also specify "soft light" or "hard shadows" to control contrast.
- Lens Effects: Subtle effects like "lens bloom" or "depth of field" can add a cinematic touch, but use them sparingly, especially when testing, to avoid confusing the model.
The placement of these cues matters a lot. Adding camera and lighting details after you've defined the subject and action helps Veo 3 prioritize correctly. If you put camera instructions too early, the model might get confused about what to focus on. Think about how different lighting affects your subject: a warm, low-angle light can make a scene feel dramatic, while bright, even lighting is better for showing details clearly. Experimenting with these cues is how you get those high-quality Veo 3 examples that look stable and intentional.
Advanced Veo 3 Techniques And Testing Workflows
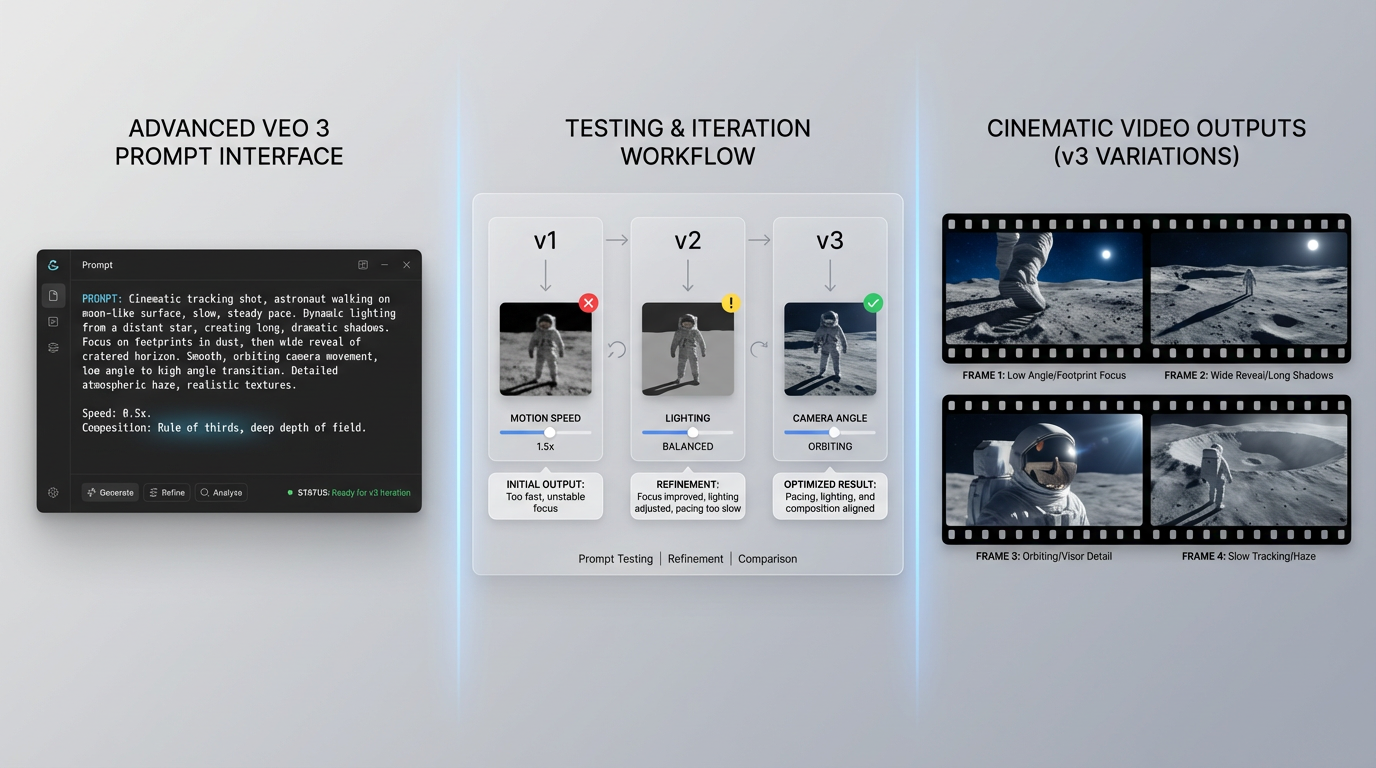
Testing Veo 3 With Multi-Shot Scenarios
When you’re ready to push Veo 3 beyond single, simple clips, testing with multi-shot scenarios is the next logical step. This isn’t about creating a polished final sequence right away, but about evaluating how Veo 3 behaves under more complex conditions. Multi-shot prompts help reveal how the model handles continuity, transitions, and tracking across different camera angles and actions within a single generation.
At this stage, testing becomes especially important. Rather than relying on a single output, you can validate your prompts by running them across multiple models at once using Eachlabs’ model comparison. By executing the same multi-shot prompt across up to ten models simultaneously, you can quickly compare results side by side and identify whether issues come from prompt structure, motion instructions, or model interpretation. This makes it easier to judge whether a prompt is clear and stable before refining it further.
The goal here is to expose potential weaknesses in motion continuity, subject stability, and scene coherence. For example, you can check whether a car remains the same color from one shot to the next, or whether a character’s face stays recognizable as the camera moves. Comparing outputs across models helps surface these issues faster and removes guesswork from the testing process.
Here’s a breakdown of what to look for:
- Motion Continuity: Does the movement flow naturally from one shot to the next? For example, if a car is driving in one shot, does it continue moving in the same direction and speed when the scene cuts?
- Subject Stability: Does the main subject (such as a person or an object) maintain its appearance, color, and details across different shots and camera movements?
- Transition Handling: How does Veo 3 manage hard cuts or softer transitions between scenes? Are there noticeable visual glitches or awkward blends?
- Tracking Accuracy: When the camera follows a subject, does it remain locked on, or does it drift or lose focus?
Building multi-shot prompts requires careful segmentation. Use clear markers for each shot, define the camera action for each segment, and ensure the subject remains consistent. This structured approach, combined with side-by-side model comparison, helps Veo 3 interpret your instructions more accurately and leads to more predictable results across the entire sequence.
Wrapping Up Your Veo 3 Journey
So, we’ve covered how Veo 3 works, how to structure prompts for more reliable results, and how to test more advanced scenarios like multi-shot sequences. The key takeaway is breaking things down into clear, manageable components: subject, action, camera behavior, and overall mood.
Testing different prompt variations and iterating on them helps reveal how Veo 3 handles continuity, motion, and scene transitions. With practice, this structured approach leads to more consistent and predictable video outputs. Keep experimenting with different setups and refinements, and over time you’ll gain better control over the videos you create with Veo 3.
Frequently Asked Questions
How can I make sure my video stays consistent when changing scenes?
To keep your video steady when you switch scenes, try breaking down your instructions into small, clear steps. Think of it like giving very specific directions. First, tell Veo 3 what the main thing is (the subject), then what it's doing (the action), how the camera should move, and finally, what the lighting should be like. Doing this helps Veo 3 focus on each part without getting confused.
What's the best way to test if Veo 3 keeps characters looking the same across different parts of a video?
If you want to check if a character stays consistent, describe them the same way at the beginning of each instruction set. For example, always mention their hair color, clothes, and any unique features. This helps Veo 3 remember what the character looks like and keeps them looking the same throughout the video.
How can I tell if my video transitions are too fast or jerky?
To see if your scene changes are too abrupt, add clear time markers or short pauses between actions in your instructions. For instance, you could say 'the character walks three steps, then stops.' This tells Veo 3 to create a small break, which helps you see if it's blending scenes too quickly or if the pacing feels right.