Structuring Veo 3 Prompts for Better Motion Control
Ever typed a prompt into Veo 3, hoping for a specific shot, only to get something totally different? Yeah, me too. It's like the AI just wasn't on the same page. But it turns out, there's a way to get Veo 3 to actually listen. It's not just about what you ask for, but *how* you ask. This guide breaks down how to structure your Veo 3 prompt so you can move from just generating clips to actually directing scenes. We'll look at the building blocks of a good prompt and how to put them together for b

Ever typed a prompt into Veo 3, hoping for a specific shot, only to get something totally different? Yeah, me too. It's like the AI just wasn't on the same page. But it turns out, there's a way to get Veo 3 to actually listen. It's not just about what you ask for, but *how* you ask. This guide breaks down how to structure your Veo 3 prompt so you can move from just generating clips to actually directing scenes. We'll look at the building blocks of a good prompt and how to put them together for better motion control.
Key Takeaways
- Think of Veo 3 as a production tool, not just a search engine. Using clear, cinematic language in your veo 3 prompt helps it act more like a director and less like a random generator.
- A solid prompt structure uses seven main parts: Camera movement and lens, subject details, action and physics, setting and atmosphere, lighting, style, and audio. Fill these in for clear direction.
- When you use a structured veo 3 prompt, you replace guesswork with clear instructions. This makes your results more consistent and predictable, especially when you need to create similar scenes repeatedly.
Mastering Veo 3 Prompt Structure

Alright, let's talk about getting Veo 3 to actually do what you want. It's not just about typing in a few words and hoping for the best. Think of it like giving directions to someone who's never been to your house before – you need to be clear, specific, and organized. Getting the structure right is half the battle. If you just throw random ideas at it, you'll get random results, and nobody wants that.
The Seven Core Elements of a Veo 3 Prompt
Veo 3 really pays attention to how you phrase things, and especially the order you put them in. The first things you mention tend to get the most focus. So, to get consistent, predictable results, it's smart to think about your prompt in a specific order. It's like building blocks; each one adds a layer of detail that helps Veo 3 understand your vision.
Here’s a breakdown of the key parts:
- Camera & Lens: This is where you tell Veo 3 how to look at the scene. Are we doing a close-up, a wide shot, or something in between? Is the camera moving, and if so, how? Think about the lens too – a wide lens makes things feel expansive, while a telephoto lens can compress the background, making subjects feel closer.
- Subject: Who or what is the main focus? Be as specific as possible. Instead of 'a person,' try 'a woman in her late 20s with bright red hair wearing a blue jacket.'
- Action & Physics: What is the subject doing? And how are they doing it? Are they walking, jumping, or just standing there? Describe the movement and any physical interactions.
- Setting & Atmosphere: Where and when is this happening? Is it a busy city street at noon, or a quiet forest at dusk? The environment plays a huge role in the mood.
- Lighting: How is the scene lit? Is it harsh sunlight, soft window light, or dim, moody lamps? Lighting dramatically affects the feel of the shot.
- Style: This covers the overall look and feel. Are we going for a gritty, realistic look, or something more stylized and dreamlike? Think about textures, colors, and the general aesthetic.
- Audio: What do we hear? This includes dialogue, sound effects, and background ambience. Even silence can be a powerful audio choice.
When you lay out these elements clearly, you're not just asking for a video; you're directing a scene. It's the difference between saying 'make me a sandwich' and giving someone a recipe, ingredients, and instructions.
Prioritizing Information in Your Veo 3 Prompt
So, we've got these seven elements, but how do you make sure Veo 3 actually uses them in the right order? It's all about putting the most important stuff first. The model tends to give more weight to whatever you mention at the beginning of your prompt. This means you want to front-load the critical details that define your shot.
Think of it like this:
- Camera First: Start with how the camera is set up and moving. This sets the stage for everything else. For example, 'A slow, steady drone shot moving forward...'
- Subject Next: Immediately follow with a clear description of your main subject. '...of a lone hiker standing on a cliff edge.'
- Action and Setting: Then, describe what the subject is doing and where they are. '...looking out at a vast mountain range at sunrise.'
- Details Last: Save the finer points like specific lighting, style, and audio for the end. These elements refine the scene but are less likely to change the core composition if they appear later in the prompt.
This structured approach helps prevent common issues, like Veo 3 defaulting to a generic shot when you wanted something specific. By prioritizing, you guide the AI's attention and get closer to the exact vision you have in mind.
Directing Motion with Veo 3 Prompts
So, you've got the basic structure down. Now, let's talk about making things move. This is where Veo 3 really shines, turning your text into dynamic scenes. It's not just about describing what you want to see, but how you want the camera and subjects to behave. Think of yourself as the director on set, guiding the action.
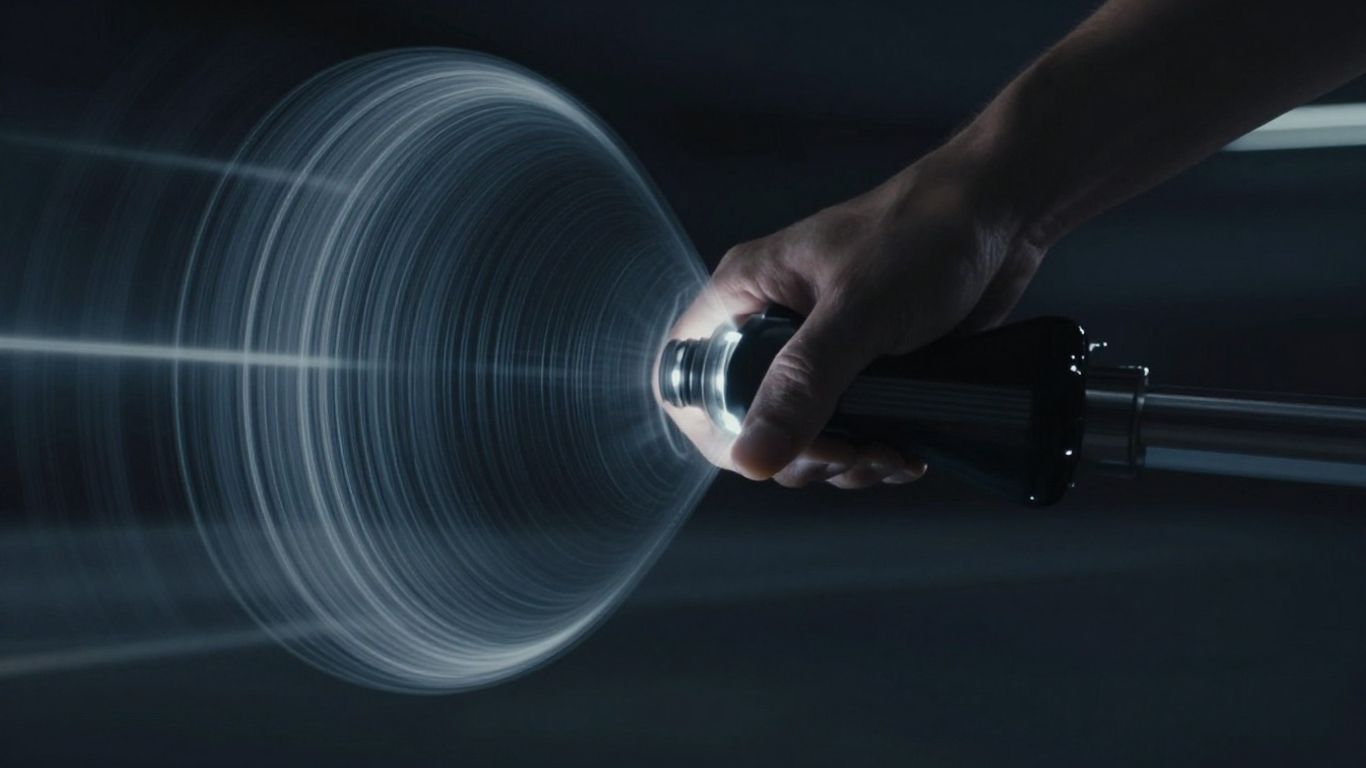
Specifying Camera Movement and Lens
This is a big one. If you don't tell Veo how the camera should move, it'll just pick something, and it might not be what you had in mind. Generic framing can make a scene feel flat or just plain weird. The camera's position, how it moves, and the type of lens you choose all set the mood before anyone even does anything. It dictates how close the viewer feels to the action.
Instead of just saying "a video of a man," try being more specific. For example, "Camera locked at eye level. Medium close-up on a 35mm lens. Slow forward push as the man speaks." See the difference? That single change turns a vague idea into a shot with real purpose. Lenses are cool because they affect depth, not just how far away things look. A 16mm lens can make a space feel bigger, a 35mm gives a natural view, and an 85mm lens can really push the background back, making the subject feel more intimate. Getting this right is key to professional-looking results.
Defining Subject and Action for Clarity
Once the camera is sorted, you need to be crystal clear about who or what is in the scene. If Veo doesn't know exactly who or what the scene is about, everything else can get messed up. Faces might look a bit different from one frame to the next, clothes could change subtly, and proportions might shift. It’s best to nail down your subject right at the start of the prompt. A good description includes:
- A clear identity: Is it a person, a product, an animal, or an object? Be specific.
- Key characteristics: What do they look like? What are they wearing? What's their general demeanor?
- The core action: What are they actually doing? Keep it to one main action per clip if possible. Trying to get a character to run, open a bag, and check their watch all at once can make the motion look unstable. It's better to break complex actions into separate clips and put them together later. This approach helps maintain stability and keeps the intent clear. You can explore different ways to generate video clips on Eachlabs.
When you're directing motion, remember that consistency is your friend. If you're aiming for a specific look, like a walkthrough of a house, you want the camera height and lighting to stay the same. This makes the whole sequence feel smooth and professional, rather than jarring and amateurish. It’s all about building a believable world for your viewer.
Here’s a quick rundown of what to focus on:
- Camera: Shot type, angle, and movement (e.g., medium shot, crane shot, tracking).
- Subject: Who or what is the focus, with specific details.
- Action: What is happening in the scene? Keep it focused.
- Setting: The environment, location, and time of day.
- Style & Audio: Visual aesthetic, lighting, mood, and sound design.
By detailing these elements, you're not just asking for a video; you're directing a scene. This level of specificity is what separates a random generation from a controlled, cinematic output.
Enhancing Veo 3 Prompt Effectiveness
So, you've got the basics down – you know how to tell Veo 3 what you want to see. But sometimes, even with a good prompt, the output feels a little… off. Maybe the motion isn't quite right, or the style isn't hitting the mark. That's where we really start to fine-tune things and make those clips sing. It's not just about describing the scene; it's about directing it like a pro.
Leveraging Style and Audio for Immersion
Think of style and audio as the secret sauce that takes a video from just okay to something that really pulls people in. It's all about the details.
- Style: This is where you define the look and feel. Are you going for something super clean and sharp, or maybe a bit more textured and natural? You can specify things like skin pores, fabric weave, or even how much contrast you want. For example, asking for "fine skin pores, visible fabric weave, subtle contrast, no gloss or sharpening" gives Veo 3 a clear visual target. It stops the AI from making things look too smooth or plasticky.
- Audio: Don't forget sound! This isn't just about dialogue. You can add ambient sounds, like a quiet office hum or the distant chatter of a cafe. If you have dialogue, you can even specify the tone or what the person is saying. For instance, "The founder says, 'This update cuts setup time in half, helping teams get started faster.' No subtitles. Soft office ambience." This makes the video feel much more complete and believable.
Getting the style and audio right means the final video feels less like a generated piece and more like a carefully crafted production. It’s the difference between watching something and actually experiencing it.
Advanced Veo 3 Prompting Techniques
Ready to take your prompts to the next level? These techniques help you get even more control and achieve professional-looking results.
- Negative Prompting: This is super useful for telling Veo 3 what not to do. If you keep getting weird artifacts or unwanted elements, you can use negative prompts to exclude them. For example, you might add something like "no blurry backgrounds" or "avoid jerky movements" to steer the AI away from common pitfalls.
- Clip Chaining for Smooth Transitions: For longer sequences, generating one massive clip can be tricky. Instead, break it down. Create shorter, controlled clips and then link them together. This is how you build smooth walkthroughs or complex action sequences without jarring cuts. You generate Frame 1 and Frame 2, then use those as anchors to create Clip 1, and so on.
- Aspect Ratio Consistency: Decide on your aspect ratio (like 9:16 for social media or 16:9 for YouTube) before you start prompting. Sticking to one aspect ratio throughout your project helps maintain consistent framing and motion, preventing odd compositions or subjects feeling too far or too close.
By incorporating these advanced techniques, you move from simply generating video to truly directing it, ensuring your Veo 3 creations are polished and impactful.
Want to make your Veo 3 prompts work even better? Simple changes can make a big difference in the results you get. Think about being clear and giving the AI just enough detail. Ready to see your prompts shine? Visit our website for more.
Wrapping Up: From Guesswork to Guidance
So, we've gone over how to really talk to Veo 3, not just ask it for stuff. It's like going from just saying 'make a video' to actually directing a scene. By breaking down your prompts into those seven key parts – camera, subject, action, setting, style, and audio – you're basically giving the AI a clear blueprint. This means fewer weird glitches, more consistent results, and honestly, a lot less frustration. It takes a little practice, sure, but once you get the hang of it, you'll see your videos get way better, way faster. It's all about being specific and thinking like a director, not just a user.
Frequently Asked Questions
What's the best way to tell Veo 3 what I want it to do?
Instead of just saying what you want to see, think like a director. Tell Veo 3 exactly how to film the scene. This means describing the camera's movement, the subject's details, what's happening, where it's happening, and the overall look and sound. Being super clear helps Veo 3 create videos that look just like you imagined.
Why do my Veo 3 videos sometimes look strange or not quite right?
This often happens when the instructions aren't specific enough. If you don't tell Veo 3 how the camera should move or where the light should come from, it has to guess. This can lead to weird framing, odd lighting, or shaky motion. Giving detailed directions about the camera, subject, and environment makes the results much more stable and professional.
Can I use the same prompt structure for different videos?
Absolutely! Once you get the hang of the main parts of a good Veo 3 prompt – like the camera details, the subject, the action, the setting, and the style – you can use that same structure for many different videos. Just swap out the specific details for the subject and setting to create new scenes while keeping the quality consistent.